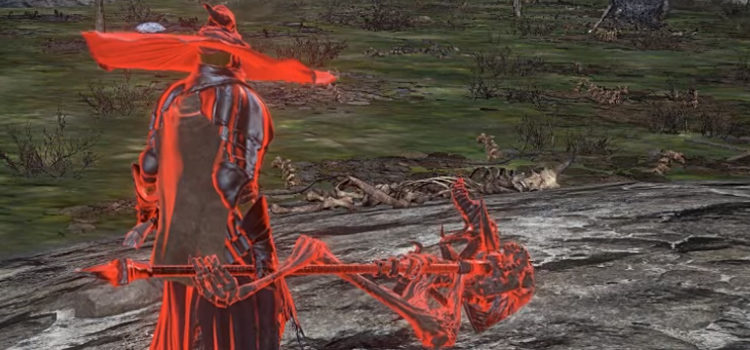
Where To Get The Shield of Want in Dark Souls 3
This post may contain affiliate links. If you buy something we may get a small commission at no extra cost to you. (Learn more).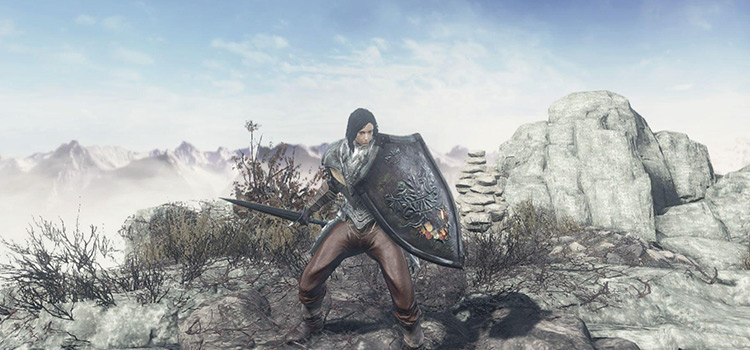
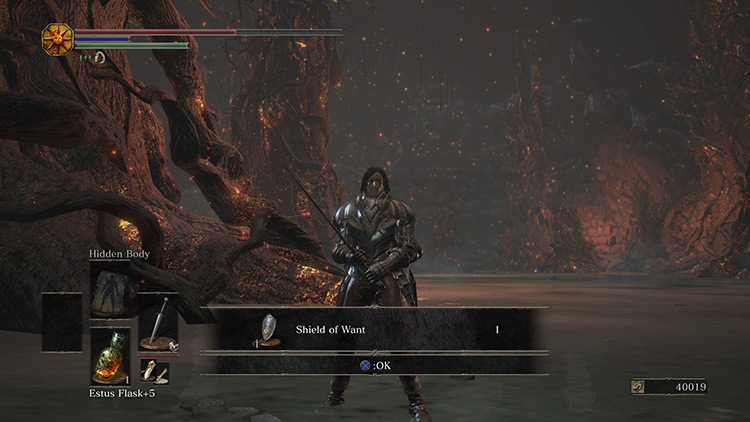
You can find the Shield of Want at the bottom of Smouldering Lake, which is a secret area hidden underneath the Catacombs of Carthus.
We’ll cover exactly how to reach the Smouldering Lake and get the shield, all step-by-step.
Finding Smouldering Lake
Before you can enter Smouldering Lake, you’ll first have to reach the end of the Catacombs of Carthus.
For the purpose of this guide, we’ll assume you’ve also beaten High Lord Wolnir, as his death makes accessing the lake much easier.
Warp to the High Lord Wolnir Bonfire to get started.
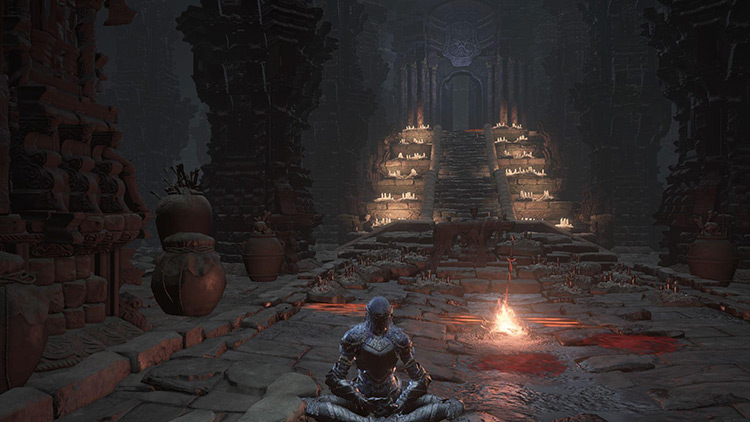
Backtrack out of the Bonfire room as if you’re walking back into the Catacombs. Follow the path around until you reach a massive rope bridge.
While still on solid ground, hit the two support poles at the end of the bridge with any melee weapon to see the bridge start to buckle.
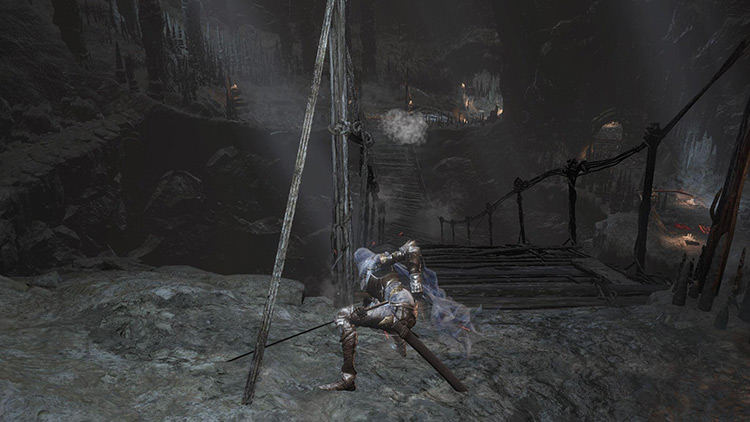
Once the bridge has fallen apart completely, slowly walk towards the edge where the bridge once was to get a button prompt to ‘Descend’.
You can interact with this prompt to begin climbing down the broken bridge as if it’s a ladder.
Once at the bottom of the makeshift ladder, follow the stone path through an archway to enter a chamber that houses a Fire Demon.
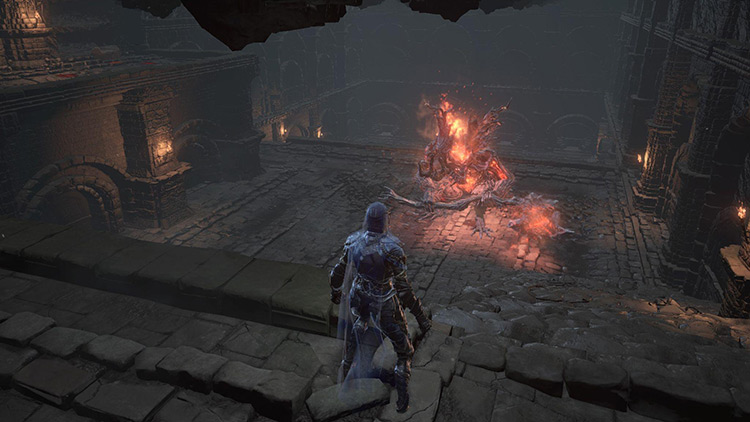
If you’re not feeling up to fighting it, you can run right past it if you’re fast enough.
From the entrance to the chamber, sprint down the stairs and off the ledge ahead of you.
You should now have a clear route to the small archway at the back of the room. Head into this archway and you’ll be safe from the Demon’s attacks.
You may have a Skeleton or two chasing you into this next passage, so take them out before you carry on.
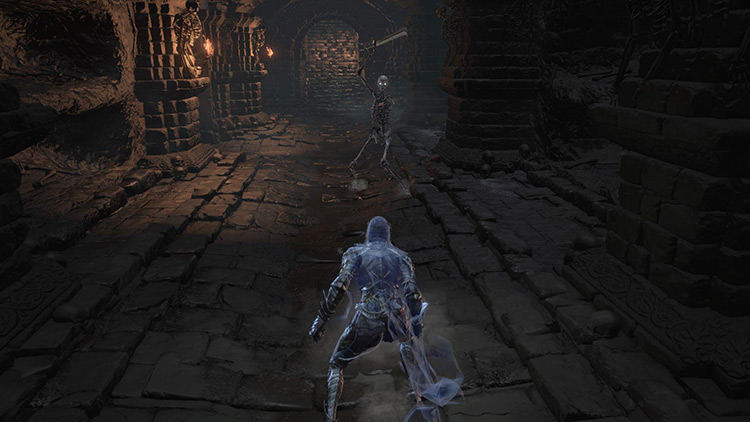
Turn right out of this corridor to find the first Bonfire in the Smouldering Lake, the Abandoned Tomb Bonfire.
Finding The Shield of Want
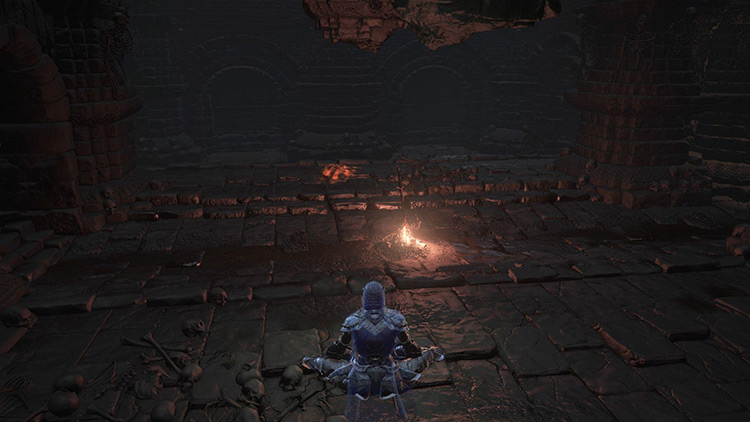
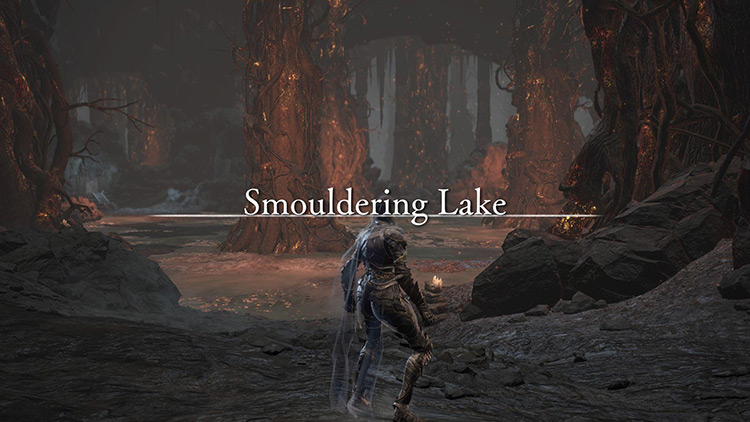
Starting from the Abandoned Tomb Bonfire, walk forward through the tunnel until you reach the Smouldering Lake title card.
The Shield of Want is found as a glowing item on a corpse in the shallow pool of water ahead of you.
To find the right corpse, follow the trail of glowing items ahead of you when you enter the area.
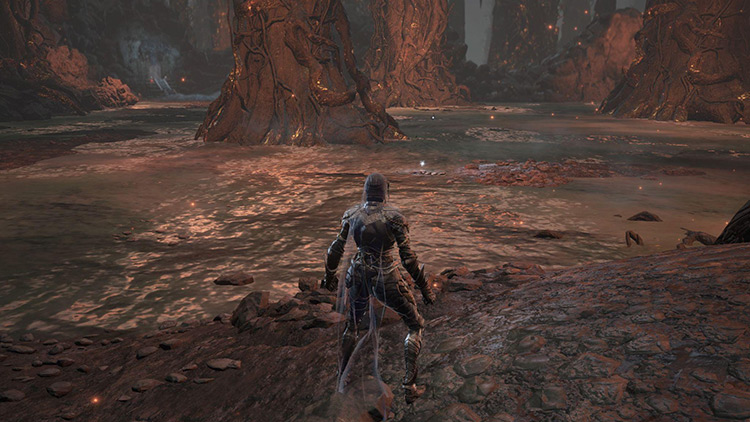
The first two are dead ahead, with a third, the Shield of Want, found to the left of the second one.
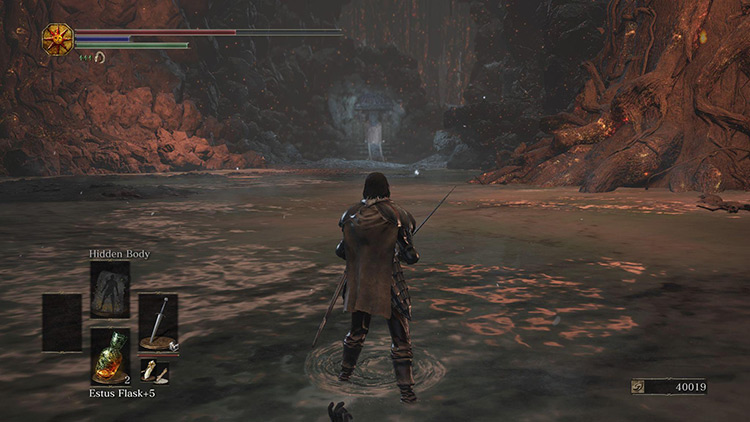
Unfortunately, getting to the Shield of Want alive isn’t as simple as just running over to it.
Once you step foot in the lake, a giant Sandworm will sprout from the ground.
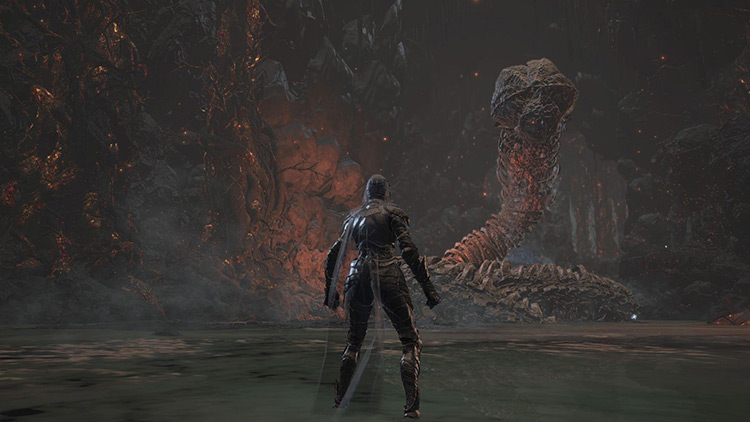
As well as awakening the Sandworm, your presence on the lake will trigger a huge ballista to begin firing on you, shooting in bursts of three high-power arrows.
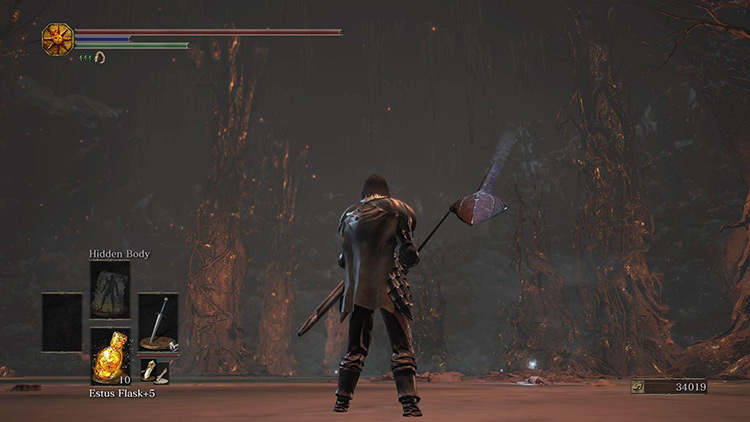
Both of these factors make reaching the Shield incredibly dangerous.
While you might be able to spam your Estus Flask until you can get to it, this is very inconsistent, and you’ll probably die once you grab the Shield.
The more consistent way of dealing with this situation is getting the ballista to take down the Sandworm for you.
To do this, hang around in the general vicinity of the grey fog gate on the left side of the lake and wait for the Sandworm to surface in that area.
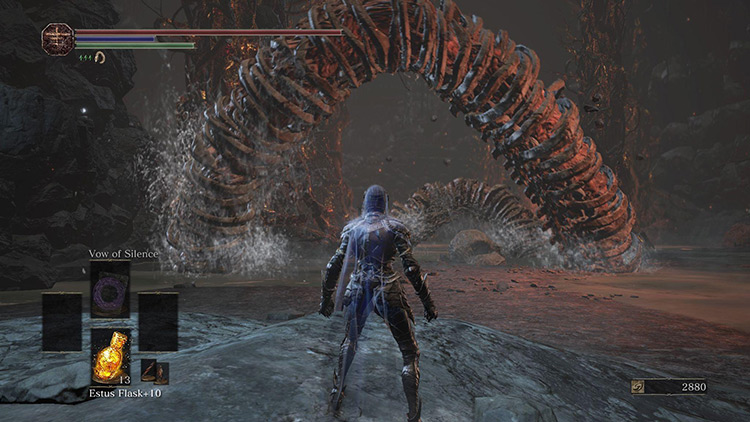
Once it’s emerged, step out into view of the ballista station that sits on the cliff on the far side of the lake.
Once you do this, the ballista will attempt to shoot you, striking the Sandworm as it does.
It’ll take around 10 shots to kill the Sandworm, at which point it will evaporate and grant you an Undead Bone Shard for your trouble.
With the Sandworm dead, you can simply use the burned trees to avoid the ballista bolts, then collect the Shield of Want between the flurries of shots.
