The Best Espers in Final Fantasy XII TZA (All Ranked)
This post may contain affiliate links. If you buy something we may get a small commission at no extra cost to you. (Learn more).
A common trait of any Final Fantasy game is the ability to summon powerful creatures to aid you in combat.
FFXII is no exception.
If you work hard enough to capture them all, you’ll become the High Summoner. And with Zodiark itself by your side, you’ll have achieved full power.
So let’s check out some of the best espers you can get in FFXII, along with why they’re so great (and how to get each one).
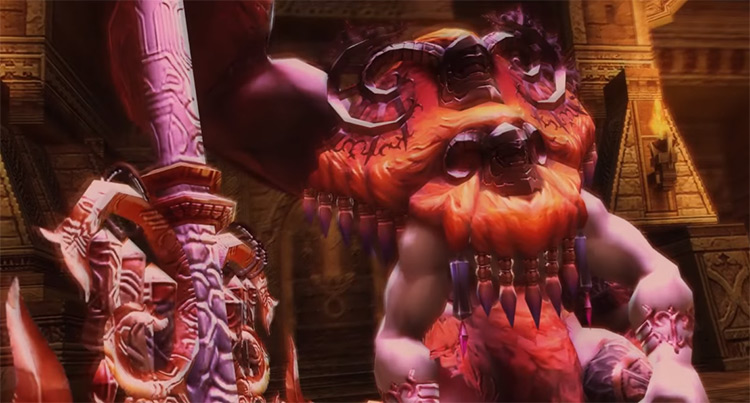
13. Belias, the Gigas
Some may call Belias the “tutorial esper”, as it’s the first Esper you encounter in the game.
Although certainly the weakest of the bunch, Belias is a great entry summon that will help you progress from an early point.
Belias is very similar to Ifrit from the rest of the Final Fantasy series. So don’t attack him with fire-based magick or it’ll just heal him.
The best option for unlocking Belias on the license board is with the Bushi job, which unlocks the Libra technick. Libra allows you to see traps as well as enemy HP and status (very helpful).
Optional: No How to get: Belias is found in the Tomb of King Raithwall in the Cloister of Flame area.
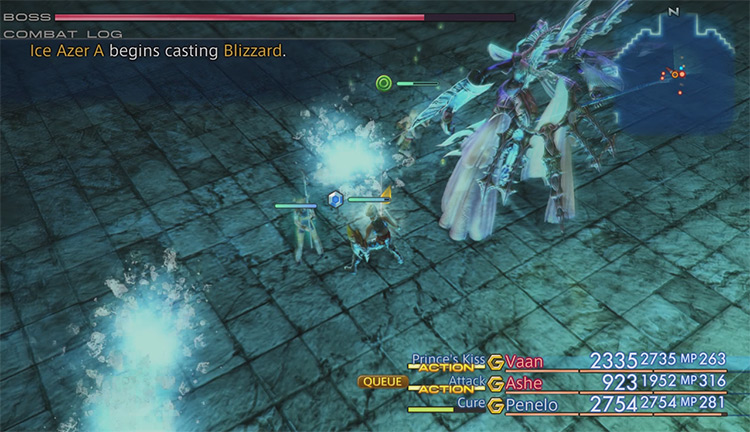
12. Mateus, the Corrupt
Mateus is quite a bit stronger than Belias, yet still a relatively weak Esper overall.
It’s also a story-based Esper that you fight along the course of a regular playthrough of the game.
And Mateus has a few interesting abilities that make him a viable aid.
Specifically, casting Ice attacks at enemies, as well as healing the summoner.
As for the license board, the best option here is on the Knight job in order to unlock White Magick 6 and 7 – including Curaga and Esuna.
Optional: No How to get: Encountered in the Hall of Worth area of Stilshrine of Miriam.
11. Adrammelech, the Wroth
The first optional Esper on our list here is Adrammelech.
This can easily be a mistaken encounter way too early in the game, which will most likely destroy your party.
Take care if you enter Zertinan Caverns early in the game.
But Adrammelech isn’t a difficult Esper to acquire if you’re geared well enough and high enough level.
Just look out for the Stop effect that can burn precious seconds during the fight.
When summoned, Adrammelech uses various lightning attacks against enemies. It’s also weak to Ice, but immune to the other elements.
Optional: Yes How to get: Encountered in the Zertinan Caverns.
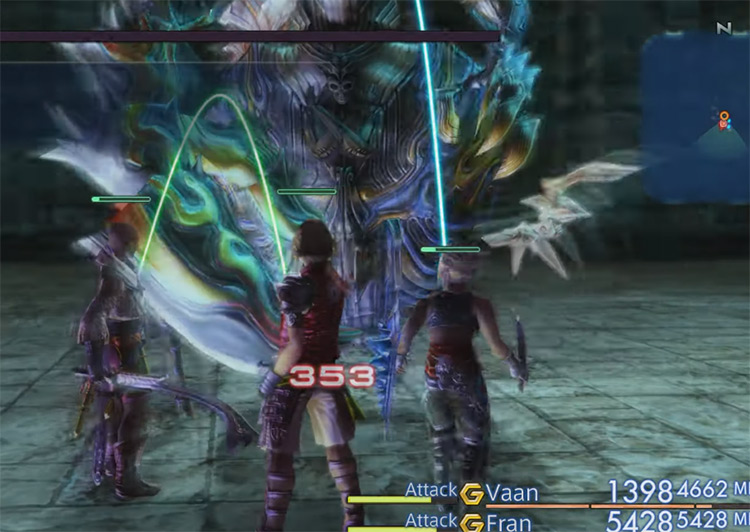
10. Cúchulainn, the Impure
Cúchulainn is a pretty strong Esper when it comes to damage over time.
His Blight and Malaise abilities are a great combination for consistent damage output.
Plus this Esper takes half damage from all elemental attacks against it. This makes the fight to acquire it a bit difficult.
Focusing on healing and keeping the party topped off is critical.
For license unlocks, the Red Battlemage can get Black Magick 9 and 10, which has the main high-power black magick attacks, including Firaga and Blizzaga.
Optional: Yes How to get: Encountered in the Garamsythe Waterway after having completed Hunts 4 and 6, Wraith and White Mousse respectively.
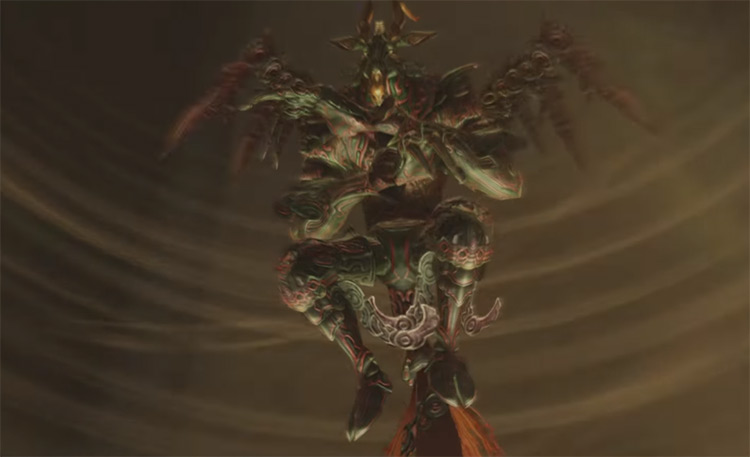
9. Hashmal, Bringer of Order
Hashmal is encountered through the main story.
He’s fairly easy to acquire, and very powerful in a fight.
And in the fight against him, here’s a tip: use Float on your party to counter Quakeja.
When summoned, his standard attack is a single target Earth-based attack. His ultimate attack, Gaia’s Wrath, does massive damage to all enemies in range.
The best option for the license board is to unlock with the Knight, which provides Faith and Bravery. You can also unlock with the Monk job to access White Magick 4 (Cura and Raise).
Optional: No How to get: Encountered on 90F of the Third Ascent area of Pharos at Ridorana.
8. Famfrit, the Darkening Cloud
Famfrit is acquired through the main story and fights alongside Dr. Cid after the Hashmal fight.
The fight is pretty straightforward without many tricks, so it should go over just fine.
Similar to Hashmal, Famfrit does two powerful attacks – however they’re Water-type attacks.
The first is single target, and the ultimate attack is multi-target.
For the license board, I’d say the absolute best option is to unlock Famfrit with the Machinist. This gives you access to Time Magick 8, 9, and 10, including the Reflectga, Slowga, and Hastega spells.
Optional: No How to get: Received after defeating Dr. Cid and Famfrit at the top of Pharos at Ridorana.
7. Zalera, the Death Seraph
This Esper can be a very frustrating fight to acquire.
There’s a tricky attack that will instantly KO any of your party members. It’ll also summon minions to attack you.
And if that’s not enough, you have to do it all in five minutes or less.
Good luck!
When summoned, Zalera is a beast on your side. It’ll use the Kill ability which instantly kills your enemies unless they’re immune, such as bosses.
Its Condemnation attack also instantly kills enemies with less than 9,999 HP.
Depending on your build, the Bushi might be the best benefit for license unlocking with Zalera. This makes Blood Sword and Karkata available to use.
Optional: Yes How to get: Encountered in the Barheim Passage after you’ve advanced to the Ozmone Plain in your playthrough. You’ll have to acquire a Barheim Key to access this Esper through the Desert Patient side quest in South Bank Village.
6. Exodus, the Judge-Sal
Exodus can be extremely powerful, or extremely useless in a fight.
It’s also not very easy to locate (details below).
And it uses some typical Black Mage attacks during the fight, so make sure to Shell up.
Exodus will attack with Comet when summoned, which does between zero and Exodus’ max HP in damage. Yes, it can do zero damage if you’re unlucky.
Its ultimate attack (Meteor) is the same as Comet, but multi-target.
For license unlocks, your best bet is Red Battlemage which unlocks Heavy Armor 8, 9, and 10. There are a few other jobs that have interesting unlocks as well, including Foebreaker for Magick Lore, and Machinist for Green Magick 1.
Optional: Yes How to get: You’ll need to activate the various Shrines of Wind in the Mosphoran Highwaste to reach Exodus. You’ll also need Gysahl Greens as well for part of the path. Keep activating the wind shrines and you’ll end up encountering Exodus at the end of the line.
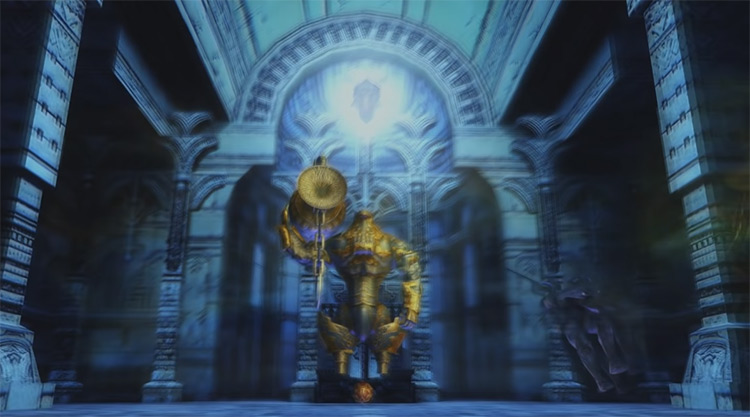
5. Shemhazai, the Whisperer
Shemhazai is encountered through the main story in your playthrough.
It’s not a very difficult fight, but the resulting Esper you gain is quite powerful.
Keep Serums on hand to cleanse Disease for this battle.
Shemhazai actually has very interesting abilities when summoned, too.
Its Devour Soul attack works the same as the Knot of Rust, which deals damage equal to Shemhazai’s max HP divided by a random number between 1 and 10.
Yet the more interesting attack is Soul Purge.
This attack sums all the Knot of Rust and Devour Soul damage, and divides it by 3 for the final damage result.
Soul Purge can do massive damage to multiple enemies very fast. It is, however, reset back to zero after each use. Meaning you’ll need to use Devour Soul and Knot of Rust to build it back up again.
Optional: No How to get: Encountered in the Gate of Wind area of Ancient City of Giruvegan, after leaving the Great Crystal.
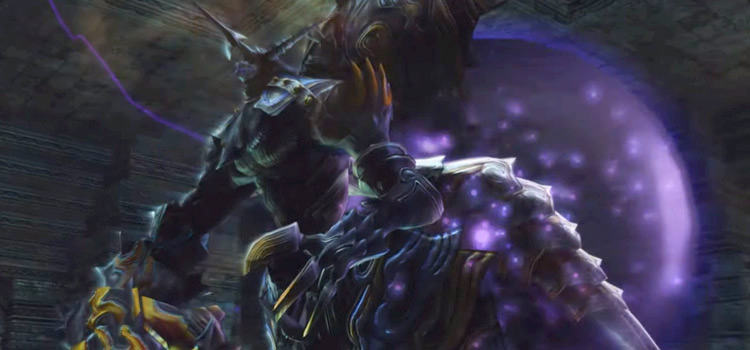
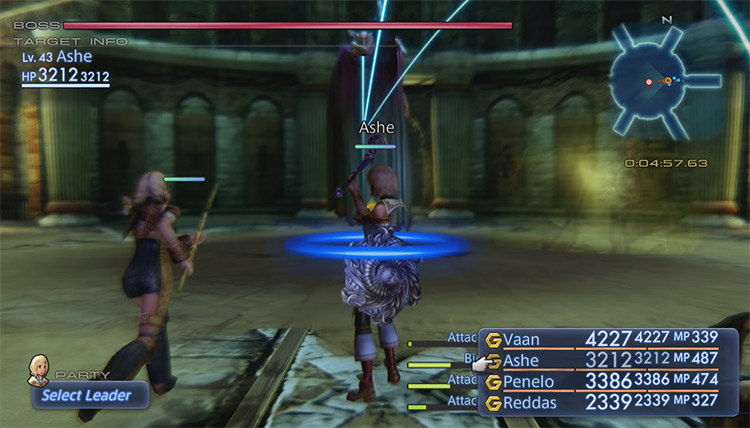
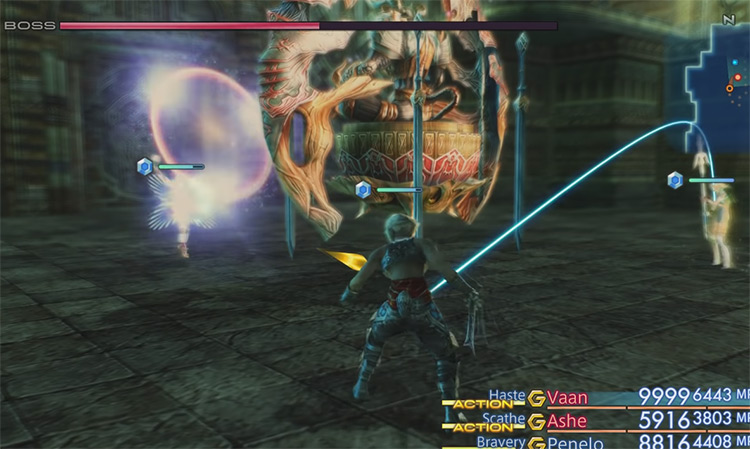
4. Zeromus, the Condemner
Zeromus is the start of the most interesting and difficult to acquire Espers in the game.
But the benefit is definitely worth the struggle to get this summon.
The Zeromus encounter is made much more difficult than a lot of other fights, just due to Zeromus preventing Magick spells throughout.
Yes, that includes Protect, Shell, etc… so make sure to buff the party prior to entering the fight.
Focusing on using items instead of Magick for healing is a strong tactic. You’ll also want to use accessories and gear that helps bridge the gap you’ll have without spellcasting.
Once you get him, summoning Zeromus can have incredible results. His main attack is Gravity Well, which does damage equal to his max HP subtracted from his current HP, then multiplied by two.
His ultimate attack is Big Bang, which is the same as Gravity Well, except multiplied by 5 – and it hits all enemies. So yeah, there’s a lot of damage to dish out.
Optional: Yes How to get: You’ll need to get the Stone of the Condemner from an Acolyte at the top of Mt. Bur-Omisace. Then you can encounter Zeromus in the Stilshrine of Miriam.
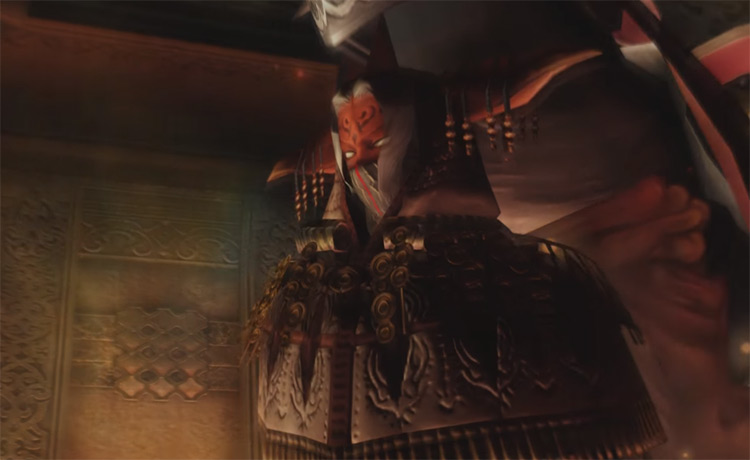
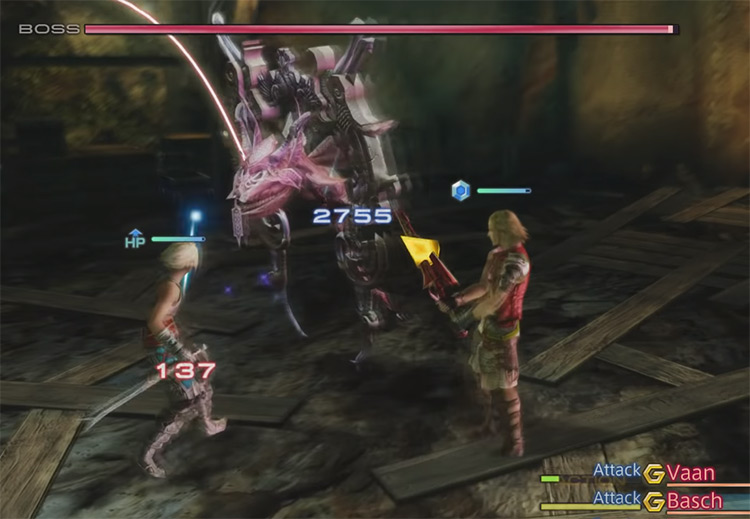
3. Chaos, Walker of the Wheel
Chaos is one of the most difficult Espers to obtain, mostly due to the length of the quest to even encounter him.
And in the fight, he’ll prevent your party from using the Attack command. So you’ll have to focus on Magick, Technicks, Quickenings, and other Espers.
When summoned, his attacks are quite varied. But the main attacks he’ll use are Whirlwind and Tornado.
Whirlwind does half your target’s max HP in damage. Which is already pretty crazy.
Tornado does 90% of each target’s max HP in damage.
Chaos really packs a punch!
For the license board, Monk can get White Magick 11 and 12, which include Esunaga and Shellga. Or Uhlan can unlock Black Magick 6 and 7, including Blindga and Silencega.
Optional: Yes How to get: Find the Three Medallions and defeat bosses in the Necrohol of Nabudis to unlock Chaos’ chamber.
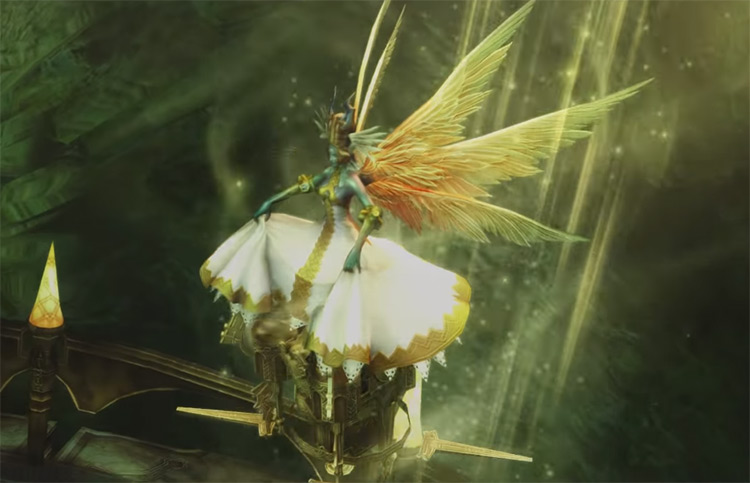
2. Ultima, the High Seraph
It should come as no surprise that Ultima is easily this high up in our list.
She can be very tedious and difficult to reach, and then even harder to defeat. But it will be worth it in the end to acquire this Esper for summoning.
When you actually fight her, you’ll notice that you take damage each time you damage Ultima. So keep your buffs up and healing on point to make it through this one.
A handy tip is to equip your party with White Masks to absorb Holy-type damage, as well as the Sage’s Ring.
Make sure to not do any Holy-type damage to Ultima, either.
There are serious effects going on shortly into this fight, including HP drain on your entire party, preventing Attack or Magick command, slowing time, or preventing Item use. You’ll definitely need to pay attention to the combat log to Dispel as needed, and watch out for Reflectga casts.
The first thing you’ll want to do after getting this Esper is summon her!
Ultima has great passive abilities and permanent buffs, but also does amazing damage.
Flare, Redemption, and Eschaton are her main attacks.
Redemption is a single target Holy attack, while Eschaton does massive Holy damage to all enemies in range.
Optional: Yes How to get: Encountered at the end of the Great Crystal after a long confusing journey without a minimap.
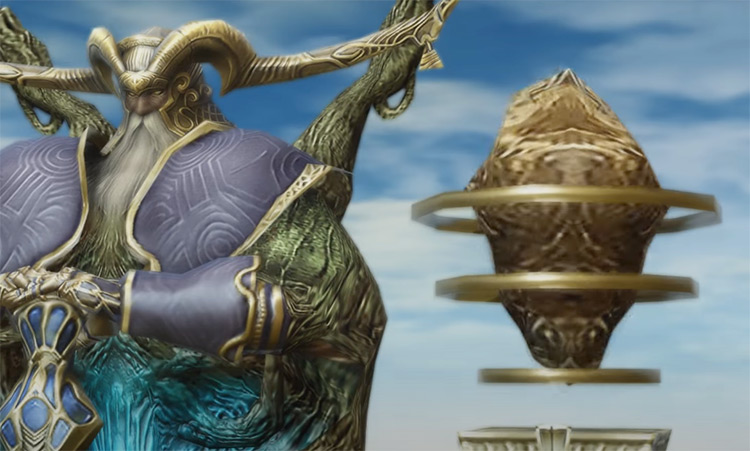
1. Zodiark, Keeper of Precepts
The most powerful of all Espers in Ivalice.
Zodiark is not an easy fight – at all.
But for the High Summoner, this optional Esper is an absolute necessity.
Just prepare for a long and difficult fight, as well as powerful encounters leading up to it.
Ribbons are the most important accessory for this fight by far. You need to prevent as many negative status effects as possible. Any ultimate weapons would help greatly too.
Grind all your characters up to high levels and gear them all out before this fight – or it’s likely you won’t succeed.
And in the fight, watch out for the Darkja attack from Zodiark. It can instantly KO your characters with very little you can do to prevent it.
Stay buffed as much as possible, and don’t be surprised if this fight takes a long time (and several attempts) to complete.
When summoned, Zodiark uses Banish Ray to deal 9,999 damage to all enemies.
It also has Final Eclipse, which deals 50,000 damage.
I hope you can see why Zodiark is clearly the most powerful Esper in the game.
As for license board unlocks, there are a lot of great options.
Archer can unlock 1000 Needles. Bushi can unlock Heavy Armor 9, 10, and 11. Red Battlemage can unlock Greatswords 4, which includes Ragnarok. And Time Battlemage can unlock Durandal and Simha, two great weapons.
Optional: Yes How to get: Located in the Henne Mines, however, it’s blocked off until you have at least 10 other Espers.


")
")
")
")


")