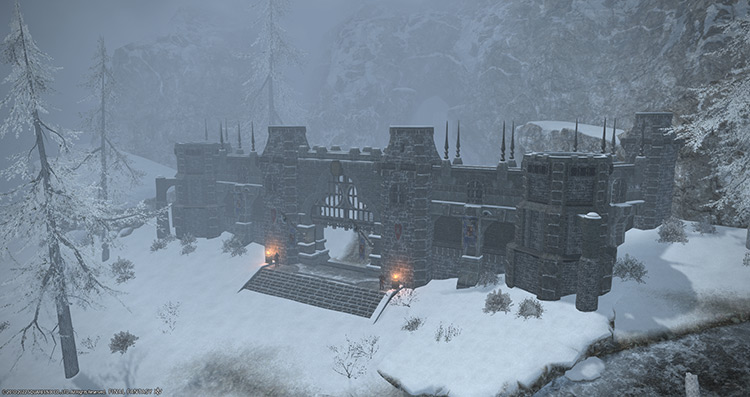
You can unlock the optional Level 44 Normal-difficulty dungeon Dzemael Darkhold in two ways:
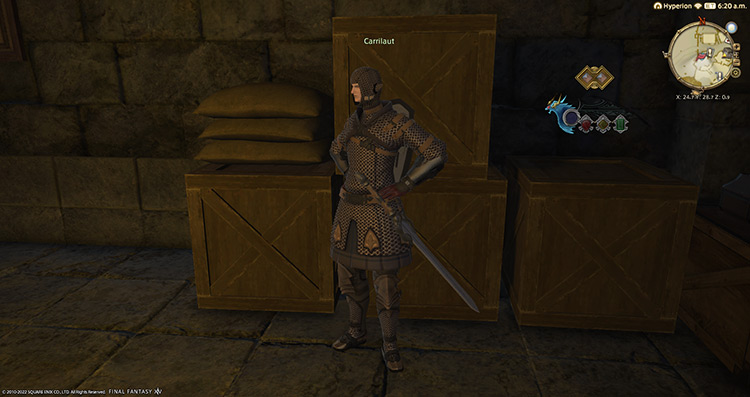
- Accept the quest “Fort of Fear” from Carrilaut in Coerthas Central Highlands (X:24.7, Y:28.8).
- Accept the quest “Shadows Uncast” from your respective Grand Company Commander after reaching the Sergeant First Class rank.
Either quest will unlock the dungeon. Alternatively, you can accept both quests and have them up at the same time to double your rewards. Let’s go through each quest below:
Unlock Option #1: Fort of Fear
“Fort of Fear” is the primary quest for unlocking Dzemael Darkhold.
This quest only requires you to reach Level 44 with a Disciple of War or Magic job to unlock the dungeon. If you’re still working on getting your first Level 44 job, you can do a mixture of the following to gain experience quickly:
- Main Scenario Quests (MSQs)
- Dungeons
- Full Time Active Events (FATEs)
- Hunting Logs
- Sidequests
Once you’ve reached the required level, teleport to Camp Dragonhead in Coerthas Central Highlands and talk to Carrilaut (X:24.7, Y:28.8) to accept the quest.
In “Fort of Fear,” you’ll learn about the unfinished home of House Dzemael and the voidsents that have taken over it.
Being the eager adventurer that you are, you accept Carrilaut’s challenge to rid the keep of the voidsent. Completing the dungeon with this quest active will give you 5830 experience points and 1729 Gil.
Unlock Option #2: Shadows Uncast

“Shadows Uncast” is the secondary way of unlocking the dungeon, in case you haven’t discovered and accepted “Fort of Fear.”
This quest requires you to have a Level 44 Disciple of War or Magic job and attain the rank “Sergeant First Class” in your Grand Company. “Sergeant First Class” requires a total of 27000 Grand Company Seals to attain after unlocking your chosen Grand Company.
After getting both requirements, head to your respective Grand Company Commander NPCs and accept the quest.
- Maelstrom: R’ashaht Rhiki in Limsa Lominsa Upper Decks (X:13.1, Y:12.8)
- Twin Adder: Vorsaile Heuloix in New Gridania (X:9.7, Y:11.1)
- Immortal Flames: Swift in Ul’dah – Steps of Nald (X:8.4, Y:8.9)
Similar to the story in “Fort of Fear,” your commander will inform you about the voidsents that have taken over House Dzemael’s keep.
You’ll be selected to lead the extermination force on behalf of your Grand Company. Completing the dungeon with this quest active will give you 5830 experience points and 1265 Grand Company Seals.
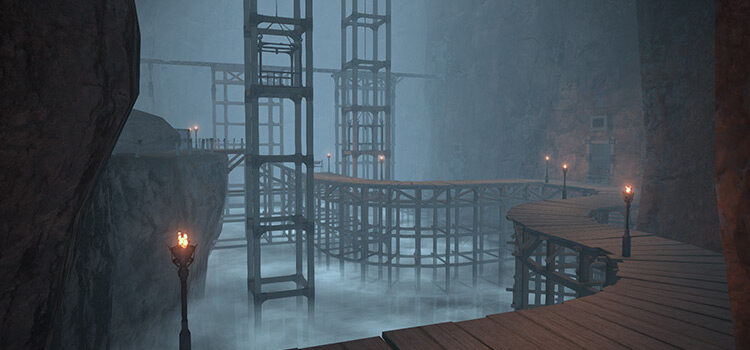
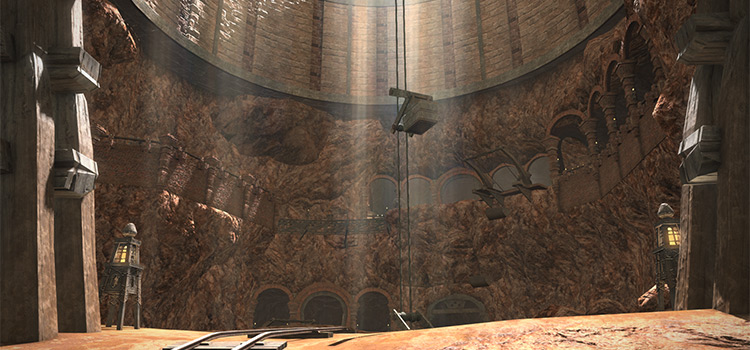
Journeying through the Keep
To enter Dzemael Darkhold, you’ll need to queue through the Duty Finder with at least a Level 44 Disciple of War or Magic.
This dungeon can be easily soloed if you have a high-level character and queue the dungeon unsynced.
However, you may encounter this dungeon if you queue for Duty Roulette: Leveling, and you’ll have to do it while synced. Before we check out each boss, here are some things to remember while going through the dungeon:
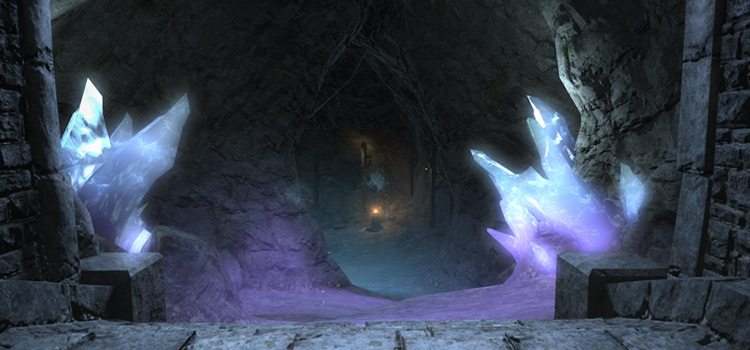
- During the first set of mobs, drag them within the glowing crystals’ range to mitigate the All-Seeing Eye’s non-telegraphed AoEs. If you have the buff “Crystal Veil,” you’re within the crystal’s range.
- The roaming All-Seeing Eye is invulnerable until you reach The Grand Hall, so focus on the mobs instead.
- Stand on the blue Magitek circles to unlock doors. The countdown goes off faster if more players stand in the circle.
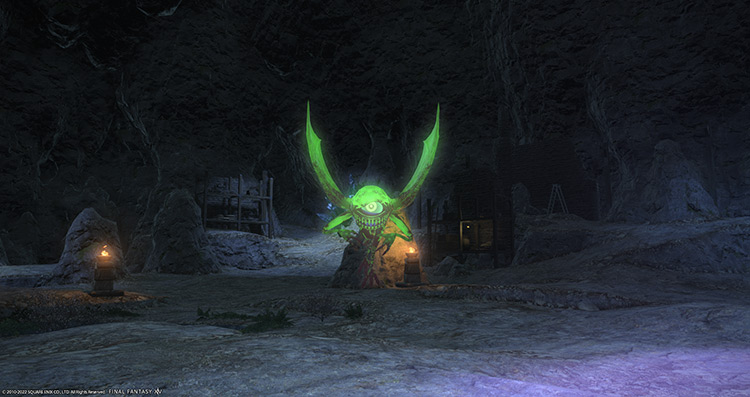
Boss #1: All-Seeing Eye
Mechanics:
The boss will always be invulnerable unless it’s dragged directly inside a glowing crystal’s zone.
- Cursed Gaze: A frontal cone AoE that inflicts a 30-second “Amnesia” debuff, making affected players unable to use any abilities.
- Dread Gaze: Another frontal cone AoE that inflicts a 30-second “Paralysis” debuff, interrupting affected players every three seconds.
- Eyes on Me: A large, non-telegraphed AoE that deals a ton of damage. This attack can be mitigated by standing near the glowing crystals to get the “Crystal Veil” buff. This buff reduces the AoE’s damage by 90%.
- Mouche Volante: The boss will summon four of these mobs to take up space inside the glowing crystal’s zone and throw out some AoEs. Burn them down as soon as possible.
- Thunderstrike (Mouche Volante): A frontal cone AoE. No debuffs on these AoEs, but they will make it harder to move around inside the limited zone.
- Amanuensis: Two of these mobs can be summoned alongside “Mouche Volante” mobs for the same purpose. Prioritize killing these mobs.
- Condemnation (Amanuensis): These frontal cone AoEs will knock players back upon hit. These AoEs can be very dangerous if a player is knocked out of the glowing crystal’s zone and the boss uses “Eyes on Me.”
Boss Rewards
| Name | Type | Rarity |
|---|---|---|
| Coliseum Galerus | Body | Dungeon (Green) |
| Coliseum Shawl | Body | Dungeon (Green) |
| The Book of Dzemael | Book | Dungeon (Green) |
| Dzemael Longbow | Bow | Dungeon (Green) |
| Dzemael Whispering Rod | Cane | Dungeon (Green) |
| Dzemael Pugiones | Daggers | Dungeon (Green) |
| Dzemael Carbine | Firearms | Dungeon (Green) |
| Dzemael Jamadhars | Fist Weapon | Dungeon (Green) |
| Dzemael Bardiche | Greataxe | Dungeon (Green) |
| Dzemael Zweihander | Greatsword | Dungeon (Green) |
| Pince-nez | Head | Dungeon (Green) |
| Coliseum Loincloth | Legs | Dungeon (Green) |
| Coliseum Subligar | Legs | Dungeon (Green) |
| Dzemael Spear | Polearm | Dungeon (Green) |
| Scorpion Shield | Shield | Dungeon (Green) |
| Dzemael Staff | Staff | Dungeon (Green) |
| Dzemael Planisphere | Star Globe | Dungeon (Green) |
| Dzemael Winglet | Sword | Dungeon (Green) |
Boss #2: Taulurd
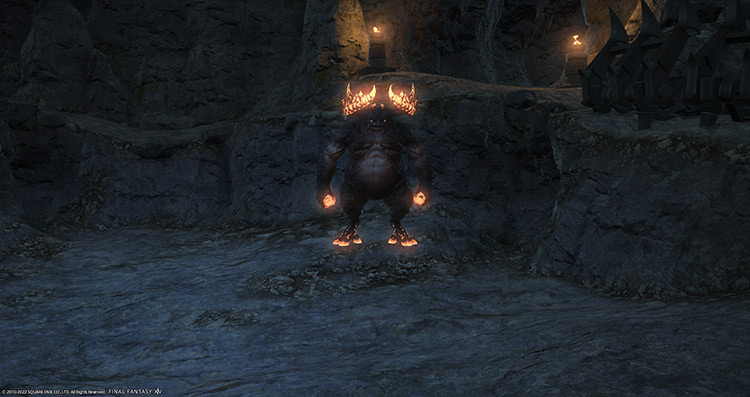
Mechanics:
- Double Smash: A heavy-hitting frontal cone AoE.
- Straight Punch: An instant, single-target attack that can knock players back.
- Deepvoid Slave: At 89% HP, the boss will call out multiple ogres to stand outside the arena and throw out attacks toward the group. These ogres can’t be targeted or hit, so just avoid their attacks.
- Boulderdash (Deepvoid Slave): A single-target attack on a random party member.
- Firewater (Deepvoid Slave): A random player will be targeted for ground AoEs. Move out as necessary.
- Hot Hands: The boss will buff itself with “Damage Up.”
- Elbow Drop: At under 50% HP, the boss will begin using a backward cone AoE toward a random player. This attack hits even harder than “Double Smash,” so avoid these as necessary.
Rewards
| Name | Type | Rarity |
|---|---|---|
| Buccaneer’s Shirt | Body | Dungeon (Green) |
| Harlequin’s Acton | Body | Dungeon (Green) |
| Sentinel’s Cuirass | Body | Dungeon (Green) |
| Templar’s Haubergeon | Body | Dungeon (Green) |
| Buccaneer’s Gloves | Hands | Dungeon (Green) |
| Harlequin’s Mitts | Hands | Dungeon (Green) |
| Sentinel’s Gauntlets | Hands | Dungeon (Green) |
| Templar’s Vambraces | Hands | Dungeon (Green) |
| Buccaneer’s Tricorne | Head | Dungeon (Green) |
| Harlequin’s Cap | Head | Dungeon (Green) |
| Sentinel’s Celata | Head | Dungeon (Green) |
| Templar’s Chain Coif | Head | Dungeon (Green) |
| Buccaneer’s Sarouel | Legs | Dungeon (Green) |
| Harlequin’s Tights | Legs | Dungeon (Green) |
| Sentinel’s Trousers | Legs | Dungeon (Green) |
| Templar’s Skirt | Legs | Dungeon (Green) |
Boss #3: Batraal
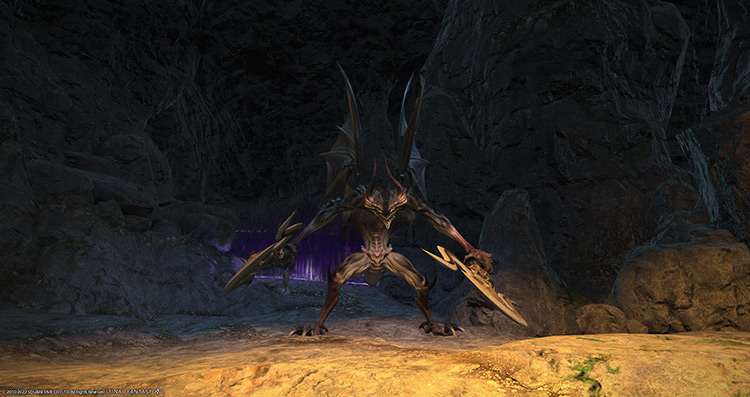
Mechanics:
- Grim Fate: A strong, single-target attack on the primary tank. The boss will use this attack often, so be prepared with mitigation and healing.
- Grim Cleaver: An instant ranged attack on a random player.
- Grim Halo: A non-telegraphed AoE around the boss. Stay away from the boss if you’re using a ranged or caster job to avoid unnecessary damage.
- Corrupted Crystal: In three instances throughout the fight, the boss will become invulnerable and tethered to a “Corrupted Crystal.” This crystal must be destroyed to remove the boss’ invulnerability.
- Desolation: A player will be marked with an orange circle. Then, the boss will fire three consecutive line AoEs toward the player. Bait the line AoEs away from the party, especially when dealing with “Corrupted Crystal.”
- Void Pitch: After the third “Corrupted Crystal” is destroyed, “Desolation” will also summon “Void Pitch” AoE puddles under three players that will stay on the ground for a few seconds. Move out of these puddles while dodging “Desolation” AoEs.
Rewards
- Ahriman Triple Triad Card (not guaranteed)
| Name | Type | Rarity |
|---|---|---|
| The Book of Dzemael | Book | Dungeon (Green) |
| Dzemael Longbow | Bow | Dungeon (Green) |
| Dzemael Whispering Rod | Cane | Dungeon (Green) |
| Dzemael Pugiones | Daggers | Dungeon (Green) |
| Buccaneer’s Boots | Feet | Dungeon (Green) |
| Harlequin’s Boots | Feet | Dungeon (Green) |
| Sentinel’s Sabatons | Feet | Dungeon (Green) |
| Templar’s Sollerets | Feet | Dungeon (Green) |
| Dzemael Carbine | Firearms | Dungeon (Green) |
| Dzemael Jamadhars | Fist Weapon | Dungeon (Green) |
| Dzemael Bardiche | Greataxe | Dungeon (Green) |
| Dzemael Zweihander | Greatsword | Dungeon (Green) |
| Dzemael Spear | Polearm | Dungeon (Green) |
| Scorpion Shield | Shield | Dungeon (Green) |
| Dzemael Staff | Staff | Dungeon (Green) |
| Dzemael Planisphere | Star Globe | Dungeon (Green) |
| Dzemael Winglet | Sword | Dungeon (Green) |
| The Darkhold Orchestrion Roll | Orchestrion Roll | Basic |
Extra Treasure Coffers
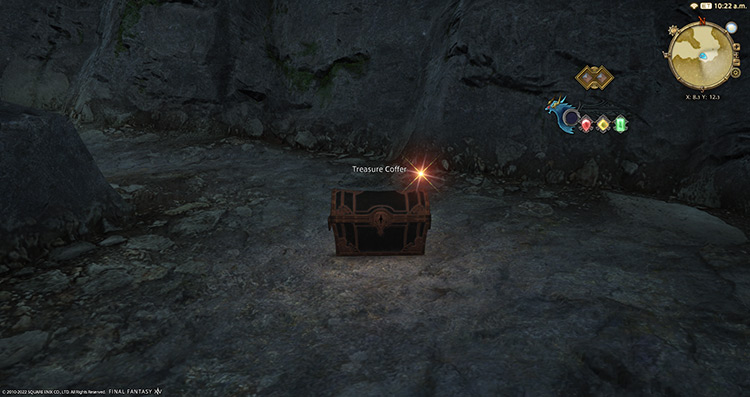
Apart from the boss rewards, there are three treasure coffers located throughout the dungeon that you can open for more gear rewards:
- (X: 12.8 Y: 13.7)
- (X: 6.7 Y: 12.0)
- (X: 8.4 Y: 12.3)
-
Final Fantasy XIV
- FFXIV Dzemael Darkhold: How To Unlock + Boss Guide
Related Posts:
 FFXIV Dohn Mheg: How To Unlock + Boss Guide
 FFXIV Copperbell Mines (Hard): How To Unlock + Boss Guide
 FFXIV The Qitana Ravel: Unlock + Boss Guide
 FFXIV Holminster Switch: How To Unlock + Boss Guide
 FFXIV Pharos Sirius (Normal): How To Unlock + Dungeon Guide
 FFXIV Malikah’s Well: How To Unlock + Dungeon Guide
 FFXIV Bardam’s Mettle: How To Unlock + Full Boss Guide
 FFXIV The Vault: How To Unlock + Boss Guide