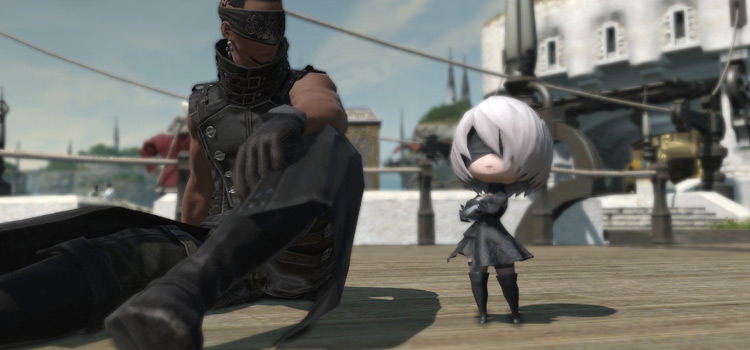
The 2b Automaton Minion is obtained as a drop from the Shadowbringers Raid “The Puppets’ Bunker”. Added in Patch 5.3, this is an optional Level 80 Alliance Raid.
It requires 24 Players with three Groups composed of one Tank, two Healers, and five DPS each. You can technically unsync this Raid with less people but that isn’t easy to do, even at Level 90.
The 2B and 2P Minions both drop at the end of the Raid after the final Boss.
And the drop rate is 100%, so every time you complete the Puppets’ Bunker, you can win a Minion. Simply roll and pray to RNG that your number is higher than your 23 fellow adventurers.
Unlocking The Raid
This is the second in the Nier series of Raids, designed by guest producer Yoko Taro. Since they’re optional, you may not have them unlocked if you started recently or began playing in Endwalker.
They’re actually hidden behind a large number of sidequests in the Kholusia region. If you’re not a completionist you may have skipped over them entirely!
But first and foremost, you’ll need to have completed the Shadowbringers Main Scenario Quest “Meet the Tholls”. This Level 78 Quest will have you reach Tomra, the Dwarf settlement, and become acquainted with them.
The beginning Quest for the YorHa: Dark Apocalypse series begins with the Gossipy Dwarf (Kholusia – Tomra, X:13 Y:9). They’ll give you the Quest “A Scandal in Komra” which is a secondary Dwarf settlement far to the Southeast.
The Dwarven Settlement of Komra, where the Dwarves have dug up something peculiar.
There you’ll be directed to the Dig Site and introduced to Anogg and Konogg.
After uncovering an Automaton Core and some more dialogue, you’ll finish up this Quest.
The next step is to accept and complete “A Scandal in Komra”. Added in Patch 5.1, you’ll need to head back to the Gossipy Dwarf in Tomra.
After some investigations and doubting the veracity of the watch’s claims, you’ll finish this step. The next Quest “On the Threshold” will be available from the Dig Site Chief (Kholusia – Komra, X:35 Y:18).
This Quest will unlock the first Alliance Raid of the YorHa Dark Apocalypse series – The Copied Factory.
Plug it into your Duty Finder, and tackle some familiar machines from the Nier series.
The next step is actually a branching choice: you can choose to agree with either Anogg or Konogg.
From “An Academic Dispute” the two Quests are:
Tails, You Lose – This Quest has you venturing forth with Anogg, deciding to throw caution to the wind.
Heads, I Win – This Quest has you siding with Konogg, deciding that a cautious approach is the better option.
The Quests largely play out the same regardless of who you choose, apart from some of the plot points later. Don’t stress too much over who to side with, the rewards in the end are the same.
Both of these Quests will lead you to the next in the series: “Carnivals and Confrontations”.
This extremely short step just has you speaking with Anogg.
Shortly thereafter you’ll be off to procure Knocker Parts for “One Way to Do It”.
“We can Rebuild Her” follows next, where you’ll finally have repaired the 2P Android.
This in turn leads you to the final Quest you’ll need “Everything You Know is Wrong” and unlock The Puppets’ Bunker.
That’s right, after all of this work you’ll finally be ready to delve into the Raid and start grinding for your 2B Automaton Minion!
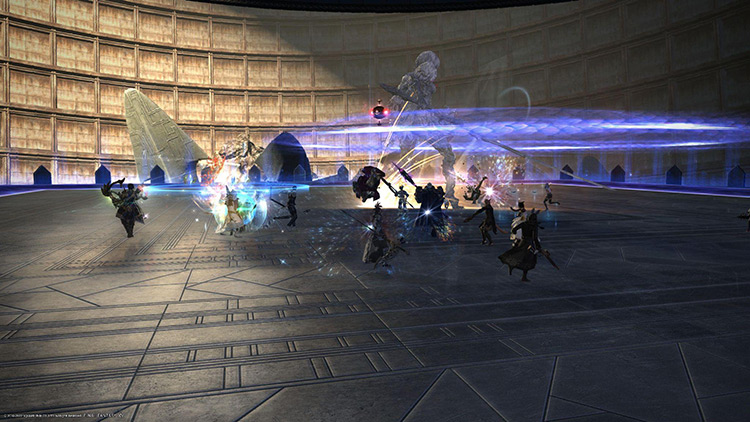
Pulling The Strings Of The Puppets’ Bunker
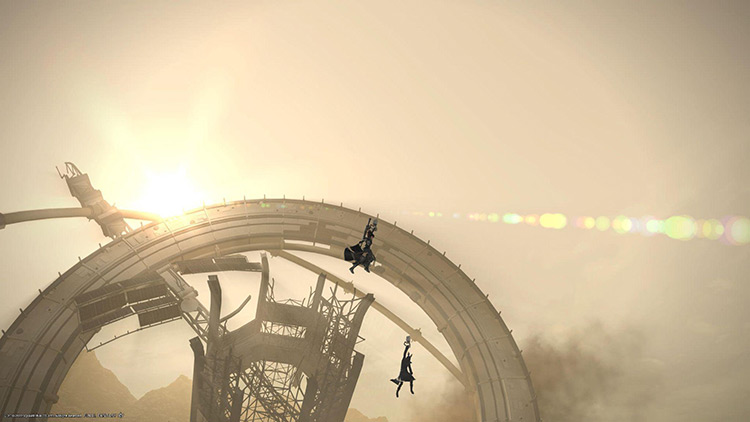
A handy Pod helps you traverse the massive structure in Kholusia.
Yoko Taro was the guest producer for the Nier Raid series. He’s on record stating that he wanted to make it as unforgiving as possible.
This can be somewhat true, because even today new players struggle with it.
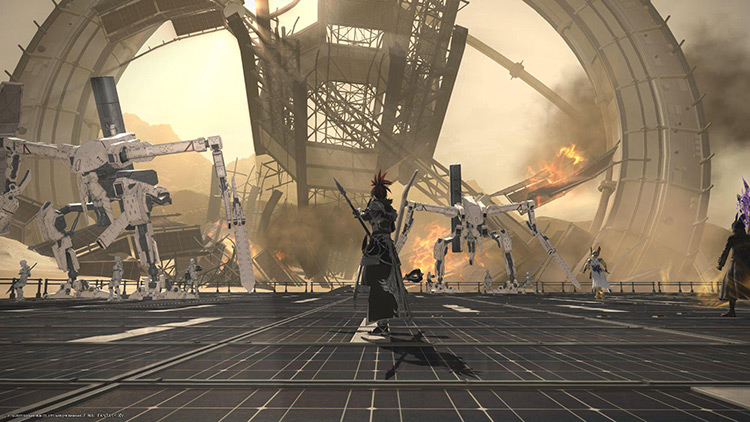
True to fashion, it contains all the things that Nier would: lasers, giant robots, excessive explosions, pods, and sneaky mechanics. The good news is you’ll know exactly how to resolve all of these mechanics before stepping foot inside!
813P-operated Aegis Unit
The arena itself has no edge, meaning you can fall off. So try not to run off the platform.
Anti-personnel Laser – A Tankbuster which has a small AOE. They’ll need to stand away from the Party and mitigate as necessary.
Beam Cannons – Several Cone AOEs will begin moving across the platform, overlapping. You’ll need to check which are moving faster than the others, as they’ll pass and create a triangular safe spot to avoid damage. If hit you’ll receive massive damage and be knocked back, likely off the platform.
Collider Cannons – Six conal AOEs will rotate around the Aegis at high speed, before eventually stopping and firing. It’s easiest to dodge this close to the Boss where the cones aren’t as wide. Try to run against the rotation to make the dodge easier.
Surface Laser – One of your Party will be marked with a red arrow, and after a brief delay will be targeted with a repeating AOE. Bait this away and then move out, as it damages you for every second inside.
Swoop – Three random Players will be targeted by Flight Units. After a brief delay, they’ll charge across the platform causing massive damage and knockback. Bait these away and then move out.
Refraction Cannons – The Wings of the Aegis Unit will fold, revealing cannons either to the left or right. Get right next to the “flat” side of the wing to avoid a conal AOE. It isn’t telegraphed any other way.
Diffusion Cannon – Raid-wide AOE, mitigate and heal as necessary.
Bombardment – Three targetable Flight Units will appear on the platform. Each Party will need to destroy their Add, or it’ll cause massive damage – likely wiping the Raid.
High-powered Laser – Party stack AOE. Mitigate and heal as necessary.
Life’s Last Song – Several golden rings will begin emanating from the Aegis Unit. Stand between where the rings have a gap. These will be fired in succession so keep moving.
These machines have a raid-wide paralysis attack which can be interrupted!
Superior Flight Units 724P A – 767P B – 772P
Apply Shield Protocol – Will inflict the Shield Protocol debuff, tethering you to a specific Flight Unit. Until that Unit is defeated, you’ll be unable to damage the other two in the arena.
Missile Command – Series of three large targeted AOEs on three random Players in your Party. Bait away and avoid.
Incendiary Bombing – Two Players in your Party will be targeted with red markers. These will leave behind large fire puddles, which inflict a heavy burn if you stand in them. Bait these far away from your Party!
High-powered Laser – A Line stack AOE which inflicts a short Magic Vulnerability debuff. Aim these away from other Parties in the Arena, as two hits will kill anyone.
Precision Guided Missile – Tankbuster, mitigate and heal as necessary.
Sharp Turn – The Flight Units will face the center of the arena. If your Unit is holding its sword in its right hand, then the middle of the arena is safe. If it is in its left hand, then the outside of the arena is safe.
Air Raid – All Units dash towards the center of the arena and begin firing off large targeted AOEs.
Sliding Swipe – The Flight Units will line up on one side of the arena. Follow them to the wall and look to see which sides their swords are on. They’ll each dash in sequence and you’ll need to doge left or right.
High-order Explosive Blast – Players will be targeted with star-shaped AOEs. After the land, they’ll fire out several line AOEs. Bait these away from your Party.
This Unit utilizes multiple Pods to assault the Alliance.
905P-operated Heavy Artillery Unit
Volt Array – Heavy raid-wide AOE. Sometimes cast in succession. Mitigate and heal as necessary.
Active Laser Turret – The boss will tether to the center machine, causing cannons to appear. The bottom cannons fire a straight conal AOE while the top cannons fire shorter cones in sequence. Stand on the edge of the arena in front of the top cannons, then dodge into the low cannons when they stop firing.
High-powered Laser – A large line-based Tankbuster which targets the two off-tanks. Do not stand near them.
Unconventional Voltage – Four Players get targeted with cones which will track you. Avoid overlapping them as two will likely kill you.
Energy Bombardment – Several sets of AOEs will target random Players. Bait them and move away to avoid damage.
Impact Crusher – The Boss will jump three times to random locations for AOE damage.
Revolving Laser – Cast immediately following Impact Crusher, be inside the Boss’s hitbox to avoid damage.
Suppressive Unit – Cannons will fire floating orbs into the arena. Avoid these as they inflict damage and Vulnerability Up.
Support: Pod – Will perform a variety of attacks with different possible safezones.
R010 Pods will fire a line towards the center of the arena.
R030 Pods will cause large circular AOE explosions
For F030 Pods there are two possible dodges. If all Pods have the same numbers, then between any two of them is safe. If there are both 010 and 030 Pods present, you must stand between two 010 Pods.
Synthesize Compound – Several circles will appear around the arena. Each requires a minimum of three Players to stand in them or they’ll explode for large raid-wide damage.
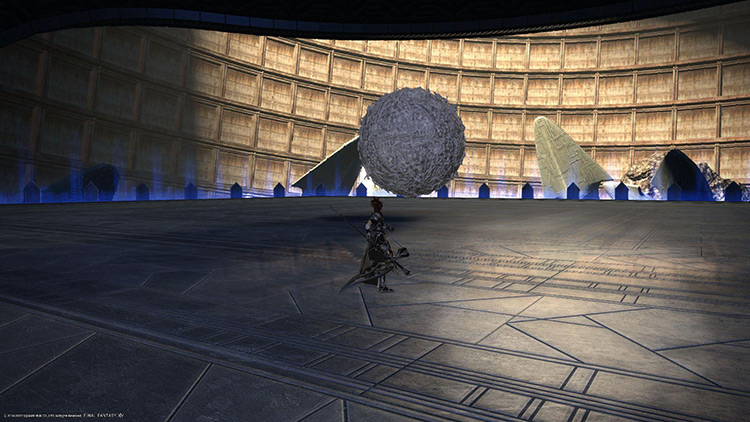
A large orb consisted of cast-off automatons.
The Compound & Compound 2P
Mechanical Laceration – Raidwide damage
Mechanical Dissection – A line AOE, indicated by a vertically rotating laser from The Compound
Mechanical Decapitation – A ring-shaped AOE.Directly inside the Boss’s hitbox is safe
Mechanical Contusion – A series of several targeted AOEs on 12 Players
Mechanical Cleave – The Compound will duplicate and place itself on two sides of the arena. Align yourself directly where they will intersect to avoid damage
After it’s defeated, you’ll be stunned and the second phase of the fight will begin.
Phase 2 Strategy
It wasn’t even 2P’s final form, apparently.
Centrifugal Slice – Raid-wide damage.
Prime Blade – Compound 2P performs one of three different attacks.
If her Blade is in the ground means her hitbox is safe.
If her Blade is above her head it’ll be a cone in whatever direction she’s facing.
If she holds her Blade off to her side it’ll be a large AOE from her hitbox, and you’ll need to run out to avoid damage.
Relentless Spiral – A series of large AOEs will appear beneath Players.
Forced Transport – Will move whichever mechanic she is executing to a new location. The movement is indicated by energy pulses on the ground.
Three Parts Disdain – A series of three Party stack AOEs with a small knockback.
Four Parts Resolve – Four players get numbered 1-4. She’ll jump to the odd numbers and fire line AOEs at the even numbers.
Energy Compression – Large circles will appear that require one Player to stand in them. If not, they’ll explode for large raid-wide damage.
Pod R011 – Pods will appear along the outside of the arena and fire line AOEs. Stand between the two sides where no Pods intersect.
So after all of that, you’re rewarded with a chance at your 2B Automaton Minion.
All you need to do is win the loot roll and it’s yours!
Luckily, players who’ve already acquired it can’t win it again so you have pretty decent odds.
Judah has been going hard at RPGs for nearing 25 years. From the honest days of the Sega Genesis to the current generation, their lust for experience points is all-consuming. They've been battling the forces of evil in both Vana'diel and Eorzea ceaselessly since those worlds were created, making them an expert on all things Final Fantasy XI & XIV. When not taking long walks on the beaches of Costa del Sol, a real one works just fine. Also loves dogs.

")
")


")

")