You can get the Starbird minion by completing the four-person dungeon “The Dead Ends” and winning the loot from the final treasure coffer of the dungeon. However, the minion is not a guaranteed drop, so you may need to run the dungeon a few times to have a chance at getting the minion.
To unlock the dungeon, you must first accept the Main Scenario Quest (MSQ) “Endwalker” from Alphinaud in Ultima Thule (X:21.5, Y:21.5)
This quest is part of the Main Scenario questline for patch 6.0, so you need to finish every MSQ leading up to “Endwalker” before you can unlock the dungeon. To enter the dungeon, you’ll need at least an average item level of 540 and a level 90 Disciple of War or Magic job.
Once you unlock the dungeon, you can access it in three ways:
Duty Finder
Duty Support
Trust
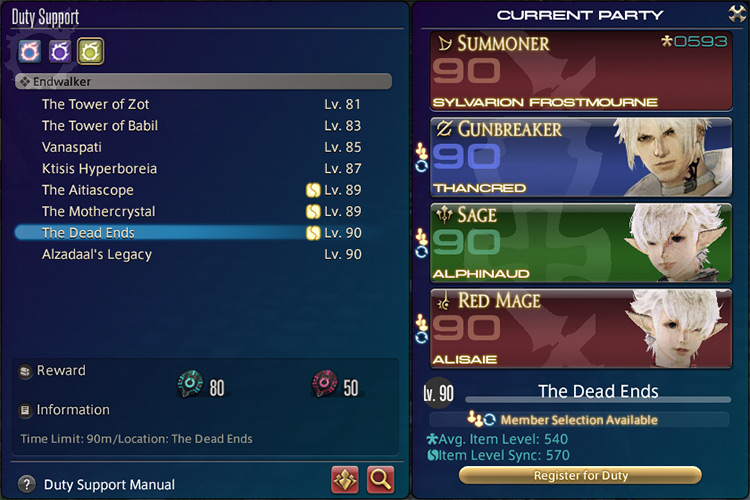
The best method for farming the dungeon is to use Duty Support. To access Duty Support, select the Duty submenu and select Duty Support.
Duty Support menu screenshot
Duty Support guarantees that you’ll win the minion from the final treasure coffer if it drops because you don’t have to share the loot with anyone else.
While Duty Finder may be faster in clearing the dungeon, you’ll need to wait for the queue, and it can’t guarantee that you’ll win the minion if it drops.
Using the Trust system can work similarly to Duty Support, but if you don’t have the characters leveled up to 90, you won’t be able to access the dungeon.
Once you’re in the dungeon, you’ll need to defeat three bosses and some mobs along the way to clear it. To help make your run smoother, here’s a quick breakdown of each boss in the dungeon.
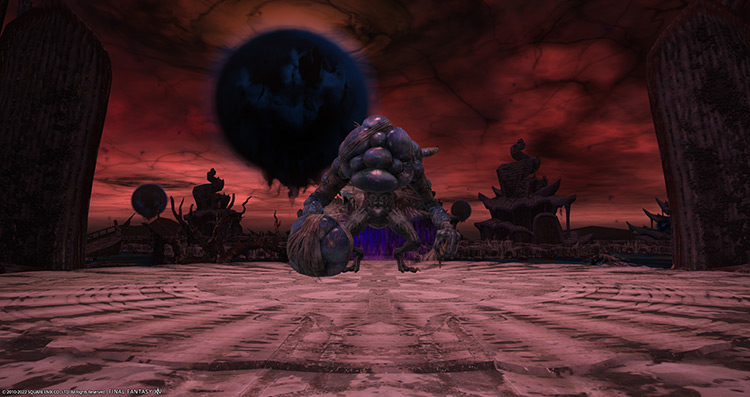
Boss #1: Caustic Grebuloff
Boss #1: Caustic Grebuloff screenshot
Mechanics:
You’ll notice the wind blowing across the arena throughout the entire encounter. The wind will push certain mechanics to the direction it’s blowing towards. Keep an eye out for the direction of the wind to help your positioning.
Miasmata: Blue orbs that form around the arena and explode once they’re blown away by the wind. The orbs will explode continuously in the direction they are pushed. To quickly find a safe spot, move towards the direction where the wind is blowing from.
Cough Up: Three consecutive telegraphed AoEs will drop on every player. Spread out and make sure your party has enough space to avoid the AoEs
Craven Companionship: Red triangles will appear above each player. Stack up with at least one other player to avoid damage.
Wave of Nausea: A room-wide AoE attack. Move to the safe spot within the boss’ hitbox.
Pox Flail: A tankbuster attack on the primary target. Use damage reduction skills and heal through the damage.
Blighted Water: A player will be marked with a stack-up marker. All players should stack up to mitigate the damage.
Befoulment: An AoE will drop on every player. Spread out to avoid excess damage.
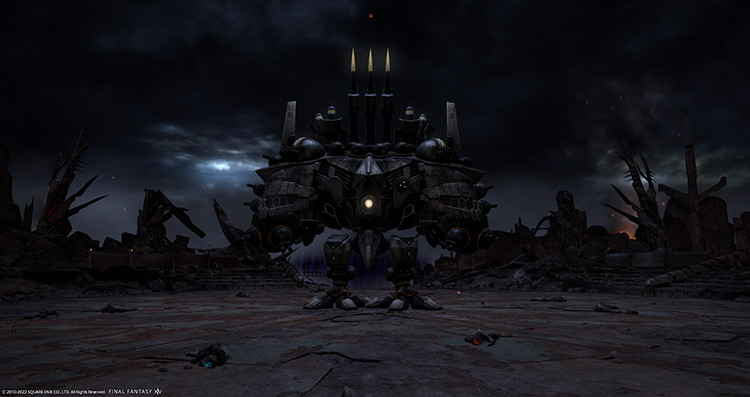
Boss #2: Peacekeeper
Boss #2: Peacekeeper screenshot
Mechanics:
Decimation: A group-wide AoE attack that can’t be dodged. A ring of fire will also form around the arena that will deal high damage if you stand on it for too long. Heal through the damage and always check where you’re standing.
Electromagnetic Repellant: An electric AoE will form within the boss’ hitbox. As a rule of thumb, always stay outside the boss’ hitbox.
War Machines and Order to Fire: Small triangular war machines will spawn around the boss. When the boss casts “Order to Fire,” the machines will fire column AoEs. At the same time, each player will be hit by an AoE. Position yourself between the triangle mobs to avoid overlapping damage.
No Future: Two consecutive sets of large circle AoEs will drop across the room. Spread out and avoid the incoming AoEs as necessary.
Peacefire: Two large circle AoEs will drop and rotate clockwise around the boss. Follow the rotating AoEs clockwise to avoid getting hit. This mechanic will overlap with “War Machines” and “Order to Fire,” so always stand in between the war machines if you have to stop and cast skills.
Eclipsing Exhaust: Knockback attack with circle AoEs forming around the arena. Position yourself to be knocked back into a safe spot as you move toward the boss. You can also use knockback immunity skills to ignore the mechanic altogether.
Elimination: A tankbuster line attack on the primary target. The tank should move away from the rest of the party and use damage reduction skills.
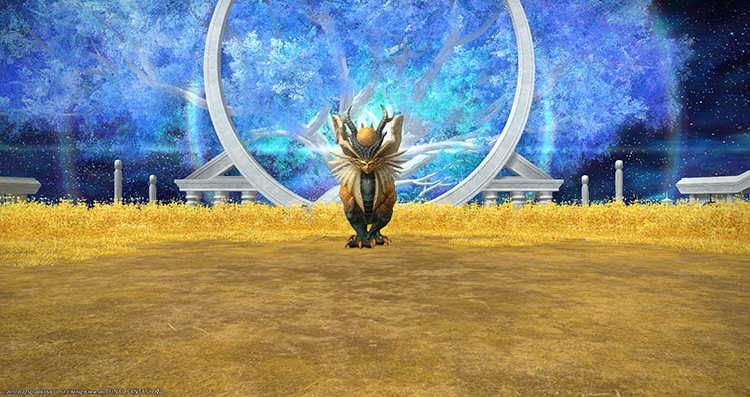
Boss #3: The Last Mercy: Ra-la
Boss #3: The Last Mercy: Ra-la screenshot
Mechanics:
Warm Glow: A room-wide AoE attack. Mitigate and heal through the damage.
Pity: A tankbuster attack on the primary target. Use damage reduction skills and heal through the damage.
Prance: The boss will jump to four areas in the arena and drop large circle AoEs. Dodge the first AoE and move towards it to easily avoid the rest of the AoEs.
Lifesbreath: A room-wide line attack that spawns butterflies. The butterflies will have indicators that show which direction their line attacks will go off. Dodge the room-wide line attack, then stand behind the butterflies to avoid incoming damage.
Benevolence: The healer will be marked with a stack-up marker. Stack and heal through the damage.
Loving Embrace: One of the boss’ wings will glow light blue and cast a room-wide AoE. Look out for the glowing wing and move towards the opposite side of the wing.
Still Embrace: An AoE will drop on every player. Spread out to avoid excess damage.
Rewards
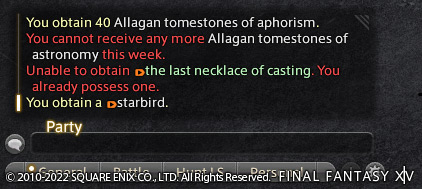
Starbird minion obtained screenshot
If you completed the dungeon using Duty Support, rewards would automatically go to your inventory, including the Starbird minion.
Make sure you have enough inventory space before opening the final treasure coffer, so you don’t lose the minion if it drops.
Marc is a casual FFXIV Summoner veteran, retired TF2 Soldier main, and professional communicator. He's also a huge fan of anime, Hololive, and the Golden State Warriors.


")

")