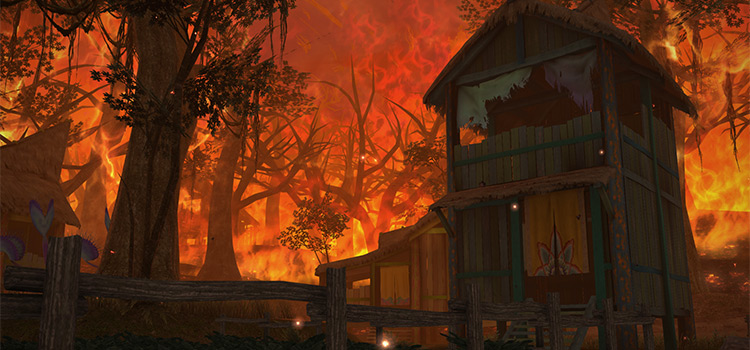
You can unlock the Level 38 dungeon Cutter’s Cry by accepting the Level 38 quest “Dishonor Before Death” from Sibold in Ul’dah – Steps of Thal (X:13.9, Y:10.1).
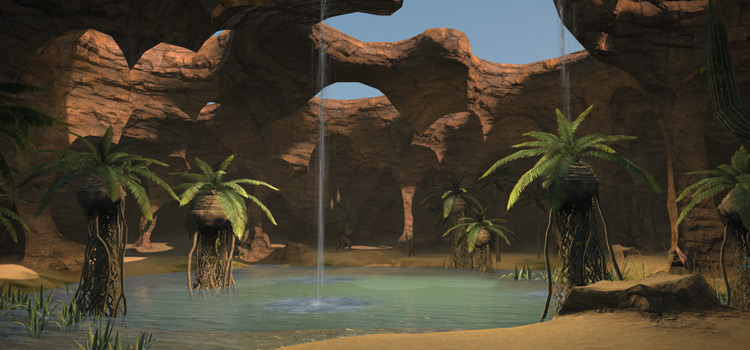
Cutter’s Cry is an optional dungeon whose only requirement is to have a Level 38 Disciple of War of Magic character to accept the quest with. If you’re a new player and don’t have a high-level job yet, we’ll start with some leveling tips you can use to get to the required level quickly.
TABLE OF CONTENTS
Getting To Level 38 Fast

If you’re a new player, the best method to level up is to complete Main Scenario Quests (MSQs). These quests give you a ton of experience while progressing through the game, so you’re hitting two birds with one stone!
But if you’ve run out of MSQs to do, there are many other ways to get experience.
To name a few:
- Dungeons
- Full Time Active Events (FATEs)
- Hunting Logs
- Sidequests
Out of the three, spamming dungeons is the fastest way to get experience apart from MSQs.
If you’re using a tank or healer job, queueing can be very fast, so you won’t have time to try the other methods. DPS jobs may not have this luxury at times, so you’ll have enough time to do FATEs, Hunting Logs, or side quests.
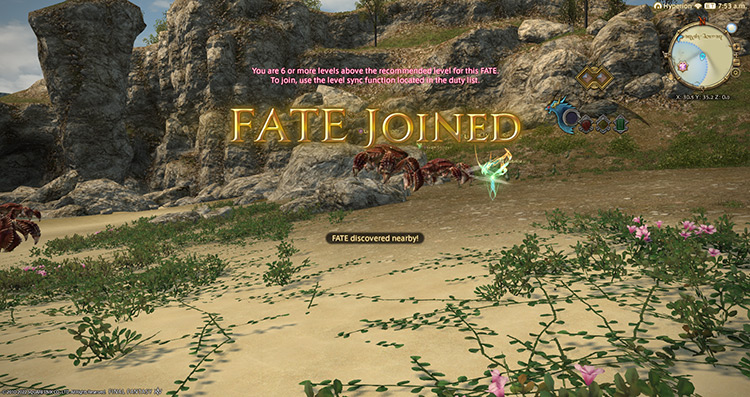
FATEs are the next best option to get more experience.
You’ll need to go to different areas to do FATEs within your level range.
Here are some FATE hotspots you can use on your way to Level 38. Note that these aren’t the only areas you can use for the specific level range listed.
| Level Range | Aetheryte | Zone |
|---|---|---|
| 01 to 12 | Horizon | Western Thanalan |
| 10 to 19 | Aleport | Western La Noscea |
| 21 to 30 | Quarrymill | South Shroud |
| 30 to 34 | Costa del Sol | Eastern La Noscea |
| 35 to 40 | Camp Dragonhead | Coerthas Central Highlands |
Unlocking the Cutter’s Cry Quest with Sibold
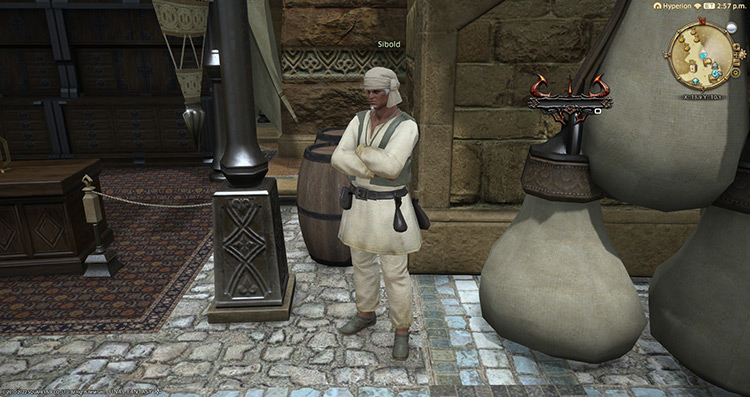
Once you get to Level 38, simply head to Ul’dah – Steps of Thal (X:13.9, Y:10.1) and accept the quest “Dishonor Before Death” from Sibold.
In this quest, you’ll hear the sobering story of the Darklight Raiders, Sibold’s old crew.
Back in the day, the Darklight Raiders were heralded as one of the best mercenary bands in Eorzea.
Unfortunately, Cutter’s Cry proved too difficult even for the battle-tested veterans. Sibold, now older and retired, wishes for a bouquet of flowers to be placed on the final resting place of his former comrades.
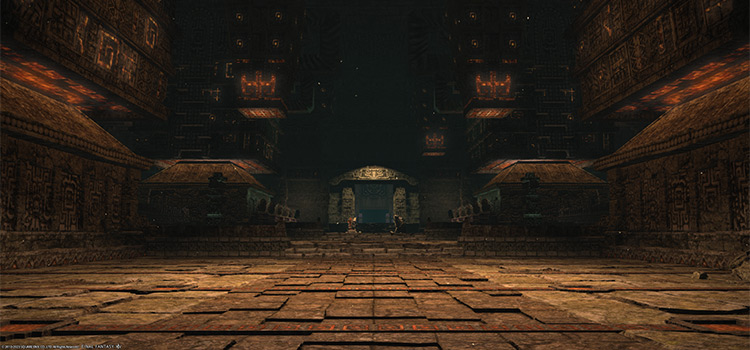
After talking to Sibold, Cutter’s Cry will be unlocked. This dungeon requires a Level 38 Disciple of War or Magic job to enter and has no item level requirement.
Let’s take a look at each boss mechanic to help make your runs smoother:
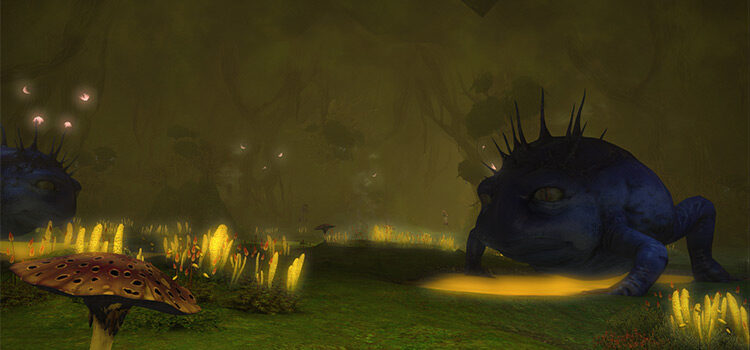
Boss #1: Myrmidon Princess
Mechanics:
If your team doesn’t want to deal with the boss’ minions, have the healer aggro all the minions and run around the room while the rest of the group burns down the boss.
- Mandible Bite: A frontal cone attack. Avoid as necessary.
- Silence: The boss will target a random player to be inflicted with the “Silence” debuff for six seconds. This debuff prevents the target from casting skills or spells. This debuff can be dispelled using “Esuna.”
- Trap Jaws: A instant attack on the primary target. Mitigate and heal through the damage
- Haste: The boss will buff herself with “Haste,” speeding up her skills and attacks.
- Myrmidon Soldier: One of the boss’ minions. Soldiers have no notable skills to look out for, so just burn them down.
- Myrmidon Guard: Guards can also use a weaker version of “Trap Jaws.”
- Myrmidon Marshal: The boss’ strongest minion that can also use “Mandible Bite.” This minion must be killed first.
- Formic Pheromones (Myrmidon Marshal): The Marshal will cast this skill to apply a “Rehabilitation” buff on the boss, healing her over time. Kill the Marshal as soon as possible.
Rewards:
| Name | Type | Rarity |
|---|---|---|
| Seer’s Cowl | Body | Dungeon (Green) |
| Aetherial Amethyst Earrings | Earrings | Aetherial (Pink) |
| Aetherial Aquamarine Earrings | Earrings | Aetherial (Pink) |
| Aetherial Garnet Earrings | Earrings | Aetherial (Pink) |
| Aetherial Goshenite Earrings | Earrings | Aetherial (Pink) |
| Aetherial Heliodor Earrings | Earrings | Aetherial (Pink) |
| Aetherial Pearl Earrings | Earrings | Aetherial (Pink) |
| Aetherial Peridot Earrings | Earrings | Aetherial (Pink) |
| Conquistador Vambraces | Hands | Dungeon (Green) |
| Divining Halfgloves | Hands | Dungeon (Green) |
| Venerer’s Bracers | Hands | Dungeon (Green) |
| Conquistador Elmo | Head | Dungeon (Green) |
| Divining Hat | Head | Dungeon (Green) |
| Poacher’s Hat | Head | Dungeon (Green) |
| Aetherial Amethyst Choker | Necklace | Aetherial (Pink) |
| Aetherial Aquamarine Choker | Necklace | Aetherial (Pink) |
| Aetherial Garnet Choker | Necklace | Aetherial (Pink) |
| Aetherial Goshenite Choker | Necklace | Aetherial (Pink) |
| Aetherial Heliodor Choker | Necklace | Aetherial (Pink) |
| Aetherial Pearl Choker | Necklace | Aetherial (Pink) |
| Aetherial Peridot Choker | Necklace | Aetherial (Pink) |
| Aetherial Wolf Necklace | Necklace | Aetherial (Pink) |
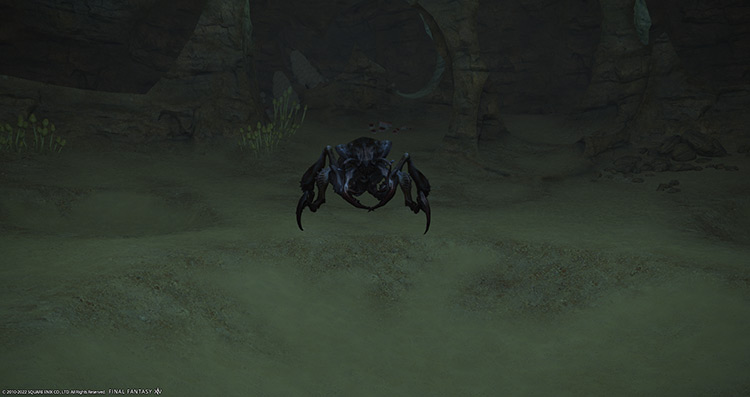
Boss #2: Giant Tunnel Worm
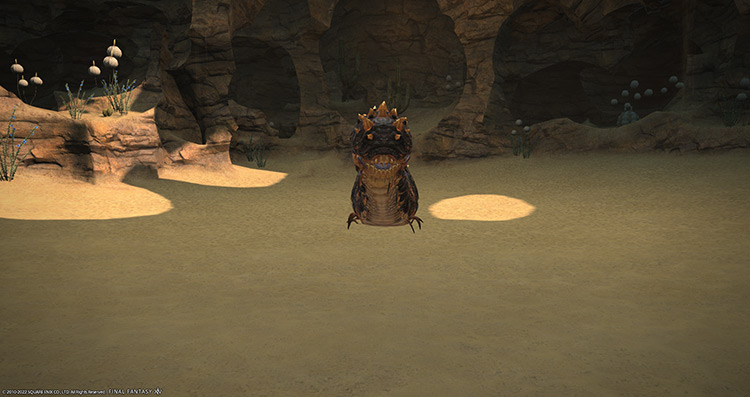
Mechanics:
The boss will burrow underground multiple times throughout the fight. While the boss is underground, stay away from the center of the arena and look for the sandpits on the ground indicating where the boss will come from.
- Sandstorm: A non-telegraphed frontal cone AoE.
- Sand Cyclone: The boss will target a random player with a “Sludge” DoT. This debuff can be dispelled with “Esuna.”
- Sand Pillar: Players caught in the boss’ path while it’s burrowed will get hit with “Sand Pillar”. Avoid the sandpits that form on the ground.
- Earthbreak: After some time, the boss will emerge from the ground, hitting anyone within its vicinity with “Earthbreak.” Stay away from its path and you should be fine. The arena is quite wide, so you’ll have enough room to dodge.
- Bottomless Dessert: Instead of tunneling underground, the boss may also use a room-wide AoE that pulls players to the middle. Move away from the center to avoid the “Earthbreak” that will follow after, then heal through the damage.
Rewards:
| Name | Type | Rarity |
|---|---|---|
| Kokoroon’s Darkshell Mail | Body | Dungeon (Green) |
| Loyalist’s Bliaud | Body | Dungeon (Green) |
| Poacher’s Tunic | Body | Dungeon (Green) |
| Aetherial Amethyst Bracelet | Bracelets | Aetherial (Pink) |
| Aetherial Aquamarine Bracelet | Bracelets | Aetherial (Pink) |
| Aetherial Boarskin Wristbands | Bracelets | Aetherial (Pink) |
| Aetherial Garnet Bracelet | Bracelets | Aetherial (Pink) |
| Aetherial Goshenite Bracelet | Bracelets | Aetherial (Pink) |
| Aetherial Heliodor Bracelet | Bracelets | Aetherial (Pink) |
| Aetherial Pearl Bracelet | Bracelets | Aetherial (Pink) |
| Aetherial Peridot Bracelet | Bracelets | Aetherial (Pink) |
| Aetherial Red Coral Armillae | Bracelets | Aetherial (Pink) |
| Divining Gaskins | Legs | Dungeon (Green) |
| Paladin’s Trousers | Legs | Dungeon (Green) |
| Poacher’s Kecks | Legs | Dungeon (Green) |
| Aetherial Amethyst Ring | Ring | Aetherial (Pink) |
| Aetherial Aquamarine Ring | Ring | Aetherial (Pink) |
| Aetherial Garnet Ring | Ring | Aetherial (Pink) |
| Aetherial Goshenite Ring | Ring | Aetherial (Pink) |
| Aetherial Heliodor Ring | Ring | Aetherial (Pink) |
| Aetherial Mythril Ring | Ring | Aetherial (Pink) |
| Aetherial Pearl Ring | Ring | Aetherial (Pink) |
| Aetherial Peridot Ring | Ring | Aetherial (Pink) |
Boss #3: Chimera
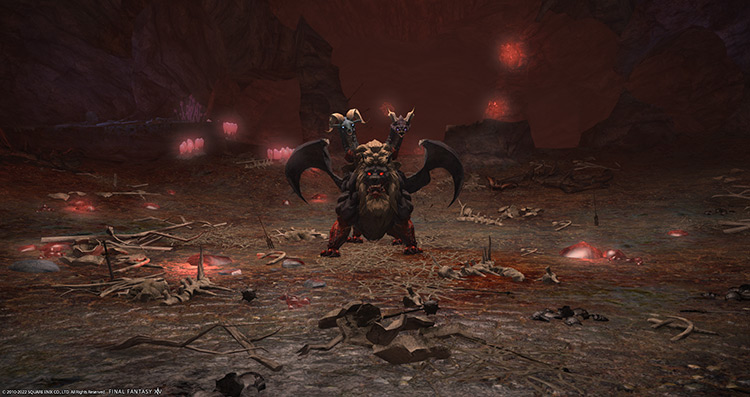
Mechanics:
- Lion’s Breath: An instant frontal cone AoE in front of the boss without a telegraph. Mitigate and heal through the attack.
- Ram’s Breath: The blue ram head’s frontal cone AoE that also inflicts a 30-second “Heavy” debuff, slowing the player down for a few seconds. The tank can easily sidestep this to the right if they stay directly in front of the boss.
- Dragon’s Breath: The purple dragon’s frontal cone AoE that also inflicts a 30-second “Paralysis” debuff, interrupting the player’s actions every three seconds. Sidestep this attack to the left instead.
- Ram’s Voice: A point-blank AoE attack that inflicts a 14-second “Frostbite” DoT. When the prompt “The ram’s eyes now burn blue” appears, run away from the boss immediately.
- Dragon’s Voice: A room-wide donut AoE that inflicts a 30-second “Paralysis” debuff. When the prompt “The dragon’s eyes now burn violet” appears, run inside the boss’ hitbox as soon as possible.
- Cacophony: The boss will target a random player with a blue “Cacophony” orb that will follow them around after some time. If anyone touches this orb before it stops on its own, it’ll immediately explode, dealing AoE damage and inflicting “Paralysis” around it. Bait the orb away from the party until it explodes.
- Ram’s Keeper: The boss’ point-blank AoE attack that leaves an ice puddle underneath. This attack inflicts “Frostbite” and “Heavy” at the same time. The puddle also continuously applies a DoT to anyone standing in it. Avoid the initial AoE and move the boss away from the puddle.
Rewards:
- Chimera Triple Triad Card (not guaranteed)
| Name | Type | Rarity |
|---|---|---|
| Crier’s Grimoire | Book | Dungeon (Green) |
| Crier’s Composite Bow | Bow | Dungeon (Green) |
| Crier’s Radical | Cane | Dungeon (Green) |
| Crier’s Knives | Daggers | Dungeon (Green) |
| Conquistador Thighboots | Feet | Dungeon (Green) |
| Divining Moccasins | Feet | Dungeon (Green) |
| Engineer’s Leggings | Feet | Dungeon (Green) |
| Crier’s Carbine | Firearms | Dungeon (Green) |
| Crier’s Baghnakhs | Fist Weapon | Dungeon (Green) |
| Crier’s Bhuj | Greataxe | Dungeon (Green) |
| Crier’s Claymore | Greatsword | Dungeon (Green) |
| Crier’s Halberd | Polearm | Dungeon (Green) |
| Crier’s Scutum | Shield | Dungeon (Green) |
| Crier’s Staff | Staff | Dungeon (Green) |
| Crier’s Star Globe | Star Globe | Dungeon (Green) |
| Crier’s Broadsword | Sword | Dungeon (Green) |
| Abomination Orchestrion Roll | Orchestrion Roll | Basic |
Extra Treasure Coffers
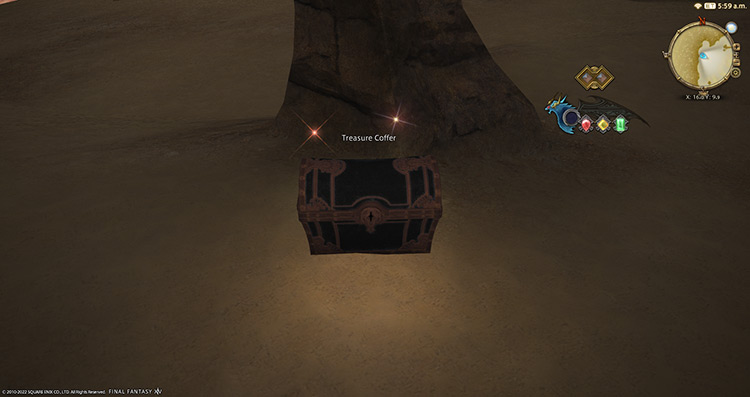
Apart from the boss rewards, there are four treasure coffers located throughout the dungeon that you can open for more gear rewards:
- (X:16.0, Y:9.9)
- (X:16.7, Y:7.2)
- (X:8.8, Y:6.8)
- (X:6.5, Y:9.7)
-
Final Fantasy XIV
- FFXIV Cutter’s Cry: How To Unlock + Boss Guide
Related Posts:
 FFXIV Haukke Manor (Normal): Unlock + Dungeon Boss Guide
 FFXIV The Aurum Vale: How To Unlock + Dungeon Boss Guide
 FFXIV Pharos Sirius (Normal): How To Unlock + Dungeon Guide
 FFXIV Vanaspati: Unlock + Dungeon Boss Guide
 FFXIV The Qitana Ravel: Unlock + Boss Guide
 FFXIV Bardam’s Mettle: How To Unlock + Full Boss Guide
 FFXIV The Temple of the Fist: Unlock + Boss Guide
 FFXIV Shisui of the Violet Tides: Unlock + Boss Guide