To unlock the Level 70 trial Emanation (Extreme), also known as Lakshmi EX, you must select the option “Talk about Lakshmi” while talking to the Wandering Minstrel in Kugane (X:11.6, Y:12.5). The option will only become available after clearing Emanation’s normal mode and completing the Level 70 MSQ “Stormblood” from patch 4.0 of the Stormblood Expansion.
Let’s look into the specific unlocking requirements and the full mechanics + strategies for the battle.
TABLE OF CONTENTS
Quick Step-by-Step Unlock Guide
- Accept the Level 67 Main Scenario Quest (MSQ) “The Lady of Bliss” from Vajra in The Fringes (X:28.2, Y:19.5).
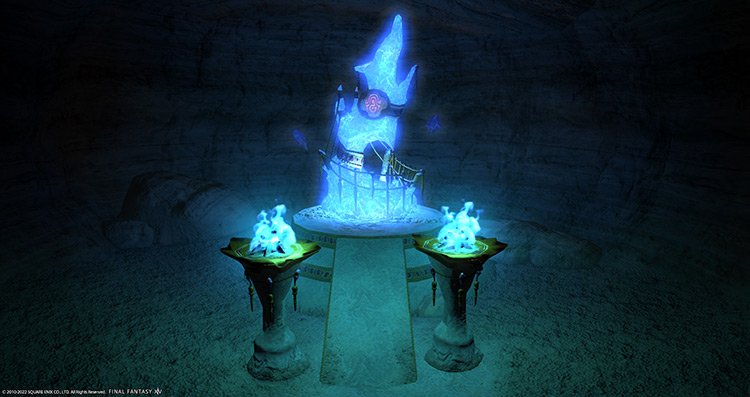
- Attune to the Aetheryte at Djanan Qhat in The Fringes (X:37.4, Y:15.4).
- Defeat Lakshmi in the Level 67 trial “Emanation” (Normal).
- Finish the MSQ “Stormblood” from Pipin in The Lochs (X:32.6, Y:22.9).
- Head to Kugane (X:11.5, Y:12.5) and select the option “Talk about Lakshmi” while speaking with the Wandering Minstrel.
Detailed Unlock Guide
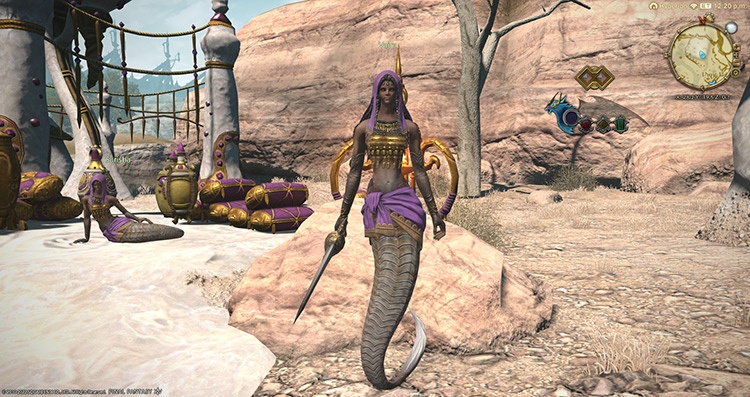
Begin unlocking Emanation (Extreme) by accepting the Level 67 MSQ “The Lady of Bliss” from Vajra in The Fringes (X:28.2, Y:19.5).
This MSQ is deep into the Main Scenario Questline of patch 4.0 in the Final Fantasy XIV: Stormblood Expansion. You’ll need to complete every other MSQ leading up to “The Lady of Bliss” before it can be accepted.
In this quest, you’ll learn about Fordola and her Garlean troops killing the Qalyana broodmother’s daughters.
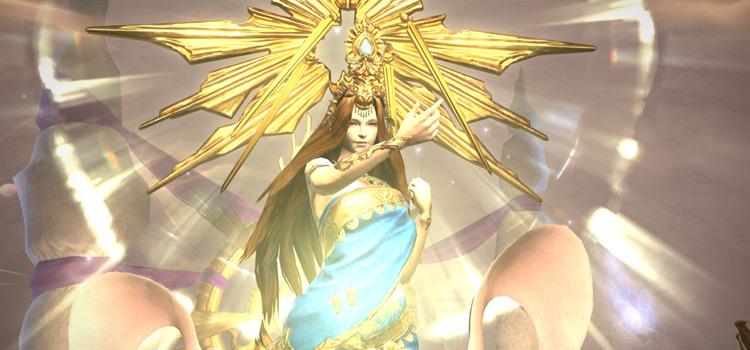
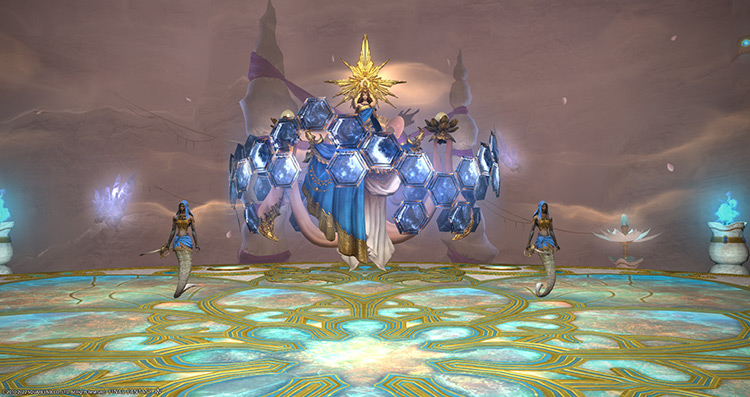
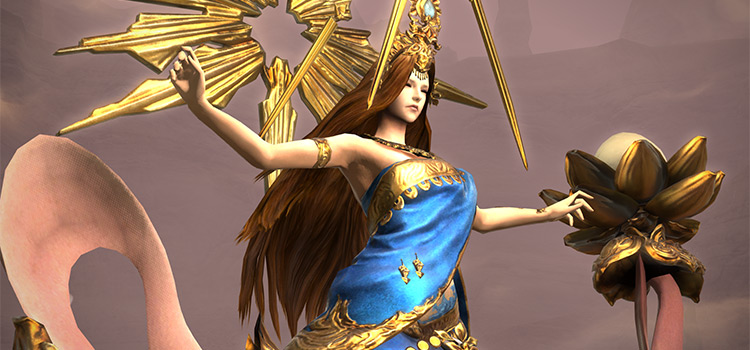
In an act of desperation, the broodmother calls for their primal goddess to save them from the Garleans. The broodmother’s cry for help is enough to summon a primal with the likeness of their goddess, Sri Lakshmi.
With the Garleans driven out and the Qalyana emboldened, they demand their rival tribe, the Vira, pay tribute to their newly summoned primal goddess.
Not wanting to risk getting tempered by the primal, the Vira asks you and your friends to deal with the threat instead.
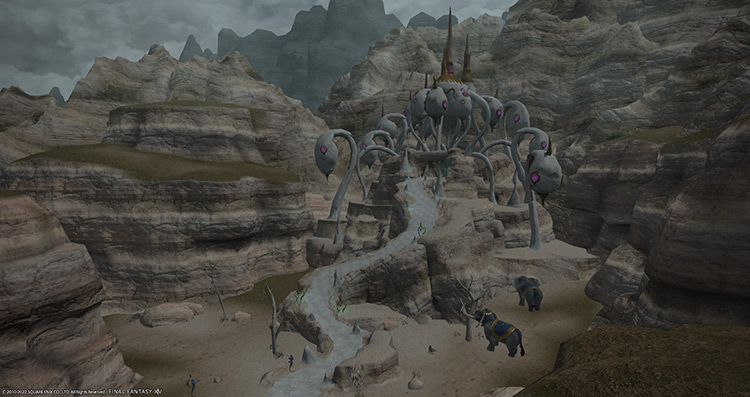
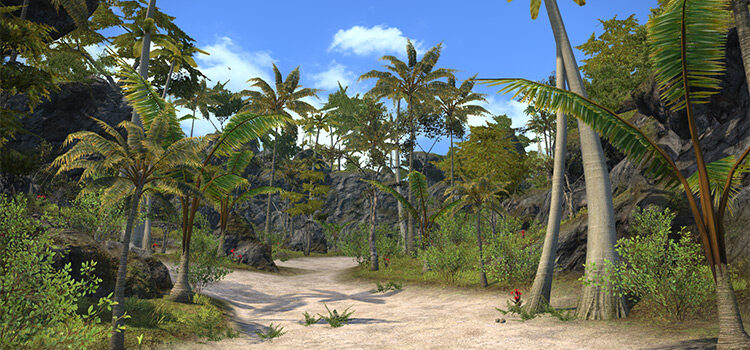
Travel to the Qalyana’s stronghold and attune to the Aetheryte in The Fringes (X:37.4, Y:15.4).
After doing so, the Level 67 Normal-difficulty trial “Emanation” will be unlocked, allowing you to fight Lakshmi’s normal version.
This trial requires a Level 67 or above Disciple of War or Magic job to enter and has no item level requirements. Defeat Lakshmi in “Emanation” and complete the quest to proceed.
Once you’ve cleared the trial, continue with your MSQs until you complete the finale “Stormblood” from Pipin in The Lochs (X:32.6, Y:22.9).
This MSQ wraps up the story for patch 4.0 and completing it allows you to unlock the expert-level dungeons and trials for the Stormblood expansion.
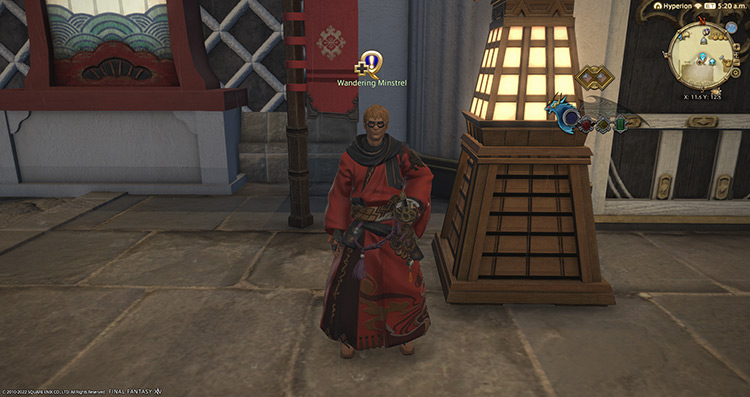
After finishing the MSQs, head to Kugane (X:11.5, Y:12.5) and speak with The Wandering Minstrel. Take the Kogane Dori Markets Aetheryte shard to get to him faster.
You should now have the option “Talk about Lakshmi” available.
Select the option and go through the short cutscene where the minstrel sings praises of your achievement.
Once you finish the cutscene, Emanation (Extreme) will be unlocked.
This trial has a stricter requirement than the normal mode, needing at least a Level 70 Disciple of War or Magic job and an average item level of 300 to enter.
Emanation (Extreme) is certainly one of the easier extreme trials in Stormblood and is even used in tank mount farms due to its simplicity. However, it can still be punishing, especially if you want to do the fight while synced.
Let’s cover Lakshmi’s mechanics to help you out with your runs.
Trial Boss Guide: Lakshmi (Extreme)
Due to the trial being released way back in patch 4.0, soloing Emanation (Extreme) is doable. However, it’s only consistently possible with a level 90 or above character tank job so you can survive the boss’ attacks.
With a tank job, you’ll only need to use “Vril” for instant-KO attacks such as “Divine Denial.”
Due to tanks’ naturally high defense, you’ll be able to easily mitigate and heal through the rest of the boss’ attacks.
If you want to do the fight while synced with your friends, here are the mechanics:
How To Use Vril
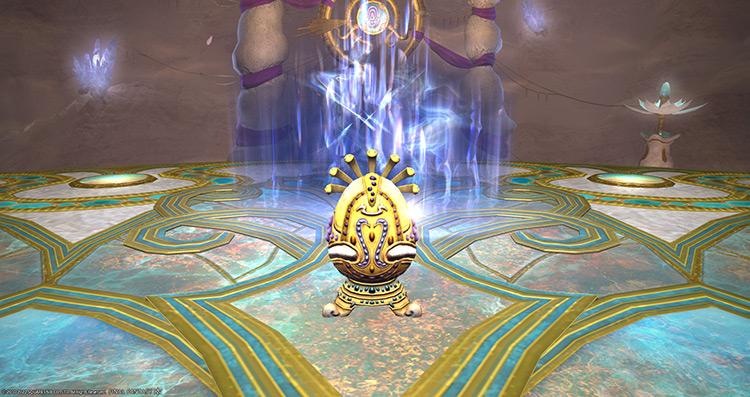
Upon entering, you’ll notice the three stacks of “Vril” in your action item bar.
Since you’ve already done the Emanation trial, you’ll know that this action item mitigates some of Lakshmi’s nasty mechanics. In the EX version, you’ll need to refresh your “Vril” stacks during specific phases to have enough mitigation throughout the fight.
Make sure you only use “Vril” when necessary.
Phase 1: Initial Mobs and AoEs
Rotation:
Vril (Dreaming Kshatriya) x2 + Stotram > Inner Demons (Dreaming Kshatriya) > Tail Slap (Dreaming Kshatriya) > Repeat from Inner Demons until mobs are killed > Stotram > Hand of Grace > The Pull of Light > Stotram > The Pull of Light > The Path of Light > Alluring Arm > The Pull of Light > Stotram > The Pall of Light > The Pull of Light.
The fight starts with the boss being invulnerable and two Dreaming Kshatriya mobs next to her. Kill the mobs to remove the boss’ invulnerability. The rotation may be long for this phase, but the mechanics are simple to handle. Also, don’t fall off the edge!
- Dreaming Kshatriya: Two Qalyana mobs will spawn alongside the boss. These mobs will keep the boss invulnerable until they are killed. Each tank must pick up a mob and face them away from the party to avoid unnecessary cleaves.
- Vril (Dreaming Kshatriya): The mobs will buff the boss and themselves with “Vril” for 50 seconds. This buff absorbs and mitigates damage they receive. This shield won’t be too much of a bother, so just hit them as hard as possible.
- Inner Demons (Dreaming Kshatriya): A point-blank AoE that also acts as a gaze attack, inflicting the “Terror” debuff to anyone looking at them when the cast goes off. This debuff freezes affected players in their place for five seconds. Move out of the AoE or look away from the mob (even while standing in the AoE).
- Tail Slap (Dreaming Kshatriya): A non-telegraphed frontal cone AoE on the Kshatriya’s primary target. Heal through the damage as necessary.
- Stotram: The boss’ room-wide AoE attack. Mitigate and heal through the attack. The first “Stotram” will also heal the boss’ minions if they have the “Vril” buff.
- Hand of Grace: Three players will be targeted with large cross-shaped AoEs. Spread these AoEs near the edge of the arena to give the rest of your team some space in the center. Remember to give your tanks some room in front of the boss too.
- The Pull of Light: A heavy-hitting tankbuster on the primary target. Use mitigation skills and heal through the damage.
-
The Path of Light: The player 2nd in enmity (most likely the off-tank) will be marked with a blue circle, indicating that they’ll be hit with “The Path of Light.” This is a large, non-telegraphed frontal cone attack toward the marked player.
This attack should be baited to the boss’ flank to avoid overlapping damage with the main tank. If you’re a melee-user and you see the off-tank marked, move away from them as soon as possible.
- Alluring Arm: One player will be marked with a cross-shaped AoE, similar to “Hand of Grace,” while two other players are marked with circle AoEs. The circle AoE markers will drop blue puddles that inflict constant “Bleeding” DoTs to anyone inside. Drop the circle AoEs away from the group and spread the cross AoEs out appropriately.
- The Pall of Light: A random player will be targeted with a stack-up marker. Stand with the marked player, then mitigate and heal through the damage.
Phase 2: Chanchala and Divine Attacks
Rotation:
Chanchala > Divine Denial > Hand of Beauty > The Pull of Light > The Pall of Light > Divine Desire + The Pull of Light > The Path of Light > Stotram.
As a rule of thumb for the entire encounter, if the boss has a dark aura around her, prepare to use “Vril” to mitigate incoming attacks.
- Chanchala: The boss will buff herself with “Chanchala,” increasing her damage output and allowing herself to use her Divine attacks. These Divine attacks must be mitigated using “Vril.”
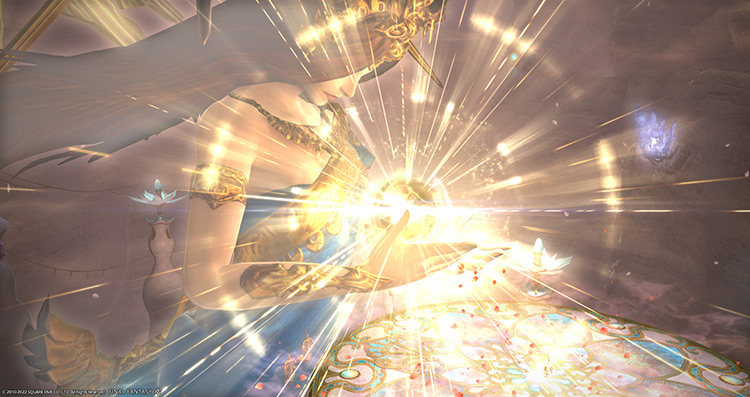
- Divine Denial: An room-wide AoE attack that will knock players off the arena unless they use “Vril.” But even with the buff, you’ll still be knocked back. Stay near the boss when the cast goes off. Typical knockback-immunity skills such as “Arms Length” and “Surecast” don’t work against this attack.
-
Hand of Beauty: A stronger version of the “Alluring Arm” circle AoE markers. Both healers will be marked with circle AoE markers that will drop expanding blue AoEs after some time. These AoEs will inflict the “Heavy” debuff on anyone caught inside, slowing them down for a few seconds.
To handle this mechanic, both healers should bait these markers far away from the group to give the expanding AoEs some room. Healers should also use “Vril” before the blue AoEs drop to avoid the debuff.
- The Pull of Light (with Chanchala): This tankbuster will hit even harder with “Chanchala” and can easily kill the main tank. Always use “Vril” along with mitigation skills to survive.
- The Path of Light (with Chanchala): Similar to “The Pull of Light,” this attack can kill the off-tank (or player 2nd in enmity) if they don’t use “Vril.”
- Divine Desire: A room-wide pull-in attack that will stun players for five seconds. The boss will also drop a “Bleeding” DoT puddle around her, leaving stunned players inside it if not handled correctly. Use “Vril” to avoid the stun and move out of the puddle as soon as possible.
Phase 3: Refreshing Vril + Alluring Embrace
Rotation:
Dreaming Shudra x2 + Dreaming Brahmin x2 > Alluring Embrace.
Once the mobs spawn, you’ll notice the “Alluring Embrace” duty gauge ticking down. This ultimate attack can’t be stopped and must be mitigated with “Vril” instead. Mobs will continuously respawn during this phase until the boss uses her ultimate.
-
Dreaming Shudra + Dreaming Brahmin: The boss will continuously spawn two Shudras and two Brahmins throughout the phase. You’ll also notice a “Vril” buff being passed around these mobs. A mob with the “Vril” buff must be killed to refresh “Vril” stacks. Each kill on a buffed Shudra or Brahmin refreshes “Vril” stacks of two players.
Assign two players to bring each of the four mobs’ HP down to around 10% to make it easier to kill the mobs before the “Vril” buff is passed on. The buff will only last 10 seconds before it transfers to another mob. Once everyone’s stacks are refreshed (or the duty gauge reaches 0), the boss will use her ultimate.
- Water (Dreaming Brahmin): The Brahmins’ normal ranged attack.
- Water III (Dreaming Brahmin): Random players will be targeted with an orange marker. This marker will explode into a non-telegraphed AoE around the target. Move the markers away from the group to avoid overlapping damage.
- Alluring Embrace: The boss’ ultimate attack. Make sure you use “Vril” before it goes off, or you will die. The buff lasts for 50 seconds, so don’t be afraid to use it a bit early.
Phase 4: Refreshing Vril during Jagadishwari
Rotation:
Chanchala > Divine Doubt > The Path of Light > The Pull of Light > Jagadishwari (Z Pattern) > The Pull of Light > Jagadishwari (Line pattern) > The Path of Light > The Pall of Light > Alluring Arm > The Pull of Light > The Path of Light > Stotram > Chanchala > Divine Doubt > The Pall of Light.
- Divine Doubt: A room-wide AoE attack that will inflict the “Confusion” debuff on all players for 16 seconds. This debuff forces players to attack one another and it can’t be avoided. Using “Vril” before it goes off lowers the debuff’s timer to 8 seconds. Spread out with a partner to each cardinal direction to survive.
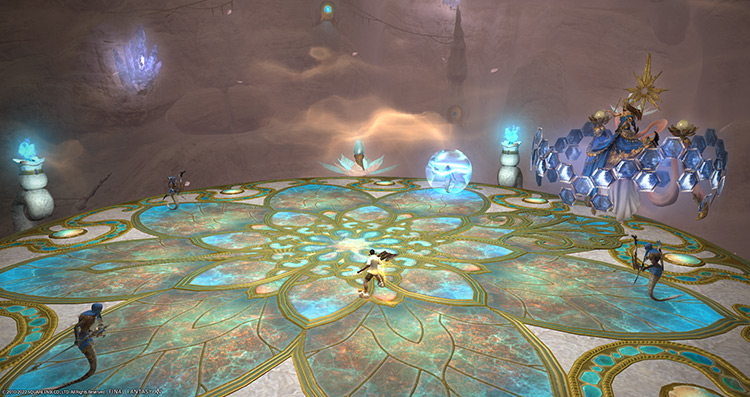
- Jagadishwari: The boss will summon golden ground AoEs with “Vril” orbs on top of them. These orbs can be used to refresh your stacks. “Jagadishwari” will have three patterns to look out for:
- Z pattern
- Straight line in the middle
- Outer ring
The Z and straight line patterns will only have four “Vril” orbs in them, so make sure each party member refreshes their stacks before the next “Chanchala.” If you have “Vril” active during “Jagadishwari,” the ground AoEs will heal you instead.
- The Pall of Light (Chanchala): The stack-up marker will now apply a “Bleeding” debuff on players upon hit. Use “Vril” while stacking with the affected player to mitigate the damage and avoid the debuff.
At this point, you’ve seen all the mechanics in this encounter.
To refresh your memory with the mechanics, here’s what you need to do for Phase 4:
- Use “Vril” to cut the debuff time of “Divine Doubt” in half. Make sure you’re spread out with an assigned partner toward one specific cardinal direction.
- Bait “The Path of Light” AoE away from the party.
- Mitigate and heal through “The Pull of Light.” Use “Vril” if necessary.
- Have four players refresh their “Vril” stacks during the first “Jagadishwari.”
- Mitigate and heal through another “The Pull of Light.” Use “Vril” again if necessary.
- Have the remaining four players refresh their “Vril” stacks during the second “Jagadishwari.”
- Bait another “The Path of Light” to the boss’ flank and stack for “The Pall of Light.”
- Spread out for “Alluring Arm” and heal through another “The Pull of Light.”
- Heal through another “The Path of Light” and “Stotram” AoE.
- Use “Vril” for “Divine Doubt” and another “The Pall of Light” stack-up marker.
Phase 5: Repeating Mechanics
Rotation:
Jagadishwari (Outer ring pattern) > Divine Desire > Jagadishwari (Z pattern) > The Pall of Light > Stotram > Alluring Arm > The Pall of Light > The Path of Light > Stotram > The Pull of Light > Alluring Arm > The Pall of Light > The Path of Light > Stotram > Chanchala > Divine Denial (Final).
The boss will hard-wipe the entire party if she isn’t defeated before the final “Divine Denial.”
Here’s what you need to do in Phase 5:
- Refresh your “Vril” stacks before the outer ring explodes. There will be more than enough “Vril” orbs for everyone in this pattern.
- Use “Vril” for Divine Desire to avoid the stun.
- Refresh “Vril” stacks again if needed.
- Stack and heal through “The Pall of Light.”
- Heal through another “Stotram” AoE.
- Spread out for “Alluring Arm” to avoid overlap and heal through the damage.
- Stack for another “The Pall of Light.”
- Bait another “The Path of Light” frontal cone away from the party.
- Heal through “Stotram” again.
- Mitigate and heal through “The Pull of Light” tankbuster.
- Repeat steps 6 to 9. The boss must be dead before Step 9 is repeated, or you will wipe.
Rewards
Bliss Totems can be traded for accessories (10 fragments) or the Blissful Kamuy Fife (99 fragments) with Eschina in Rhalgr’s Reach (X:13.8 Y:11.8).
- 15 Allagan Tomestones of Poetics
- Lakshmi Triple Triad Card (not guaranteed)
- Bliss Totem (1 per clear)
| Name | Type | Quality |
|---|---|---|
| Lakshmi’s Bracelet of Fending | Bracelets | Blue (Primal Gear) |
| Lakshmi’s Bracelet of Slaying | Bracelets | Blue (Primal Gear) |
| Lakshmi’s Bracelet of Aiming | Bracelets | Blue (Primal Gear) |
| Lakshmi’s Bracelet of Casting | Bracelets | Blue (Primal Gear) |
| Lakshmi’s Bracelet of Healing | Bracelets | Blue (Primal Gear) |
| Lakshmi’s Earrings of Fending | Earrings | Blue (Primal Gear) |
| Lakshmi’s Earrings of Slaying | Earrings | Blue (Primal Gear) |
| Lakshmi’s Earrings of Aiming | Earrings | Blue (Primal Gear) |
| Lakshmi’s Earrings of Casting | Earrings | Blue (Primal Gear) |
| Lakshmi’s Earrings of Healing | Earrings | Blue (Primal Gear) |
| Lakshmi’s Necklace of Fending | Necklace | Blue (Primal Gear) |
| Lakshmi’s Necklace of Slaying | Necklace | Blue (Primal Gear) |
| Lakshmi’s Necklace of Aiming | Necklace | Blue (Primal Gear) |
| Lakshmi’s Necklace of Casting | Necklace | Blue (Primal Gear) |
| Lakshmi’s Necklace of Healing | Necklace | Blue (Primal Gear) |
| Lakshmi’s Ring of Fending | Ring | Blue (Primal Gear) |
| Lakshmi’s Ring of Slaying | Ring | Blue (Primal Gear) |
| Lakshmi’s Ring of Aiming | Ring | Blue (Primal Gear) |
| Lakshmi’s Ring of Casting | Ring | Blue (Primal Gear) |
| Lakshmi’s Ring of Healing | Ring | Blue (Primal Gear) |
| Blissful Shroud | Crafting material | Basic |
| Faded Copy of Beauty’s Wicked Wiles | Orchestrion Roll | Basic |
| Blissful Kamuy Fife | Other | Basic |
-
Final Fantasy XIV
- FFXIV Emanation (Extreme): How To Unlock + Trial Guide
Related Posts:
 FFXIV Emanation (Normal): How To Unlock + Trial Guide
 FFXIV The Stone Vigil (Hard): How To Unlock + Boss Guides
 FFXIV Hullbreaker Isle (Normal): How To Unlock + Boss Guide
 FFXIV The Tam-tara Deepcroft (Hard): Unlock + Boss Guide
 Zurvan EX Unlock & Trial Guide – FFXIV Containment Bay Z1T9 (Extreme)
 FFXIV The Minstrel’s Ballad: Thordan’s Reign – Unlock + Trial Guide
 Sophia EX Unlock & Trial Guide – FFXIV Containment Bay P1T6 (Extreme)
 FFXIV The Minstrel’s Ballad: Shinryu’s Domain – Unlock + Trial Guide