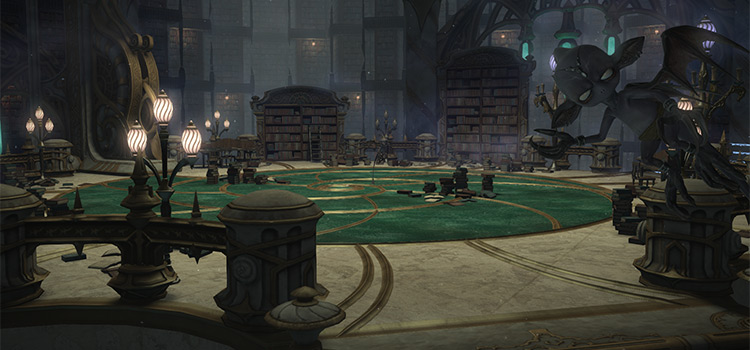
You can unlock the level 60 dungeon The Great Gubal Library (Hard) by accepting the quest “Let Me Gubal That for You” from Midnight Dew in Idyllshire (X:5.6, Y:6.6).
But to unlock this quest, you need to first finish The Great Gubal Library’s normal mode and you’ll need to clear the level 60 MSQ “Heavensward” from the Guidance Node in Azys Lla (X:16.0, Y:22.0).
TABLE OF CONTENTS
Step-by-Step Unlock Guide
- Accept the Level 59 MSQ “Forbidden Knowledge” from Matoya in Matoya’s Cave (Zone) (X:6.5, Y:6.3) and complete The Great Gubal Library (Normal).
- Complete the MSQ “Heavensward” from the Guidance Node in Azys Lla (X:16.0, Y:22.0).
- Accept the quest “Let Me Gubal That for You” from Midnight Dew in Idyllshire (X:5.6, Y:6.6).
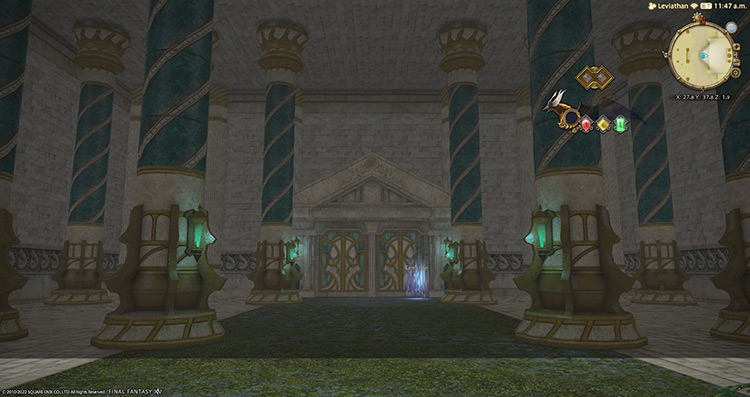
- Talk to Midnight Dew again at the entrance of The Great Gubal Library in the Dravanian Hinterlands (X:28.5, Y:37.8)
Detailed Unlocking Guide
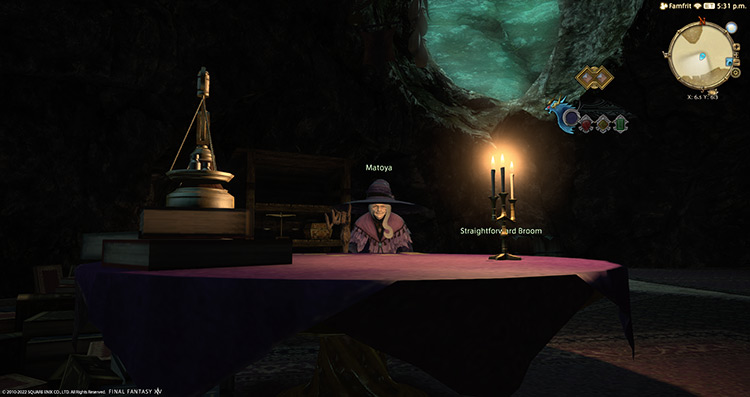
You can start unlocking this dungeon by accepting the Level 59 MSQ “Forbidden Knowledge” from Matoya in Matoya’s Cave (Zone) (X:6.5, Y:6.3) and clearing The Great Gubal Library’s normal mode. Clear the dungeon and retrieve Matoya’s tome to complete the quest.
Then, continue with the MSQs until you finish the “Heavensward” from the Guidance Node in Azys Lla (X:16.0, Y:22.0).
Completing this MSQ allows you to accept the quests needed to unlock level 60 expert-level dungeons for the Heavensward expansion, including The Great Gubal Library (Hard).
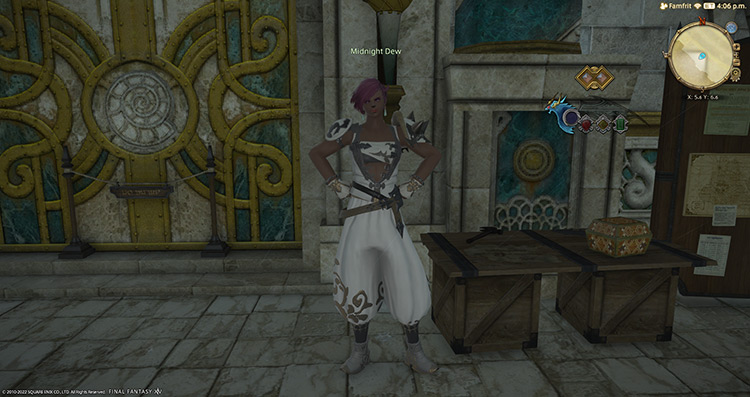
So afterwards just head to Midnight Dew in Idyllshire (X:5.6, Y:6.6) once you’re done with “Heavensward” and accept the quest “Let Me Gubal That for You.”
She’ll talk to you about a job given to her by a client about retrieving a tome from The Great Gubal Library.
Unfortunately, voidsents have since occupied the library after your last visit. Given the reputation you earned during your encounter with the Temple Knights of Ishgard, Midnight Dew will ask for your help in retrieving the tome.
After talking to her in Idyllshire, meet Midnight Dew at the entrance of The Great Gubal Library in the Dravanian Hinterlands (X:28.5, Y:37.8). Doing this will unlock The Great Gubal Library (Hard).
To enter the dungeon, you’ll need at least a level 60 Disciple of War or Magic job and an average item level of 210.
Since The Great Gubal Library (Hard) was released way back in patch 3.4, it’s very easy to solo when you enter the dungeon unsynced with a level 90 or above character. Though if you encounter this dungeon in a duty roulette, you will need to do it synced.
To help you clear the dungeon quickly, here’s a breakdown of each boss and their rewards:
Boss #1: Demon of the Tome
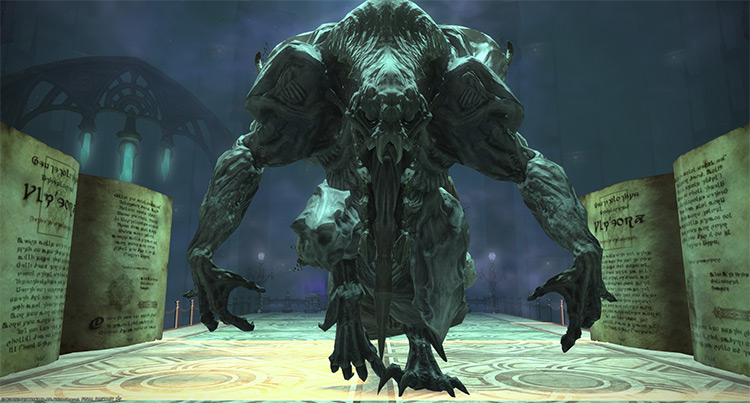
Mechanics
Before pulling, you will notice that the boss is still in the book. Immediately after attacking the boss, it will come out of the book and move around normally in its demon form.
Unlike in the normal version of the Gubal Library, you will need to move the boss around to handle incoming mechanics.
- Triclip: A three-hit tankbuster attack on the primary target. Mitigate and heal through the damage.
- Frightful Roar: A circular, point-blank AoE that should be avoided.
- Folio: The boss will call down books from the ceiling to inflict AoE damage in various patterns. These patterns can happen one after the other. Avoid these AoEs, or you will be inflicted with a stacking vulnerability debuff.
- Folio (middle): A large square-shaped AoE indicated by a black AoE marker.
- Folio (north and south): A pair of books will drop on the northern and southern edges of the arena that will both push towards the middle. Stay near the middle of the arena to get to the safe zone quickly.
- Folio (east and west): Four pairs of books will drop on the eastern and western edges of the arena one at a time and attack anyone caught in the middle. Figure out the order in which the books drop and avoid the incoming AoEs.
Rewards
- 15 Allagan Tomestone of Poetics
| Name | Type | Rarity |
|---|---|---|
| Valkyrie’s Bracelet of Aiming | Bracelets | Dungeon (Green) |
| Valkyrie’s Bracelet of Casting | Bracelets | Dungeon (Green) |
| Valkyrie’s Bracelet of Fending | Bracelets | Dungeon (Green) |
| Valkyrie’s Bracelet of Healing | Bracelets | Dungeon (Green) |
| Valkyrie’s Bracelet of Slaying | Bracelets | Dungeon (Green) |
| Valkyrie’s Boots of Aiming | Feet | Dungeon (Green) |
| Valkyrie’s Boots of Casting | Feet | Dungeon (Green) |
| Valkyrie’s Boots of Healing | Feet | Dungeon (Green) |
| Valkyrie’s Boots of Scouting | Feet | Dungeon (Green) |
| Valkyrie’s Boots of Striking | Feet | Dungeon (Green) |
| Valkyrie’s Jackboots of Fending | Feet | Dungeon (Green) |
| Valkyrie’s Jackboots of Maiming | Feet | Dungeon (Green) |
| Valkyrie’s Ring of Aiming | Ring | Dungeon (Green) |
| Valkyrie’s Ring of Casting | Ring | Dungeon (Green) |
| Valkyrie’s Ring of Fending | Ring | Dungeon (Green) |
| Valkyrie’s Ring of Healing | Ring | Dungeon (Green) |
| Valkyrie’s Ring of Slaying | Ring | Dungeon (Green) |
Boss #2: Liquid Flame
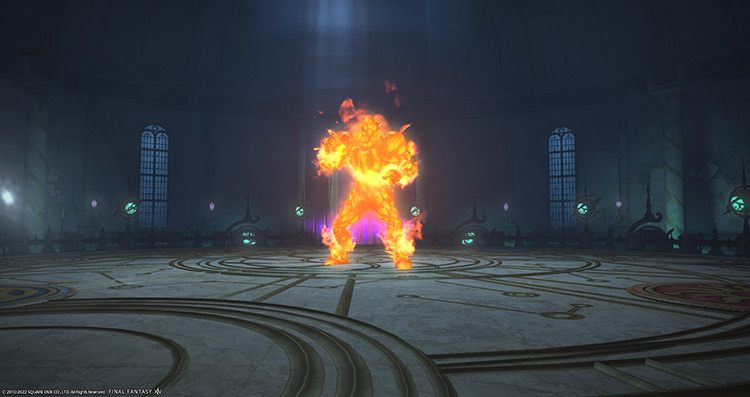
Mechanics
This boss is a reference to the “Living Liquid” boss from Alexander: Arm of the Father (Normal and Savage) boss that gave many players a hard time during its release.
If you’re a veteran that has encountered “Living Liquid” before, you will notice some similarities between their skills.
- Searing Wind: A non-telegraphed cleaving attack. Face the boss away from the party.
- Bibliocide: A room-wide AoE attack. Mitigate and heal through the damage.
- Sea of Flames: The boss will target random players with AoEs that will follow them around for a few seconds. If you’re targeted, bait these AoEs to the outer edges of the arena to avoid overlap.
- Slosh: A proximity-based tether on a random player. If you’re marked, move away from the boss to reduce incoming damage.
- Ferroliquid (Whirlwind Form): Players will be tethered to either positive or negative symbols and will be pushed or pulled depending on their symbols. During this time, the center and outer edges of the arena will be turned into lava that applies a “Burns” DoT for 14 seconds.
- If you’re tethered to a positive symbol, move toward the boss.
- If you’re tethered to a negative symbol, move away from the boss.
- Seal of Night and Day (Hand Form): Players will be assigned either a “Sun Seal” or “Moon Seal” status. Stand on the lit-up sigil with the same element as your status to avoid a stacking “Vulnerability Up’ debuff for 20 seconds.
Rewards
- 20 Allagan Tomestone of Poetics
| Name | Type | Rarity |
|---|---|---|
| Valkyrie’s Earrings of Aiming | Earrings | Dungeon (Green) |
| Valkyrie’s Earrings of Casting | Earrings | Dungeon (Green) |
| Valkyrie’s Earrings of Fending | Earrings | Dungeon (Green) |
| Valkyrie’s Earrings of Healing | Earrings | Dungeon (Green) |
| Valkyrie’s Earrings of Slaying | Earrings | Dungeon (Green) |
| Valkyrie’s Gloves of Aiming | Hands | Dungeon (Green) |
| Valkyrie’s Gloves of Casting | Hands | Dungeon (Green) |
| Valkyrie’s Gloves of Fending | Hands | Dungeon (Green) |
| Valkyrie’s Gloves of Healing | Hands | Dungeon (Green) |
| Valkyrie’s Gloves of Maiming | Hands | Dungeon (Green) |
| Valkyrie’s Gloves of Scouting | Hands | Dungeon (Green) |
| Valkyrie’s Gloves of Striking | Hands | Dungeon (Green) |
| Valkyrie’s Hat of Casting | Head | Dungeon (Green) |
| Valkyrie’s Hat of Healing | Head | Dungeon (Green) |
| Valkyrie’s Helm of Fending | Head | Dungeon (Green) |
| Valkyrie’s Helm of Maiming | Head | Dungeon (Green) |
| Valkyrie’s Tricorne of Aiming | Head | Dungeon (Green) |
| Valkyrie’s Tricorne of Scouting | Head | Dungeon (Green) |
| Valkyrie’s Tricorne of Striking | Head | Dungeon (Green) |
| Valkyrie’s Choker of Aiming | Necklace | Dungeon (Green) |
| Valkyrie’s Choker of Casting | Necklace | Dungeon (Green) |
| Valkyrie’s Choker of Fending | Necklace | Dungeon (Green) |
| Valkyrie’s Choker of Healing | Necklace | Dungeon (Green) |
| Valkyrie’s Choker of Slaying | Necklace | Dungeon (Green) |
Boss #3: Strix
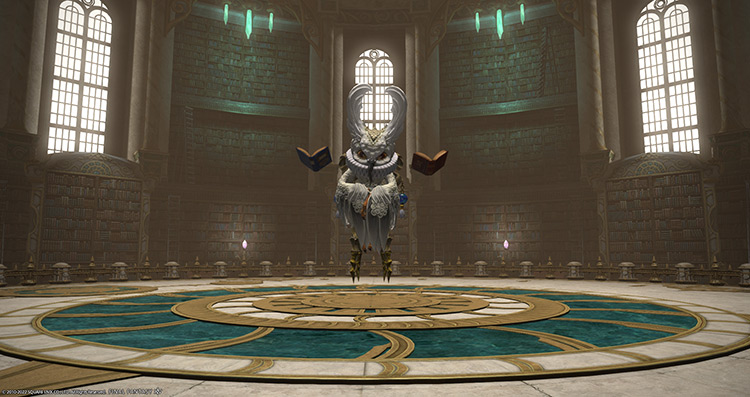
Mechanics
Due to the different status effects you will encounter in this fight, such as knock-ups and transformations, your skill rotations may be interrupted.
Keep your burst phases in mind while handling incoming mechanics.
- Check Out: The boss will drop four books that spawn circular AoEs which you can use to handle incoming mechanics. Avoid standing inside these AoE until it’s necessary.
- Of The Properties Of Quakes: A room-wide AoE attack that stuns players for three seconds and applies a stacking “Vulnerability Up” debuff for 30 seconds. Stand inside the whirlwind AoE to reduce incoming damage to 0.
- On The Properties of Darkness II: A regular room-wide AoE attack. Mitigate and heal through the damage.
- On The Properties Of Tornados: A knock-up attack applies a stacking “Vulnerability Up” debuff for 30 seconds. Stand inside the purple “Leaden” AoE to avoid.
- On The Properties Of Imps: All players will be turned into imps and receive a “Lightning Resistance Down” debuff. Stand inside the light blue AoE to dispel the transformation.
- On The Properties Of Thunder III: After casting “On The Properties Of Imps,” the boss will target everyone with lightning AoEs that stun for five seconds and apply stacking “Vulnerability Up” debuffs for 30 seconds. These AoEs also deal extra damage to imps, so dispel your transformation before this goes off.
- Behemoth Ward: At around 50% HP, the boss will summon a Behemoth that will cast “Ecliptic Meteor.” At the same time, two “Comet” proximity attacks will drop huge rocks you can use to survive the attack. Hide behind the rocks before the “Ecliptic Meteor” drops, or you will die.
Rewards
- 35 Allagan Tomestone of Poetics
- Strix Triple Triad Card (not guaranteed)
| Name | Type | Rarity |
|---|---|---|
| Valkyrie’s Coat of Aiming | Body | Dungeon (Green) |
| Valkyrie’s Coat of Casting | Body | Dungeon (Green) |
| Valkyrie’s Coat of Healing | Body | Dungeon (Green) |
| Valkyrie’s Coat of Scouting | Body | Dungeon (Green) |
| Valkyrie’s Coat of Striking | Body | Dungeon (Green) |
| Valkyrie’s Cuirass of Fending | Body | Dungeon (Green) |
| Valkyrie’s Cuirass of Maiming | Body | Dungeon (Green) |
| Valkyrie’s Brais of Fending | Legs | Dungeon (Green) |
| Valkyrie’s Brais of Maiming | Legs | Dungeon (Green) |
| Valkyrie’s Trousers of Aiming | Legs | Dungeon (Green) |
| Valkyrie’s Trousers of Casting | Legs | Dungeon (Green) |
| Valkyrie’s Trousers of Healing | Legs | Dungeon (Green) |
| Valkyrie’s Trousers of Scouting | Legs | Dungeon (Green) |
| Valkyrie’s Trousers of Striking | Legs | Dungeon (Green) |
| Bibliophobia Orchestrion Roll | Orchestrion Roll | Dungeon (Green) |
| Necrologos Transcription | Other | Dungeon (Green) |
Extra Treasure Coffers
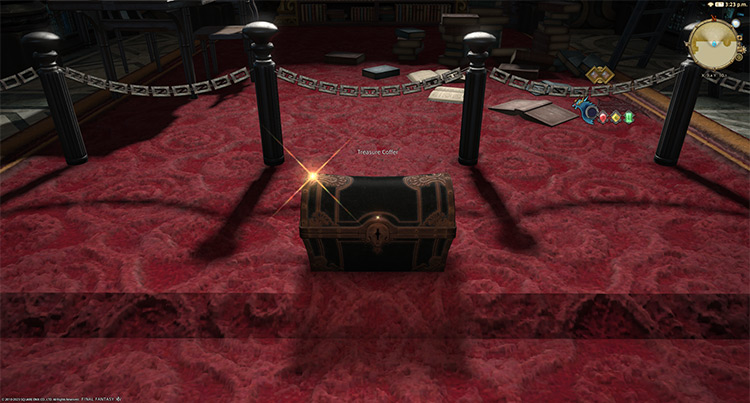
Apart from the boss rewards, there are four treasure coffers located throughout the dungeon that you can open for more gear rewards. Here are their coordinates:
- (X: 14.5, Y: 12.5)
- (X: 16.1, Y: 13.1)
- (X: 9.5, Y: 10.1)
- (X: 10.5, Y: 10.8)
Lore Readings
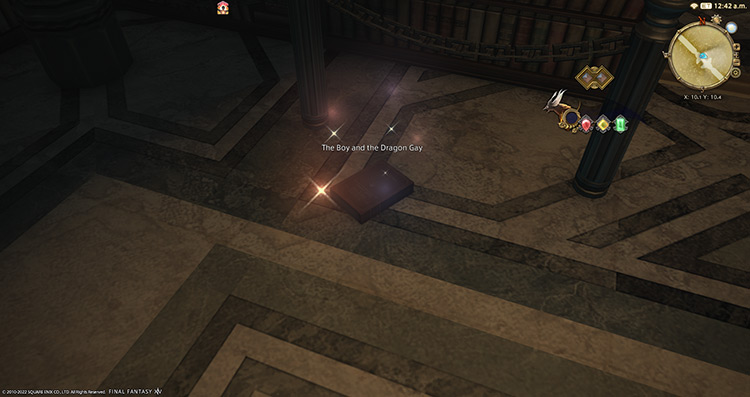
The Great Gubal Library (Hard) is one of the few dungeons where you can read lore info throughout the dungeon.
Here’s a list of all the coordinates for all reading materials found in the Gubal Library if you’re interested:
- (X:10.1, Y:10.4)
- (X:12.3, Y:11.3)
- (X:14.7, Y:12.8)
- (X:16.5, Y:11.7)
- (X:8.6, Y:11.8)
- (X:12.0, Y:10.0)
-
Final Fantasy XIV
- FFXIV The Great Gubal Library (Hard): Unlock + Dungeon Guide
Related Posts:
 FFXIV The Great Gubal Library (Normal): Unlock + Dungeon Guide
 FFXIV Malikah’s Well: How To Unlock + Dungeon Guide
 FFXIV Dohn Mheg: How To Unlock + Boss Guide
 FFXIV The Qitana Ravel: Unlock + Boss Guide
 FFXIV Bardam’s Mettle: How To Unlock + Full Boss Guide
 FFXIV Lapis Manalis: Unlock + Dungeon Boss Guide
 FFXIV The Tower of Babil: Unlock + Dungeon Guide
 FFXIV Ktisis Hyperboreia: Unlock + Dungeon Boss Guide