To unlock the trial Containment Bay P1T6 (Extreme), also known as Sophia EX, you’ll need to complete the quest “A Deific Simulacrum” from Unukhalhai in The Rising Stones (X:6.1, Y: 5.3). You’ll also need to be level 60 in a Disciple of War or Disciple of Magic job.
However, this quest can only be unlocked after completing the final MSQ for patch 3.0 of the Heavensward expansion and after clearing Containment Bay P1T6’s normal mode.
Let’s go through the full unlock requirements + the trial battle mechanics.
TABLE OF CONTENTS
- Step-by-Step Unlock Guide
- Detailed Unlocking Guide
- Trial Boss: Sophia (Extreme)
- Phase 1: Sophia’s Daughter and Clones
- Phase 2: Demiurges
- Meteors, Sliding, and Quasars
- Knockback Immunity Skills
- Phase 3: Quasar (No Slide) + Quasar (Short or Long Slide)
- Phase 4: Quasar (Sliding) #1 + Sin and Punishment + Laser Beam (Sophia’s Daughter)
- Phase 5: Quasar #2 and #3 (both Sliding)
- Phase 6: Quasar #4 and #5 (one Sliding and one Non-sliding)
- Rewards
Step-by-Step Unlock Guide
- Finish the Level 60 MSQ “Heavensward” from the Guidance Node in Azys Lla (X:16.0, Y:22.0).
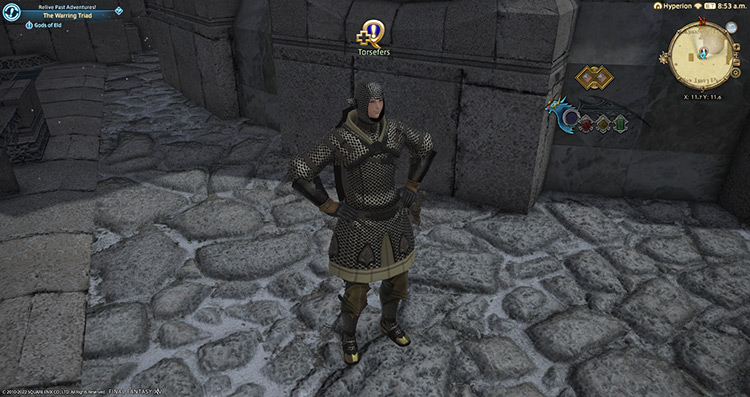
- Complete the quest “Gods of Eld” from Torsefers in The Pillars (X:11.7, Y:11.6) to unlock the Warring Triad Questline.
- Complete Sophia’s normal mode questline, starting with “When the Bough Wakes” from Unukalhai in The Rising Stones (X:6.1, Y:5.3).
- Accept the quest “A Deific Simulacrum” from Unukalhai in The Rising Stones (X:6.1, Y:5.3).
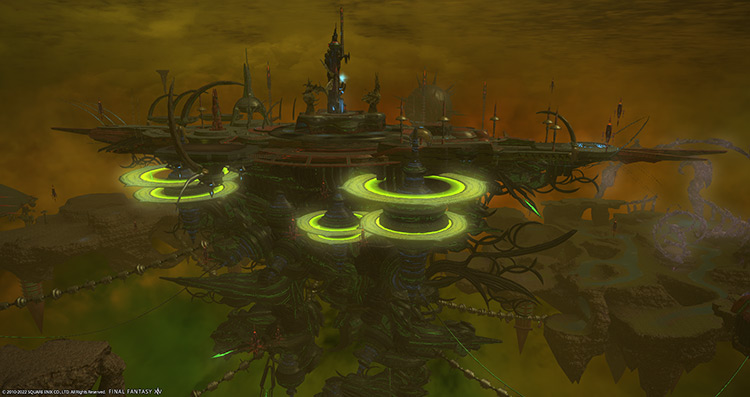
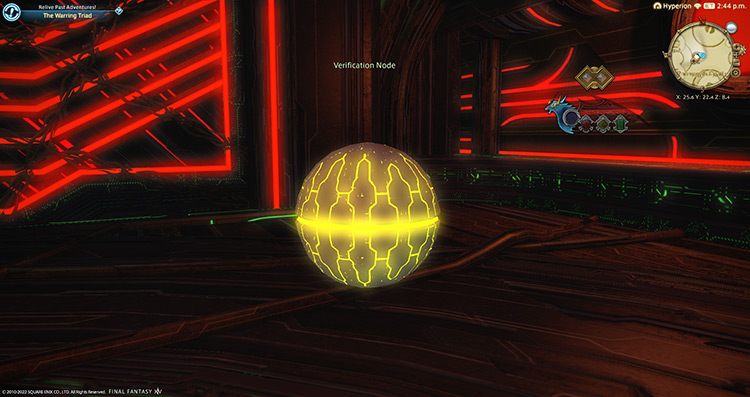
- Present the Allagan tomestone to the Verification Node in Azys Lla (X:25.6, Y:22.4).
Detailed Unlocking Guide
The first prerequisite quest you’ll need to do is the MSQ “Heavensward” from the Guidance Node in Azys Lla (X:16.0, Y:22.0).
This is the final quest of the Main Scenario Questline for patch 3.0 of the Heavensward expansion, so you’ll need to complete every quest leading up to “Heavensward” before you can proceed.
Finishing the Heavensward 3.0 MSQs will unlock the Warring Triad Questline, where you’ll fight the Warring Triad primals (Sephirot, Sophia, and Zurvan).
This questline references the legendary Warring Triad from Final Fantasy VI (Demon, Fiend, and Goddess). Accept and complete the quest “Gods of Eld” from Torsefers in The Pillars (X:11.7, Y:11.6) to begin the questline.
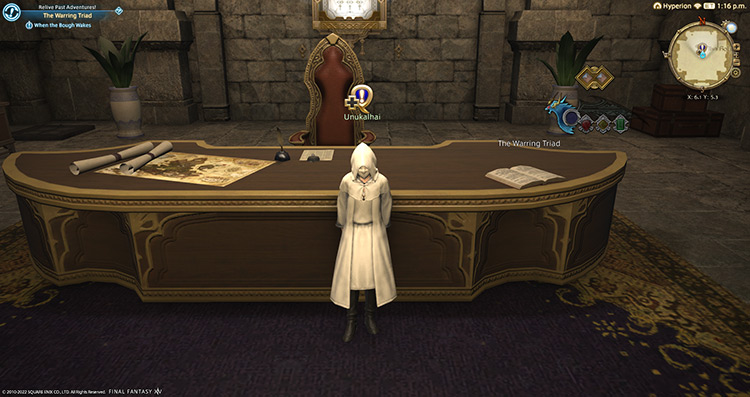
Torsefers would have you meet the mysterious stranger that asked him for your whereabouts. Head to Mor Dhona and talk to Unukalhai in The Rising Stones (X:6.1, Y:5.3).
Before you can unlock Containment Bay P1T6 (Extreme), you’ll need to complete its story mode version along with its prerequisites.
Here’s the list of quests from Unukalhai that you need to complete in order, along with the corresponding trials or dungeons you need to clear:
- “When the Bough Wakes” – Defeat Sephirot in Containment Bay S1T7. You’ll need at least an average item level of 190 and a level 60 Disciple of War or Magic job to enter.
- “The Fate of Stars” – Defeat Regula Van Hydrus once more in the Aetherochemical Research Facility. Not to be confused with the four-person dungeon, this is a single-player story dungeon that you’ll need to clear to complete the quest. You don’t need to queue for Aetherochemical Research Facility.
- “Balance Unto All” – Defeat Sophia in Containment Bay P1T6. You’ll need at least an average item level of 220 and a level 60 Disciple of War or Magic job to enter.
Once you’ve finished the story mode for Containment Bay P1T6, you’ll be able to unlock its Extreme mode.
Accept the quest “A Deific Simulacrum” from Unukalhai in The Rising Stones (X:6.1, Y:5.3).
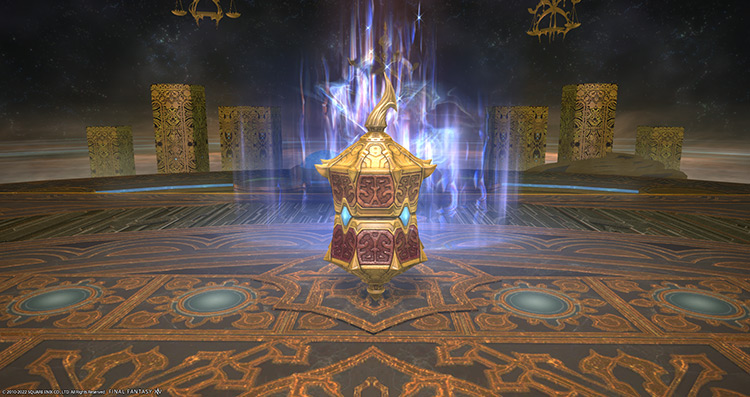
In this quest, he’ll give you an Allagan tomestone containing the data of the Goddess Sophia.
You can use this tomestone to create a simulacrum of the primal, allowing you to fight a stronger version of her. Present Sophia’s tomestone to the Verification Node in Azys Lla (X:25.6, Y:22.4) to unlock Containment Bay P1T6 (Extreme).
To enter the trial, you’ll need at least an average item level of 235 and a level 60 Disciple of War or Magic job.
This Extreme trial has multiple phases and a tricky mechanic that you need to learn about. Let’s go through each phase below:
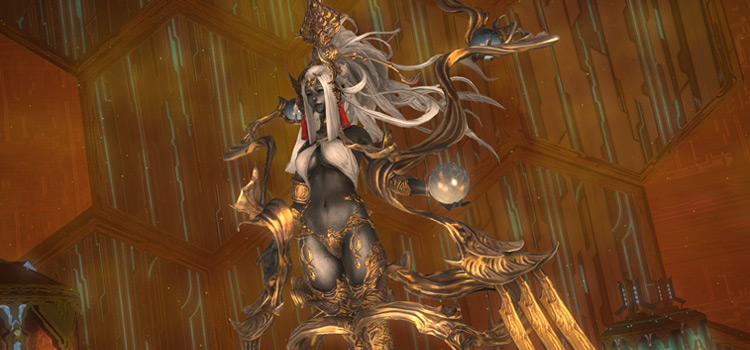
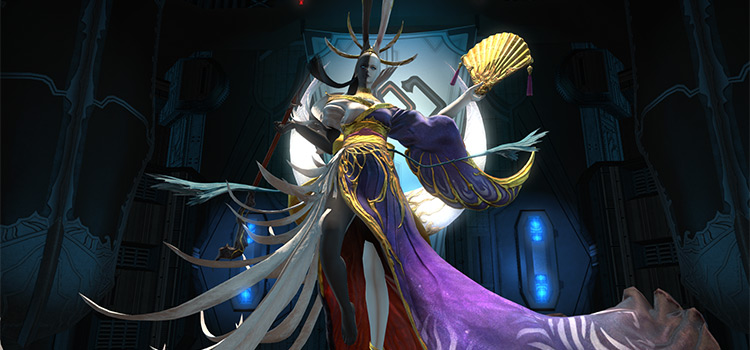
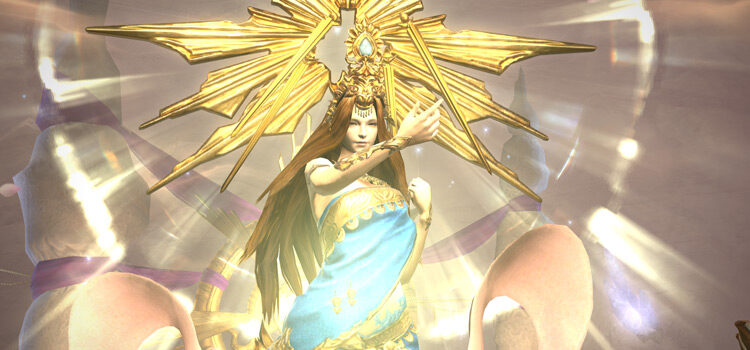
Trial Boss: Sophia (Extreme)
Due to the trial being released way back in patch 3.4, you can easily solo this when you enter unsynced with a level 90 or above character.
Use knockback immunity skills to negate the arena tilts and burn the boss down as soon as possible. Here’s a detailed breakdown of the fight if you want to do it while synced.
Mechanics:
You can fall off the outer edges of the arena, so watch your step. There are three mechanics that the boss will use throughout the entire encounter: Thunder II, Thunder III, and Aero III.
Each of these attacks will inflict a stacking “Vulnerability Up” debuff on any players hit.
- Thunder II: A non-telegraphed frontal cleave attack on the primary target. Tanks should always face the boss away from the party.
- Thunder III: A huge donut AoE that covers a large chunk of the arena. While this attack covers a lot of ground, you can dodge it by moving into the boss hitbox or running outside the donut AoE’s maximum range.
- Aero III: A large, point-blank AoE that knocks players back. Move away from the boss before the cast goes off.
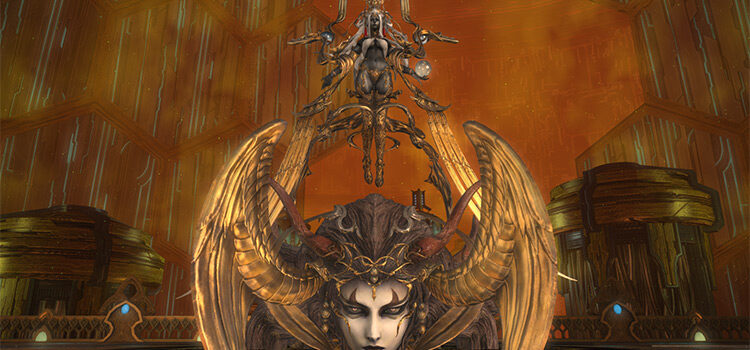
Phase 1: Sophia’s Daughter and Clones
Rotation:
Thunder II > Sophia’s Daughter > Gnosis (Sophia’s Daughter) > Arms of Wisdom > Aion Teleos > Thunder II, Thunder III, or Aero III x2 + Duplicate (Aion Teleos) x2 > Execute.
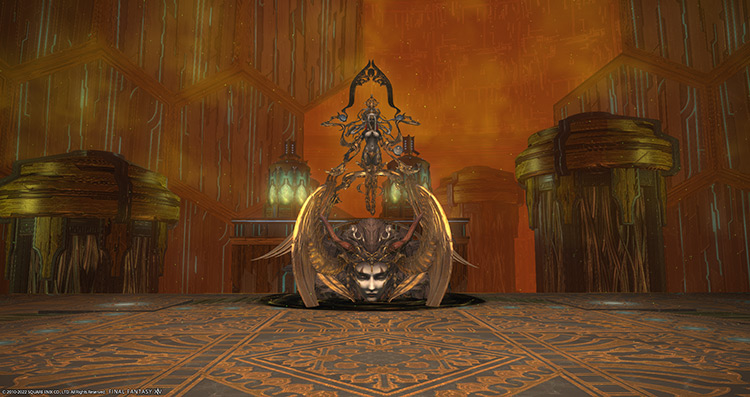
- Sophia’s Daughter: The giant floating head that the boss stood on will appear on a random corner of the arena. Always keep an eye out for her daughter to deal with the next mechanic.
- Gnosis (Sophia’s Daughter): Once the daughter reappears, it will cast a room-wide AoE attack that knocks players back. As soon as the daughter spawns, run towards it and make sure you get knocked into a safe zone.
- Arms of Wisdom: A non-telegraphed, targeted AoE tankbuster that knocks the primary target back and inflicts a “Lightning Resistance Down II” debuff. The off-tank should perform a tank swap with the main tank. Mitigate and heal through the damage.
- Aion Teleos + Duplicate (Aion Teleos): Four invulnerable boss clones will spawn around the room. Then, she will tether to a pair of clones and cast one of “Thunder II,” “Thunder III,” or “Aero III.” The boss will use any of the three attacks twice, while the tethered clones use “Duplicate” to copy each attack that the boss cast. Remember what attack each pair of tethered clones copied to handle the next mechanic.
- Execute: When the boss uses “Execute,” she’ll trigger the attacks that her clones copied. Before the cast goes off, run behind clones that copied “Thunder II,” or run under the hitbox of clones that copied “Thunder III.” Never move toward clones that copied “Aero III,” or you’ll be knocked off the arena.

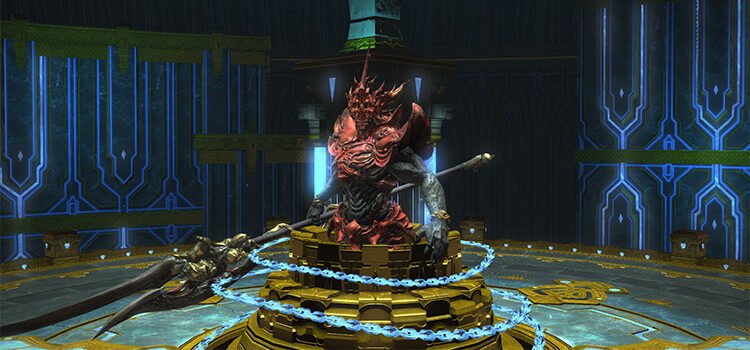
Phase 2: Demiurges
Rotation:
Cloudy Heavens > First Demiurge + Second Demiurge + Third Demiurge > The Scales of Revelation.
When the boss moves to the north, you’ll have a couple of seconds to hit her before she turns invincible. Kill the demiurges in this order:
Second Demiurge (the Healer) > Third Demiurge (the Dragoon) > First Demiurge (the Paladin)
-
Cloudy Heavens: The boss will move toward the northern edge of the arena and cast “Cloudy Heavens,” turning her invincible once it goes off. Then, she’ll spawn three “Demiurge” mobs that need to be killed in under two minutes. Each surviving demiurge will increase the AoE’s damage that will be cast after this phase. Having too many demiurges alive may result in a wipe.
An “Eternal Doom” debuff will also be applied to all players, turning them into zombies for 20 seconds if they die or if the debuff wears off after two minutes. Zombified players will start attacking their allies. This debuff will act as a DPS check for the party, so kill the extra mobs as soon as possible.
- First Demiurge + Second Demiurge + Third Demiurge: Have the main tank pick up “First Demiurge” and the off-tank pick up “Second Demiurge” and “Third Demiurge.”
- Vertical or Horizontal Kenoma (First Demiurge): “First Demiurge” will put up shields on its horizontal or vertical sides. Anyone that hits it through its shields will be knocked back and inflicted with a stacking “Vulnerability Up” debuff. Remember where its shields appeared, or stop attacking it until the shields wear off.
- Infusion (First Demiurge): At around 50% HP, a random player will be targeted with a large, extending column AoE. This attack needs to be shared by the entire party or the targeted player will die. “Infusion” will also knock players back and cause them to attack allies unless they’re standing in the middle of the column AoE (purple line marker). Stand within the purple line marker to share the AoE and avoid getting knocked back.
- Divine Spark (Second Demiurge): At around 50% HP, “Second Demiurge” will cast a gaze attack. This attack will inflict a “Confused” debuff to anyone hit, causing players to attack their allies for nine seconds. Turn away from the demiurge before the cast goes off.
- Ring of Pain (Third Demiurge): “Third Demiurge” will drop ice puddles underneath it, inflicting an ice DoT for 14 seconds to anyone that wanders into the puddle. Tanks should try to bait the puddles in one area to leave more space for the party.
- Gnostic Spear (Third Demiurge): A hard-hitting column AoE attack that can inflict a stacking “Vulnerability Up” debuff.
- Gnostic Rant (Third Demiurge): At around 50% HP, “Third Demiurge” will cast a 270- degree frontal AoE. The tank should face “Third Demiurge” toward one corner of the arena to avoid cleaving the party.
- The Scales of Wisdom: The boss will begin to tilt the entire arena, sliding players from one side to the other. Immediately after, the party will be hit with a room-wide AoE attack. This AoE gets stronger the more demiurges survive the phase. Move to the eastern edge, then the western edge of the arena while dodging ice puddles to avoid falling off. Then, mitigate and heal through the AoE damage.
Meteors, Sliding, and Quasars
Before continuing, you’ll need to know about the meteors that drop on the boss’ scales outside the arena. Understanding the color and number of meteors going into each scale will determine how you handle “Quasar” attacks and other incoming mechanics.
-
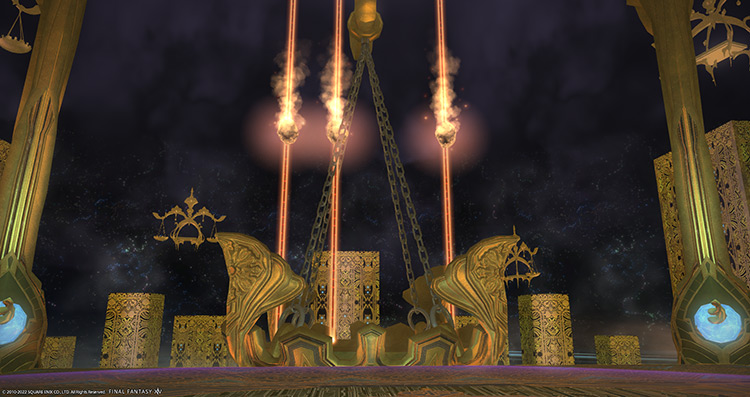
Meteors: When the boss uses “Quasar,” you may notice meteors dropping on the scales outside the arena. The meteors can be blue or orange, with each color having specific weight values. After the meteors drop, the entire arena will tilt toward the heavier side, causing players to slide across the arena (and toward certain death if done incorrectly).
Blue meteors have a weight value of 3, while orange meteors have a weight value of 1. The weight difference between the scales will determine which side the arena will tilt and how far the players will slide (if the arena tilts at all).
- Sliding: Depending on the number of meteors, players can slide 3/4ths of the arena or nearly its entire length. Understanding how far you need to slide in the arena is needed because you’ll need to dodge other mechanics while sliding in the latter phases of the fight.
- If the weight difference between the scales during “Quasar” is 0, the arena will not tilt (No Slide).
- If the weight difference between the scales during “Quasar” is 1, players will slide 3/4ths of the arena toward the heavier side (Short Slide).
- If the weight difference between the scales during “Quasar” is 2, players will slide nearly the entire length of the arena toward the heavier side (Long Slide).
- Instead of calculating the weight difference, you can also determine which slide you will get (short or long) by adding the total number of tethers the boss has.
- If the boss has an odd number of tethers, you will get a Short Slide. If the boss has an even number of tethers, you will get a Long Slide. However, this isn’t applicable if there’s one blue meteor on one scale and three orange meteors on another scale since the weight difference would be 0 (No Slide).
- As a rule of thumb, If the arena tilts, it will always tilt toward the blue meteor’s side, so always run away from blue meteors.
- Quasar (No Slide): Proximity-based markers will appear under random players if there’s one blue meteor on one scale and three orange meteors on another. Drop these meteors in one spot, then move away as soon as they drop.
- Quasar (Short Slide): Standing 3/4ths of the arena away from blue meteors will make you slide near the edge of the arena and vice versa. Use this to your advantage when dodging other mechanics that will appear during “Quasar” later in the fight.
- Quasar (Long Slide): Always stand near the edge of the arena and away from blue meteors for Long Slides, or you will die.
Knockback Immunity Skills
Knockback Immunity skills such as “Surecast” and “Arm’s Length” will work against “Quasar” slides.
However, these skills have a 2-minute cooldown, so it’s not guaranteed that you’ll have them available during every “Quasar” phase. If you’re going to use Knockback Immunity skills, use it right before the arena tilts so you’ll be immune through both tilts.
Phase 3: Quasar (No Slide) + Quasar (Short or Long Slide)
Rotation:
Quasar (No Slide) > Thunder II, Thunder III, or Aero III > Quasar (Short or Long Slide) > Cintamani x2 > Arms of Wisdom > Thunder II, Thunder III, or Aero III
After “The Scales of Wisdom,” the boss will go through an “example phase” to show how “Quasar” works. This can be completely skipped if the boss enters Phase 3 at 75% HP or lower. For the first “Quasar (No Slide),” drop the proximity markers up north, then run toward the south.
- Cintamani: A non-telegraphed room-wide AoE with no cast bar. The boss will raise her hands during its cast. Mitigate and heal through the damage.
Phase 4: Quasar (Sliding) #1 + Sin and Punishment + Laser Beam (Sophia’s Daughter)
Rotation:
Quasar (Short or Long Slide) + Onrush > Sin and Punishment > Cintamani x2 > Arms of Wisdom > Aion Teleos > Cintamani x3 > Thunder II, Thunder III, or Aero III x2 + Duplicate (Aion Teleos) x2 > Arms of Wisdom > Laser Beam (Sophia’s Daughter) > Execute > Cintamani x3 > Arms of Wisdom.
You’ll need to figure out whether the slide will be long or short for incoming “Quasar” attacks. Practice calculating the difference in weight values and adjusting your position for quasars.
- Onrush: The boss will teleport to one side of the arena. After a few moments, she’ll rush forward, damaging and inflicting a stacking “Vulnerability Up” debuff to anyone in her path. Keep an eye on the boss while positioning yourself for “Quasar.”
- Sin and Punishment: All players will be targeted with black or white circles that will slowly shrink over time. These circles can be paired correctly by standing with players of opposite colors. Players that fail to pair up before the circles disappear will be inflicted with a “Dischordant Cleansing” debuff, lowering the healing they receive.
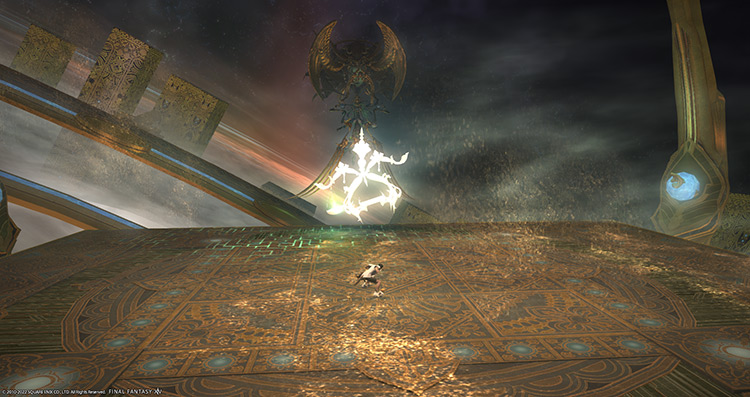
- Laser Beam (Sophia’s Daughter): The boss’ daughter will spawn at the edge of the arena, or near it. Then, it’ll fire a laser beam that deals high damage and inflicts a stacking “Vulnerability Up” debuff as your party slides through the arena. Check where the daughter’s beam will land and pre-position yourself to slide before or past the beam.
Starting from Phase 4, explanations for the rotation will be listed in the order that mechanics appear:
- Pre-position yourself for “Quasar” while dodging the boss’ “Onrush”
- Pair up with one player of opposite circle color until the circles disappear
- Heal through two “Cintamani” AoEs and an “Arms of Wisdom” tankbuster
- Check where the clones spawned while healing through three “Cintamani” AoEs
- Dodge two of “Thunder II,” “Thunder III,” or “Aero III” while remembering which clones copied which attack
- Move away from the laser beam’s path while standing behind or underneath the safe clone during “Execute”
- Heal through three “Cintamani” AoEs and another “Arms of Wisdom” tankbuster
Phase 5: Quasar #2 and #3 (both Sliding)
Rotation:
Quasar (Short or Long Slide) + Laser Beam (Sophia’s Daughter) > Thunder II, Thunder III, or Aero III > Arms of Wisdom > Quasar (Short or Long Slide) + Onrush + Laser Beam (Sophia’s Daughter) > Cintamani x3 > Arms of Wisdom > Thunder II, Thunder III, or Aero III > Sin and Punishment > Gnosis (Sophia’s Daughter) > Arms of Wisdom.
- Pre-position yourself for a long or short slide during “Quasar” depending on the laser beam’s location
- Dodge a “Thunder II,” “Thunder III,” or “Aero III”
- Heal through an “Arms of Wisdom” tankbuster.
- Pre-position yourself for another long or short slide during “Quasar” depending on the laser beam’s location while moving away from “Onrush”
- Heal through three “Cintamani” AoEs and another “Arms of Wisdom” tankbuster
- Dodge another “Thunder II,” “Thunder III,” or “Aero III”
- Pair up with one player of opposite circle color until the circles disappear
- Run toward the daughter to get knocked back into a safe zone
- Heal through another “Arms of Wisdom” tankbuster
Phase 6: Quasar #4 and #5 (one Sliding and one Non-sliding)
Rotation:
Sin and Punishment > Quasar (Short or Long Slide) > Aion Teleos > Cintamani x3 > Arms of Wisdom > Thunder II, Thunder III, or Aero III x2 > Quasar (No Slide) > Duplicate (Aion Teleos) x2 > Arms of Wisdom > Sin and Punishment > Execute > Cintamani x3 > Arms of Wisdom.
- Pair up with one player of opposite circle color until the circles disappear, then immediately pre-position yourself for a “Quasar.”
- Check where the clones spawned while healing through three “Cintamani” AoEs and an “Arms of Wisdom” tankbuster.
- Dodge two of “Thunder II,” “Thunder III,” or “Aero III” while remembering which clones copied which attack.
- During “Duplicate (Aion Teleos),” drop the “Quasar (No Slide)” proximity markers in one safe clone, then move to the other safe clone.
- Heal through another “Arms of Wisdom” tankbuster.
- Pair up with one player of opposite circle color until the circles disappear.
- Stand behind or underneath the safe clone.
- Heal through three “Cintamani” AoEs and another “Arms of Wisdom” tankbuster.
After Phase 6, the boss’ rotations will repeat, starting with Phase 4’s “Quasar (Short or Long Slide)”.
Rewards
- 25 Allagan Tomestone of Poetics
- Sophia Triple Triad Card (not guaranteed)
- Goddess Totem (1 per clear)
Note: Goddess Totems can be traded for loot (10 totems) or the Sophic Lanner Whistle (99 totems) with Bertana in Idyllshire (X:5.9 Y:5.2).
| Name | Type | Rarity |
|---|---|---|
| Sophic Word | Book | Blue (Primal Gear) |
| Sophic Song | Book | Blue (Primal Gear) |
| Sophic Bow | Bow | Blue (Primal Gear) |
| Sophic Cane | Cane | Blue (Primal Gear) |
| Sophic Points | Daggers | Blue (Primal Gear) |
| Sophic Fire | Firearms | Blue (Primal Gear) |
| Sophic Fists | Fist Weapon | Blue (Primal Gear) |
| Sophic Axe | Greataxe | Blue (Primal Gear) |
| Sophic Edge | Greatsword | Blue (Primal Gear) |
| Sophic Katana | Katana | Blue (Primal Gear) |
| Sophic Pike | Polearm | Blue (Primal Gear) |
| Sophic Rapier | Rapier | Blue (Primal Gear) |
| Sophic Shield | Shield | Blue (Primal Gear) |
| Sophic Pole | Staff | Blue (Primal Gear) |
| Sophic Star | Star Globe | Blue (Primal Gear) |
| Sophic Blade | Sword | Blue (Primal Gear) |
| Sophic Bead Fragment | Crafting material | Basic |
| Faded Copy of Equilibrium | Orchestrion Roll | Basic |
| Sophic Weapon Coffer | Other | Basic |
| Sophic Lanner Whistle | Other | Basic |
-
Final Fantasy XIV
- Sophia EX Unlock & Trial Guide – FFXIV Containment Bay P1T6 (Extreme)
Related Posts:
 FFXIV Containment Bay P1T6 (Normal): Unlock + Trial Guide
 Zurvan EX Unlock & Trial Guide – FFXIV Containment Bay Z1T9 (Extreme)
 FFXIV The Minstrel’s Ballad: Tsukuyomi’s Pain (Unlock + Trial Guide)
 FFXIV Wreath of Snakes (Extreme): How To Unlock + Trial Guide
 The Akh Afah Amphitheatre (Extreme): Unlock + Trial Guide (FFXIV)
 FFXIV Containment Bay S1T7 (Extreme): Unlock + Trial Guide
 FFXIV Emanation (Extreme): How To Unlock + Trial Guide
 FFXIV The Minstrel’s Ballad: Thordan’s Reign – Unlock + Trial Guide