You can unlock the trial Containment Bay Z1T9 (Extreme), also known as Zurvan EX, by completing the quest “A Demonic Duplicate” from Unukhalhai in The Rising Stones (X:6.1, Y:5.3).
But before you can accept this quest, you’ll need to complete the final Main Scenario Quest for patch 3.0 of the Heavensward expansion and unlock the trial’s story mode. We’ll go over the exact unlock requirements below, along with all of the trial battle mechanics.
TABLE OF CONTENTS
Step-by-Step Unlock Guide
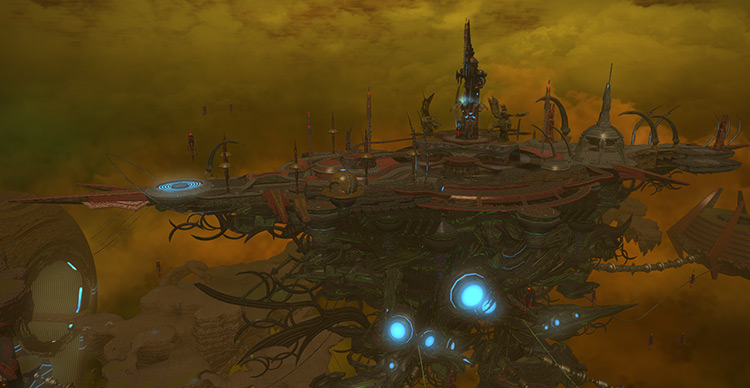
- Complete the Main Scenario Quest (MSQ) “Heavensward” from the Guidance Node in Azys Lla (X:16.0, Y:22.0).
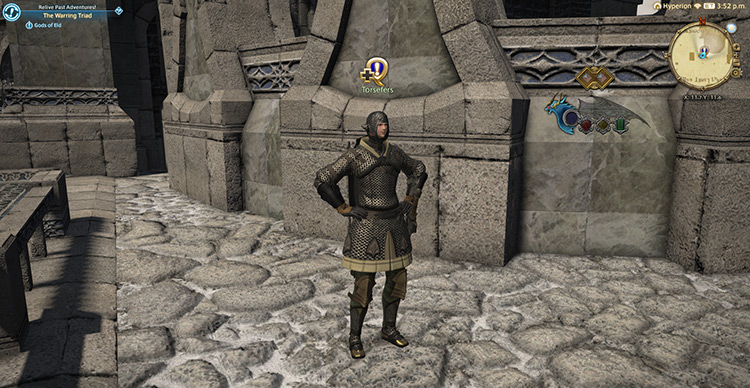
- Finish the entire Warring Triad story questline, starting with “Gods of Eld” from Torsefers in The Pillars (X:11.7, Y:11.6).
- Accept the quest “A Demonic Duplicate” from Unukalhai in The Rising Stones (X:6.1, Y:5.3).
- Present the Allagan tomestone to the Verification Node in Azys Lla (X:25.6, Y:22.4).
Detailed Unlocking Guide
The Warring Triad questline will only become available once you finish the Main Scenario Questline for patch 3.0 of the Final Fantasy XIV: Heavensward expansion.
Continue with the Main Scenario Quests until you finish “Heavensward” from the Guidance Node in Azys Lla (X:16.0, Y:22.0).
Upon finishing “Heavensward,” the Warring Triad questline will become available.
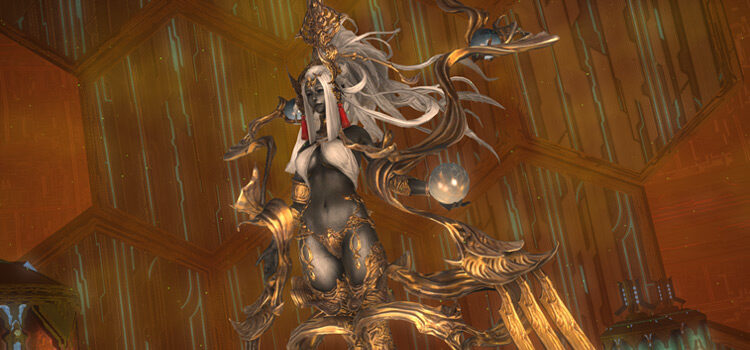
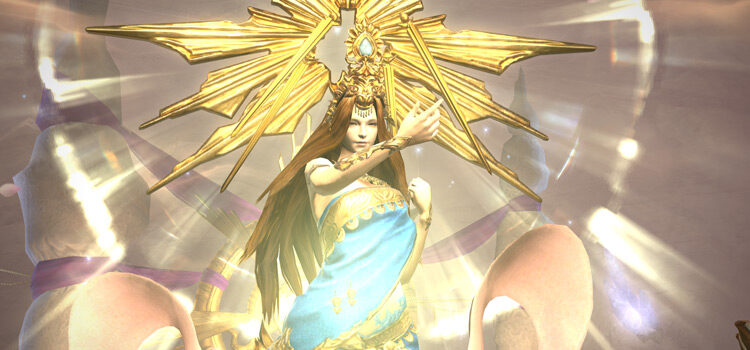
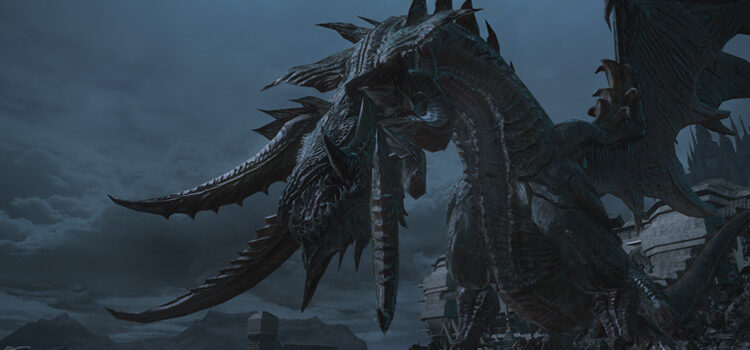
In this questline, you’ll face the primals Sephirot, Sophia, and Zurvan.
These deities were bound by the Allagan Empire during the Third Astral Era. Unfortunately, when Archbishop Thordan tried to take control of “The Flagship,” the deities’ shackles were weakened.
Accept the quest “Gods of Eld” from Torsefers in The Pillars (X:11.7, Y:11.6) to begin the Warring Triad questline. And if you were wondering, these primals reference the Warring Triad from Final Fantasy VI: the Demon, the Fiend, and the Goddess. Final Fantasy VI fans rejoice!
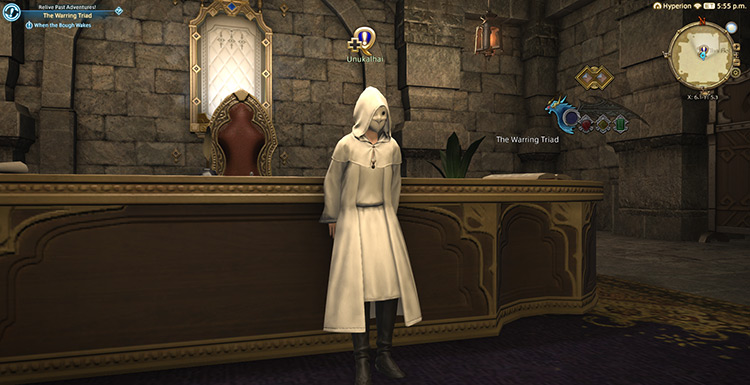
In “Gods of Eld,” you’ll be introduced to a young boy named Unukalhai, who is determined to help you deal with the Warring Triad.
Each deity will be released so you and your friends can defeat them for good.
There are four quests from Unukalhai that you need to complete to finish the story mode of the Warring Triad.
SCROLL
| Quest Name | Boss | Level Requirement | Average Item Level Requirement |
|---|---|---|---|
| When the Bough Wakes | Sephirot | 60 | 190 |
| The Fate of Stars | Regula Van Hydrus | 60 | N/A |
| Balance Unto All | Sophia | 60 | 220 |
| The Last Pillar to Fall | Zurvan | 60 | 235 |
“The Fate of the Stars” quest involves a single-player instanced dungeon that doesn’t have an Item Level Requirement. This instanced dungeon will happen inside the Aetherochemical Research Facility, but you don’t need to queue the Level 60 dungeon. You’ll be transported into the instanced dungeon while doing the quest.
“The Last Pillar to Fall” unlocks the story mode trial for Containment Bay Z1T9.
After you defeat Zurvan in that trial, talk to Unukalhai in The Rising Stones (X:6.1, Y:5.3) again and accept the quest “A Demonic Duplicate.”

Similar to the extreme versions of Containment Bay S1T7 and P1T6, Unukalhai will give you an Allagan tomestone containing the combat data of the primal Zurvan.
Presenting this tomestone to the Verification Node in Azys Lla (X:25.6, Y:22.4) will unlock Containment Bay Z1T9 (Extreme), allowing you to fight a stronger Zurvan.
This trial requires at least a Level 60 Disciple of War or Magic job and an average item level of 250 to enter. Learn about Zurvan’s enhanced mechanics below:
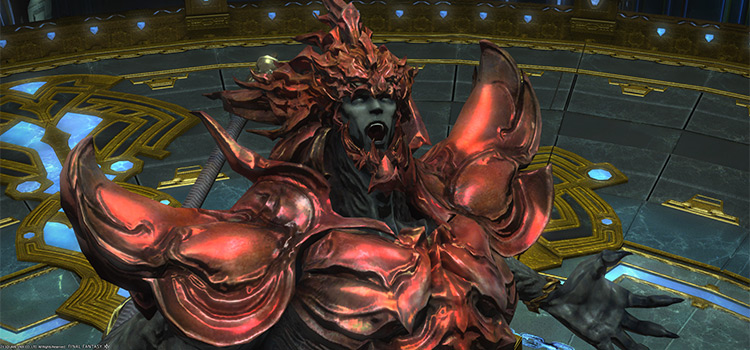
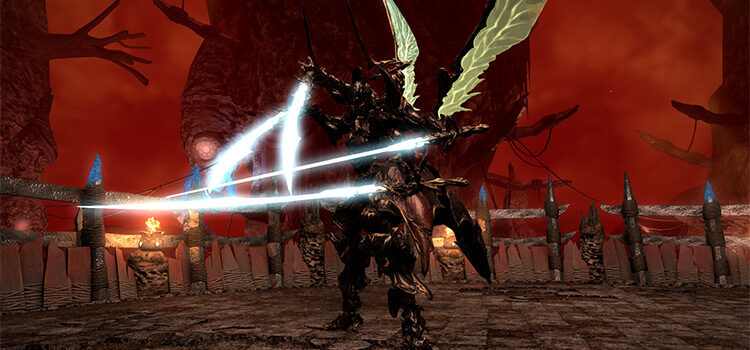
Trial Boss: Zurvan
Since Zurvan EX was released back in patch 3.5 of the Heavensward Expansion, current high-level gear sets have allowed this trial to be soloed quickly.
Simply enter the trial with a level 90 or above character and hit the boss as hard as possible. Of course, it’s easier and safer with a job that has self-healing, but any job can work. If you want to do the fight while synced, read about the synced mechanics below:
Synced Mechanics
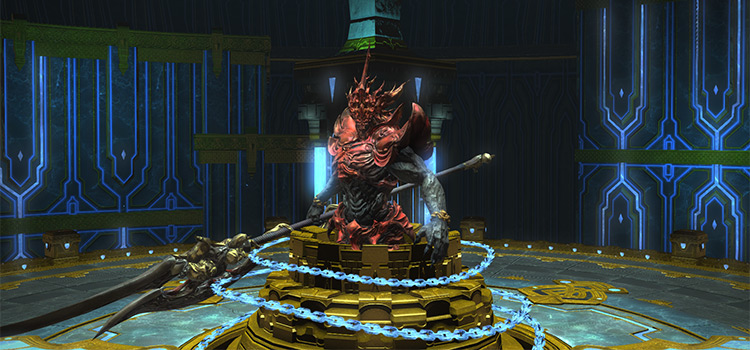
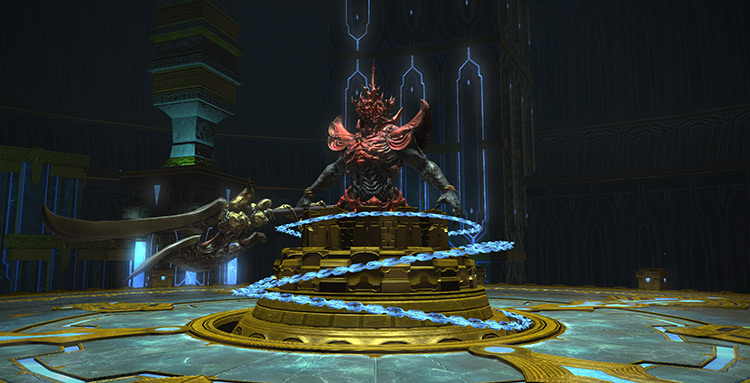
Phase 1: Chained Zurvan
Rotation:
Metal Cutter x2 > East Quadrant falls > Flare Star > North Quadrant falls> Metal Cutter x2 > West Quadrant falls > Flare Star > The Purge.
The fight starts with the boss’ lower half still chained to the center of the arena. After a few seconds, he’ll start destroying specific quadrants in a set pattern: East > North > West.
Have the entire party stack in the southern quadrant to avoid extra movement. Only the main tank should move around during this phase.
- Metal Cutter: The boss will use a non-telegraphed frontal cone attack throughout the encounter. This is a hard-hitting attack without a cast bar. Only the main tank should be in front of the boss as much as possible.
- Flare Star: Four players will be targeted with fiery AoE markers. Since the arena will continue to shrink during this phase, all marked players should stack together to bait the AoEs in one area before moving out.
- The Purge: A room-wide AoE attack signaling the transition to Phase 2. This attack frees the boss from his shackles. Mitigate and heal through the damage.
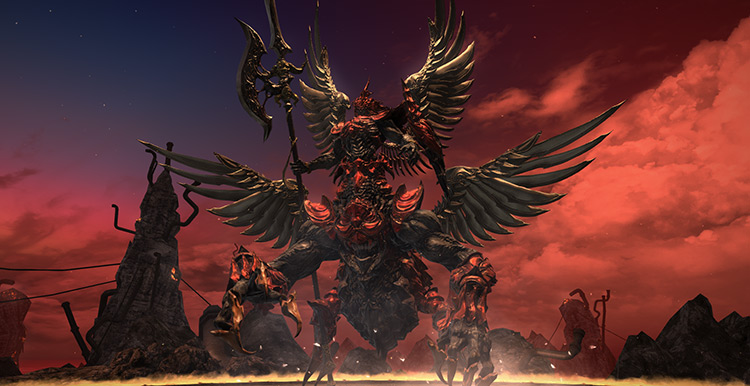
Phase 2: First Soar (Skippable)
Rotation:
Metal Cutter x2 > Wave Cannon > Metal Cutter x4 > repeat Wave Cannon + Metal Cutter x4 until 80% > Soar + Flaming Halberd > Demonic Dive + Cool Flame.
Starting from Phase 2, a ring of fire will form around the arena. This fire ring deals 9999 damage per second to anyone that wanders into it. Be careful not to get pushed into the ring of fire.
- Wave Cannon: A massive line attack on a random target that inflicts a 20-second “Bleed” DoT. Move away from the rest of the party if you’re targeted.
- Soar: The boss will cast three column attacks as he rushes out of the arena. Then, the boss will rush back into the arena in a pattern relative to the initial set of attacks. Players hit by the boss’s rush attacks will be inflicted with a stacking “Vulnerability Up” debuff. “Soar also has two patterns you need to learn.
- Soar (Three-fold split): In the three-fold split of “Soar,” the boss will slice the arena into three in the initial set of rushing attacks. When he returns for the second set, it’ll be six slices of the same size. Since six players will be targeted for “Flaming Halberd,” each tank and DPS player must be assigned to one safe spot in these six slices.
- Soar (Dual split): This pattern is a bit easier since the boss will mostly rush through the middle of the arena. Have three of either DPS or tank players spread out their “Flaming Halberd” markers in each half of the arena.
- Flaming Halberd: As the boss prepares to rush through the length of the arena, he’ll cast “Flaming Halberd,” marking all players except the healers with large fiery AoE markers. These markers are larger than the “Flare Star” markers from Phase 1 and must be spread out while dodging the “Soar” rush attacks.
- Demonic Dive + Cool Flame: Immediately after “Soar,” a random player will be marked with a “Demonic Dive” stack-up marker. At the same time, another player will be marked with an orange “Cool Flame” marker. Have the rest of the party stack for “Demonic Dive” while the player marked with “Cool Flame” moves away from the group.
The boss will use “Soar” multiple times throughout the fight. Let’s go through the entire phase step-by-step to help you understand it better.
- Mitigate and heal through two “Metal Cutter” attacks.
- Face the “Wave Cannon” line attack away from the party.
- Heal through four more “Metal Cutters.”
- Repeat Steps 1-3 until 80% HP.
- Identify the “Soar” pattern (three-fold or dual split).
- Dodge the initial rush attacks while positioning yourselves to your assigned spots.
- Evenly spread out your “Flaming Halberd” AoE markers based on the “Soar” pattern.
- Stack in the middle for “Demonic Dive” except for the player marked with “Cool Flame.”
Do note that the first “Soar” can be skipped if the boss is brought down to 75% HP soon after the fight transitions into Phase 2.
If you’ve ever heard a friend say the “Skip Soar or disband” meme, this is what they were referencing!
Phase 3: Biting Halberd + Southern Cross
Rotation:
Ice and Fire > Metal Cutter x3 > Biting Halberd > Southern Cross > Metal Cutter > Biting Halberd, Tail End, or Ciclicle > Repeat from Metal Cutter x3 until 50%.
- Ice and Fire: A sizable area underneath the boss will be covered in ice after the “Demonic Dive + Cool Flame” combo. Don’t walk into it, or you’ll be slowed with “Leaden” and be damaged by a continuous “Frostbite” DoT. If you successfully skipped the first “Soar,” the fight will immediately transition to Phase 3 with this mechanic.
- Biting Halberd: A 270-degree frontal cleave without a telegraph. This attack knocks players back and inflicts a stacking “Vulnerability Up” debuff. Stay directly behind the boss to avoid it.
-
Southern Cross: Immediately after “Biting Halberd,” the boss will randomly select four players to be hit with ice AoE puddles after the cast goes off. These puddles inflict “Leaden,” “Frostbite,” and stacking “Vulnerability Up” debuffs.
Everyone should stay behind the boss after “Biting Halberd” to bait the ice puddles in that area before moving out. The main tank should dodge away from the group to avoid cleaving everyone with the incoming “Metal Cutter.”
- Tail End: A non-telegraphed, point-blank AoE that pushes players back and applies a stacking “Vulnerability Up” debuff. This attack is quite large, so move away from the boss as much as possible until you get the hang of its range.
- Ciclicle: A non-telegraphed, donut AoE with a knockback and “Vulnerability Up” debuff. This attack is basically the opposite of “Tail End,” with the safe spot directly outside the “Ice and Fire” puddle underneath the boss.
This phase is a repeating cycle of mechanics with some variations. Let’s go through each mechanic again:
- Avoid the “Ice and Fire” puddle underneath the boss throughout the phase.
- Mitigate and heal through three “Metal Cutter” attacks.
- Move behind the boss for “Biting Halberd.”
- Bait for the “Southern Cross” puddles behind the boss before moving out. You need to spread out as soon as the cast bar goes off.
- Heal through another “Metal Cutter.” Make sure the main tank dodges “Southern Cross” away from the party to avoid unnecessary cleaves.
- Avoid incoming attacks based on the boss’ selected mechanic:
- If he uses “Biting Halberd,” stand behind him again.
- If he uses “Tail End,” move away from him.
- If he uses “Ciclicle,” stand near him.
- Repeat until the boss reaches 50%.
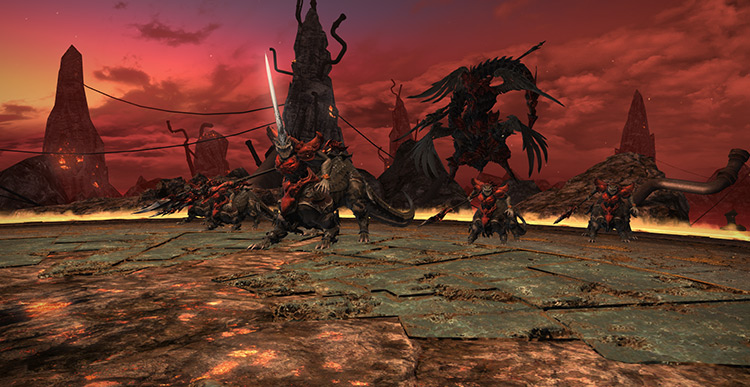
Phase 4: Execrated Mobs
Rotation:
Execrated Thew x4 + Execrated Will x1 > Execrated Will x2 + Execrated Wit x1 + Execrated Wile x1 > Execrated Thew x3 + Execrated Will x1 + Execrated Wit x1 + Execrated Wile x1 > Ahura Mazda.
Once the boss reaches 50% HP, he’ll jump off the arena and spawn his minions. These minions must be killed before the limit break gauge reaches 100, or the boss’ ultimate attack will wipe the party.
- Execrated Thew: This mob has no special attacks and can be ignored until the others have been killed.
- Execrated Will: A bigger version of “Execrated Thew.” This mob buffs itself with “Damage Up” over time, so don’t leave it up for too long. It also uses “Hard Thrust,” a strong single-target attack on the primary target. Have the tanks pick up these mobs as soon as possible.
- Execrated Wit: This mob will start casting “Meracydian Meteor” as soon as it spawns. This attack deals 99999 raid-wide damage and will wipe the party if it goes off. Kill this mob first.
- Execrated Wile: This mob will start casting the look-away mechanic “Meracydian Fear” as soon as it spawns. Make sure your character is facing away from the Wile when the cast goes off, or you’ll lose control of your character for 10 seconds due to the“Hysteria” debuff. This mob also uses “Meracydian Fire” as its normal attack.
- Ahura Mazda: The boss will apply “Fetters” and “Deep Freeze” debuffs on the entire party when all the minions are killed or when the limit break gauge level reaches 100. Then, he’ll cast his Ultimate AoE attack, hitting everyone based on the gauge level. Kill his minions before the gauge reaches 100, or the party will wipe.
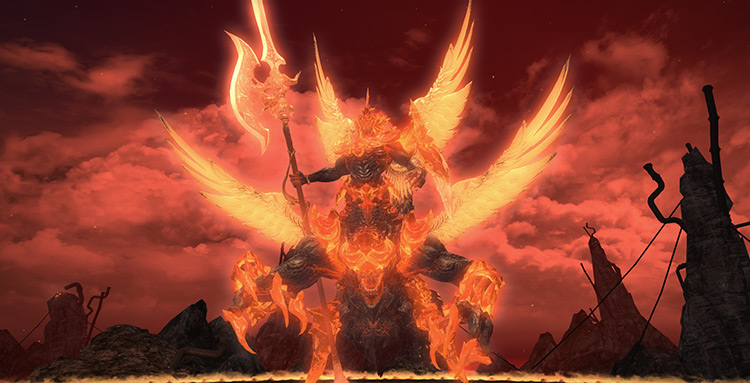
Phase 5: Broken Seal (Zurvan’s Final Form)
Rotation:
Wave Cannon > Tyrfing > Southern Cross > Broken Seal > Biting Halberd, Tail End, or Ciclicle > Metal Cutter > Wave Cannon > Tyrfing > Southern Cross > Metal Cutter > Broken Seal > Biting Halberd, Tail End, or Ciclicle.
After Phase 4, the boss will transform into his final form and the ice puddle underneath him will disappear.
During this phase, two pairs will be tethered to one another for incoming mechanics. Stay with your partner as much as possible while handling incoming mechanics to avoid unnecessary damage.
- Infinite Fire and Infinite Ice: All players will be marked with either an “Infinite Fire” or “Infinite Ice” status. Remember your statuses to handle the incoming “Broken Seal” mechanic. At the same time, two pairs will be tethered to one another with the same status. Stay close to your partner if you’re tethered, or your status will change to “Infinite Anguish.”
- Infinite Anguish: Your infinite status will change to “Infinite Anguish” if you stay away from your partner for too long. This debuff will apply a constant DoT and increase the damage taken by the pair until they go back in range of each other. Always stay near your partner to avoid unnecessary damage.
- Tyrfing: A five-hit tankbuster on the primary target, followed by a “Fire III” single-target attack. Mitigate and heal through the damage.
- Broken Seal: Four fire and four ice meteor circles will appear around the room in a set pattern. Players should stand on the meteor circle with the same element as their current status. Failing to do so will result in a room-wide AoE attack and stacking “Vulnerability Up” debuffs. After each “Broken Seal” pattern resolves, a new set of tethers will appear. There are three “Broken Seal” patterns you need to learn.
- Broken Seal Pattern 1 (Dual split): Two fire and two ice meteor circles will appear on the left and right sides of the boss. This pattern will always be followed by a “Biting Halberd”.
- Broken Seal Pattern 2 (Inner ring): Two meteor circles will appear in each intercardinal direction near the boss. This pattern will always be followed by “Tail End”.
- Broken Seal Pattern 3 (Outer ring): Two meteor circles will appear in each intercardinal direction near the edges of the arena. This pattern will always be followed by “Ciclicle”.
“Broken Seal” can be very punishing if not done correctly. To recap, here’s how you handle Phase 5 mechanics:
- Face the “Wave Cannon” line attack away from the party.
- Mitigate and heal through “Tyrfing.”
- Bait “Southern Cross” ice puddles in one area, then move out to dodge.
- Identify the “Broken Seal” pattern and match the color of your status with the corresponding meteor circle. Remember to stay with your partners if you’re tethered.
- Avoid incoming attacks based on the “Broken Seal” pattern:
- Dual split: stand behind him for “Biting Halberd.”
- Inner ring: move away from him for “Tail End.”
- Outer ring: stand near him for “Ciclicle.”
- Heal through “Metal Cutter.”
- Face the “Wave Cannon” away from the party again.
- Mitigate and heal through another “Tyrfing.”
- Stack in one area again for “Southern Cross” before moving out.
- Heal through another “Metal Cutter.”
- Match your elements for another “Broken Seal.”
- Dodge the incoming “Biting Halberd,” “Tail End,” or “Ciclicle” again based on the “Broken Seal” pattern.
Phase 6: The Demon’s Claw & Repeating Mechanics
Rotation:
Metal Cutter > Soar + Flaming Halberd > Demonic Dive + Cool Flame > Demon’s Claw + Wave Cannon > Repeat from Phase 5.
At this point, most of the mechanics in the fight. Make sure to check the previous phases if you need a refresher.
The Demon’s Claw: The boss will target the main tank with a knockback, stun, “Magic Vulnerability Up” debuff, and stacking marker. To handle this mechanic, the main tank must move toward the rest of the group to avoid getting knocked into the ring of fire. Then, the rest of the party should stack with the tank for the “Wave Cannon” that will follow soon after.
- Mitigate and heal through “Metal Cutter.”
- Avoid the initial rush attacks while positioning yourselves to your assigned spots based on the “Soar” pattern.
- Spread out “Flaming Halberd” AoE markers while dodging “Soar” rushing attacks.
- Stack in the middle for “Demonic Dive” except for the player marked with “Cool Flame.”
- Have the main tank move toward the party to avoid getting knocked back into the outer ring.
- Stack with the main tank affected by “The Demon’s Claw” to mitigate the incoming “Wave Cannon” attack.
Note: The boss will repeat Phases 5 and 6 until he is killed.
Zurvan EX Rewards

Demon Totems can be traded for weapon loot (10 fragments) or the Demonic Lanner Whistle (99 fragments) with Bertana in Idyllshire (X:5.9 Y:5.2).
- 25 Allagan Tomestones of Poetics
- Zurvan Triple Triad Card (not guaranteed)
- Demon Totem (1 per clear)
| Name | Type | Quality |
|---|---|---|
| Zurvanite Word | Book | Blue (Primal Gear) |
| Zurvanite Song | Book | Blue (Primal Gear) |
| Zurvanite Bow | Bow | Blue (Primal Gear) |
| Zurvanite Cane | Cane | Blue (Primal Gear) |
| Zurvanite Points | Daggers | Blue (Primal Gear) |
| Zurvanite Fire | Firearms | Blue (Primal Gear) |
| Zurvanite Fists | Fist Weapon | Blue (Primal Gear) |
| Zurvanite Axe | Greataxe | Blue (Primal Gear) |
| Zurvanite Edge | Greatsword | Blue (Primal Gear) |
| Zurvanite Katana | Katana | Blue (Primal Gear) |
| Zurvanite Pike | Polearm | Blue (Primal Gear) |
| Zurvanite Rapier | Rapier | Blue (Primal Gear) |
| Zurvanite Shield | Shield | Blue (Primal Gear) |
| Zurvanite Pole | Staff | Blue (Primal Gear) |
| Zurvanite Star | Star Globe | Blue (Primal Gear) |
| Zurvanite Blade | Sword | Blue (Primal Gear) |
| Zurvanite Carapace Fragment | Crafting material | Other |
| Faded Copy of Infinity | Orchestrion Roll | Other |
| Zurvanite Weapon Coffer | Other | Other |
| Demonic Lanner Whistle | Other | Other |
-
Final Fantasy XIV
- Zurvan EX Unlock & Trial Guide – FFXIV Containment Bay Z1T9 (Extreme)
Related Posts:
 Zurvan Normal Unlock & Trial Guide – FFXIV Containment Bay Z1T9 (Normal)
 Sophia EX Unlock & Trial Guide – FFXIV Containment Bay P1T6 (Extreme)
 FFXIV Emanation (Extreme): How To Unlock + Trial Guide
 The Akh Afah Amphitheatre (Extreme): Unlock + Trial Guide (FFXIV)
 FFXIV Minstrel’s Ballad: Nidhogg’s Rage – Unlocking + Trial Guide
 FFXIV Thok ast Thok (Extreme): How To Unlock + Trial Guide
 FFXIV Containment Bay S1T7 (Extreme): Unlock + Trial Guide
 FFXIV Hells’ Kier (Extreme): How To Unlock + Trial Guide