This post may contain affiliate links. If you buy something we may get a small commission at no extra cost to you. (Learn more).
Kokomi and Mona are both support Hydro catalyst users. Although they have similar roles, their playstyles are very different.
Kokomi is the best at providing sustained off-field Hydro application, buffs, and healing. While Mona is great at applying on-field Hydro and providing massive buffs for a short period – she’s especially good for speedruns and shorter rotations.
Still, Kokomi is undoubtedly better than Mona.
This is because her Hydro application is miles ahead of Mona’s. It lets her sustain 100% freeze uptime and enable elemental reactions every second. She’s basically great in any team that needs off-field Hydro application.
To further explain, let’s compare their character values and how they perform in the two game modes of Genshin Impact: Overworld (Exploration & Co-op) and Spiral Abyss (Meta).
Note: All comparisons made are between a C0 Kokomi and C0 Mona.
In The Overworld
Exploration (Single-Player)
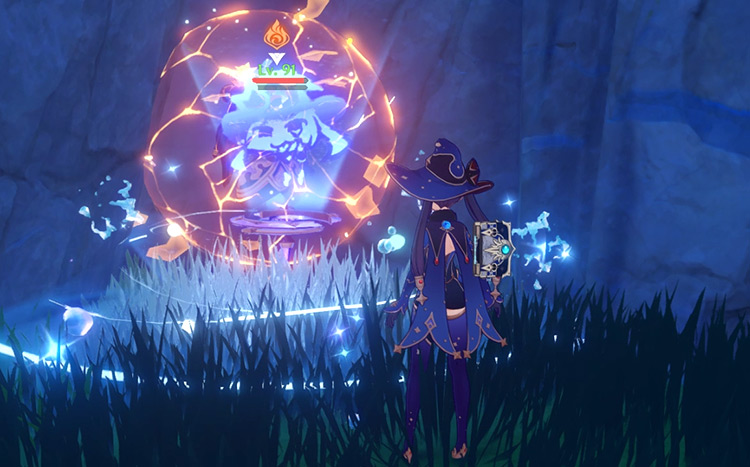
Mona’s idle animation
Kokomi and Mona are equally great in exploration – but for different aspects.
Kokomi is particularly good for battle content. This is because her skill has strong healing and virtually 100% uptime. She’s basically a walking hospital and tank.
In contrast, Mona excels more in exploration.
Her alternate sprint or Illusory Torrent allows her to sprint in water. This is especially convenient if you don’t want to slowly swim across water. However, she can get stuck on uneven surfaces, so her sprint can be unfavorable on land.
Co-op (Multiplayer)
Kokomi easily outperforms Mona in Co-op. This is because Kokomi has more damage and support potential than Mona.
For instance, she applies a lot more Hydro. This lets her consistently enable Hydro-related elemental reactions for teammates.
Her strong healing is also valuable in Co-op. It greatly increases the team’s survivability.
Plus, Kokomi’s interactions with artifact sets can further buff her damage or supporting abilities.
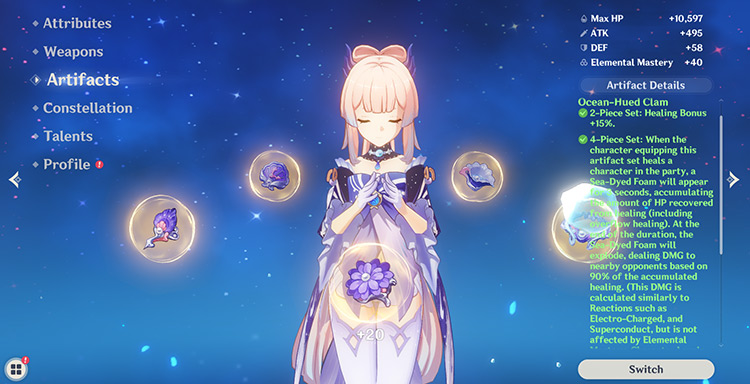
Kokomi with 4-piece Ocean Hued Clam
Kokomi gains damage buffs during her burst, so she does deal decent damage. Plus, using the 4-piece Ocean Hued Clam or 4OHC further increases her damage.
4OHC’s passive deals additional damage based on the user’s total regenerated HP.
Kokomi’s excessive healing can easily take advantage of this set.
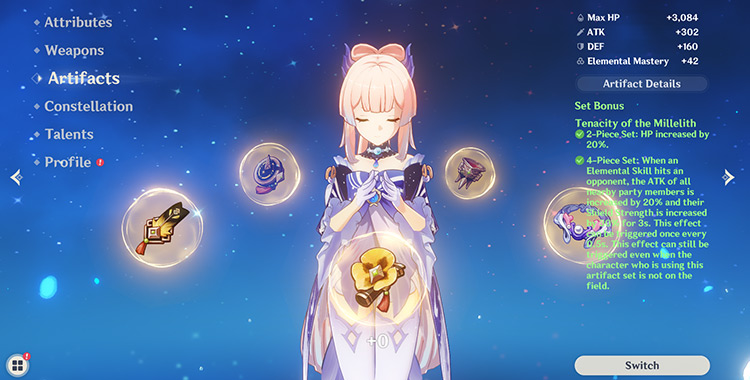
Kokomi with 4-piece Tenacity of Milelith
If she uses the 4-piece Tenacity of Milelith or 4ToM set, she can consistently buff the entire team’s ATK.
When Kokomi’s skill hits an opponent, 4ToM’s passive increases all nearby teammates’ ATK and shield strength by 20%. This lasts for 3s and can be triggered every 0.5s.
Kokomi’s skill attacks every 2s, so it can consistently proc this passive.
Spiral Abyss (Meta)
Gameplay Tech
Kokomi and Mona have extra mechanics and techniques that help improve their gameplay.
Here’s a summary of all their relevant gameplay tech and its uses.
Gameplay Tech
Definition
Internal Cooldown (ICD)
Not every attack applies an element – ICD is the cooldown between attacks that apply an element. Kokomi’s skill has no ICD. This lets her enable more elemental reactions.
Mona’s Omen
Mona’s Omen damage bonus starts when her burst is cast – not when the Illusory Bubble pops. So, you deal increased damage earlier than her burst description implies.
Omen Extension
Freeze can extend Mona’s Omen duration. This then extends its damage bonus thus letting you deal more damage.
Internal Cooldown (ICD)
Mona’s ICD downtime – her skill deals Hydro damage but doesn’t apply Hydro, so it also doesn’t trigger an elemental reaction
Kokomi applies more Hydro than Mona, but what does that actually mean?
Not every elemental attack applies an element.
Instead, these attacks have an Internal Cooldown or ICD. This is the cooldown between attacks that apply an element.
The standard ICD is 2.5s and every 3 hits.
All of Mona’s attacks follow standard ICD, while Kokomi’s skill doesn’t have a cooldown at all – her skill applies Hydro every hit.
Elemental reactions can only be triggered if there’s an elemental aura on the opponent.
So applying more Hydro lets Kokomi enable more elemental reactions. This is the highlight of Kokomi’s kit. Her off-field Hydro application is very consistent and reliable.
Mona’s Omen
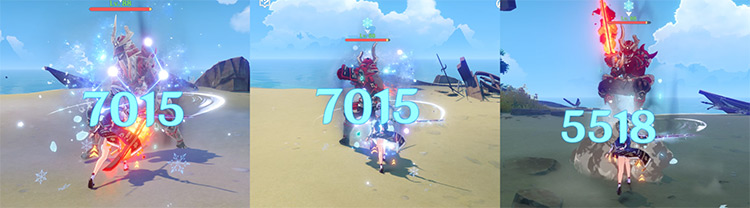
(1) Ayaka’s damage with the Illusory Bubble (2) Ayaka’s damage after the Illusory Bubble pops (3) Ayaka’s damage without Mona’s burst
Omen’s damage bonus works after Mona’s burst cast and after the Illusory Bubble pops.
This means that opponents affected by the Illusory Bubble already take increased damage. And, once the Bubble pops, the Omen damage bonus gains a timer.
Its timer duration is based on the burst’s talent level. This is better demonstrated by the screenshots above.
In the first photo, the opponent is still affected by the Illusory Bubble. While in this state, Ayaka deals 7,015 damage.
In the second photo, the Bubble pops and the Omen status is supposedly applied. According to Mona’s burst description, Ayaka should deal more damage during this Omen state – but she deals the same damage. This is because the Omen damage bonus actually starts when the burst is cast.
For further comparison, the third photo shows Ayaka’s damage without Mona’s burst – it’s lower without the Omen damage bonus.
Mona’s burst description is not entirely accurate.
You basically gain more damage bonus than what’s stated.
Mona’s Illusory Bubble
Frozen opponents affected by the Illusory Bubble status
Casting Mona’s burst against opponents affected by Cryo can extend the Illusory Bubble’s duration.
This is because you can’t pop the Bubble while opponents are frozen – thus effectively extending its duration. Doing so will also extend the Omen damage bonus buff.
So using Mona in freeze teams lets you take advantage of this mechanic and deal more damage.
Team Compositions
Kokomi and Mona are both meta supports. They share multiple teams that are generally ranked as top meta.
Here’s a summary of who performs better in their best teams and why.
Team
Who’s Better?
Why?
Freeze Teams
Kokomi
Kokomi’s consistent Hydro application allows for a longer freeze uptime.
Taser Teams
Kokomi
Both of them work well, but Kokomi feels smoother to play. She gains resistance to interruption, and she doesn’t have a clunky alternate sprint.
Vaporize Teams
Kokomi
Kokomi’s vape team variants are much stronger than Mona’s.
Soup Teams
Kokomi
Kokomi has strong and consistent off-field Hydro application. Mona doesn’t, so she can’t enable multiple elemental reactions like Kokomi.
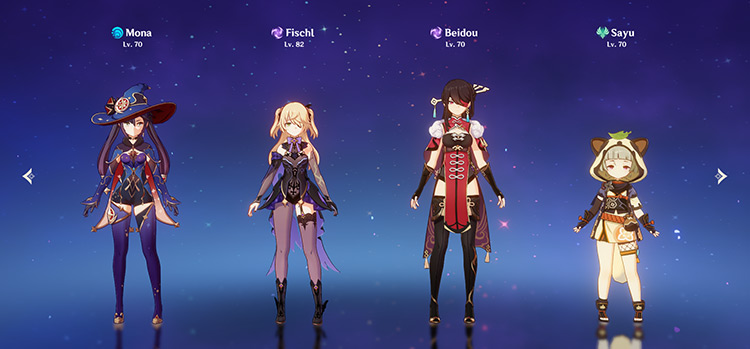
Freeze Teams
Kokomi Freeze team example
Freeze teams are generally composed of:
2 Cryo units
1 Hydro unit
1 Anemo unit
Freeze is Kokomi and Mona’s best team – it’s also Mona’s only meta team.
Still, Kokomi outperforms Mona.
Kokomi is the premium 5-star character for freeze teams. Her consistent off-field Hydro application lets her maintain a long freeze uptime. By keeping opponents frozen, the Cryo DPS can stay on-field and continue attacking opponents.
Mona also works great in freeze teams, but her freeze uptime is much shorter.
She doesn’t apply enough Hydro off-field. So, she often uses her normal attacks to make up for the lack of Hydro. This consumes field time that could’ve been better used by the Cryo DPS.
Additionally, Kokomi can effectively replace Diona – the standard healer for freeze teams. This lets you slot in another Cryo DPS that will further increase the team’s overall damage.
Kokomi basically fulfills anything you need from a Hydro unit in freeze teams.
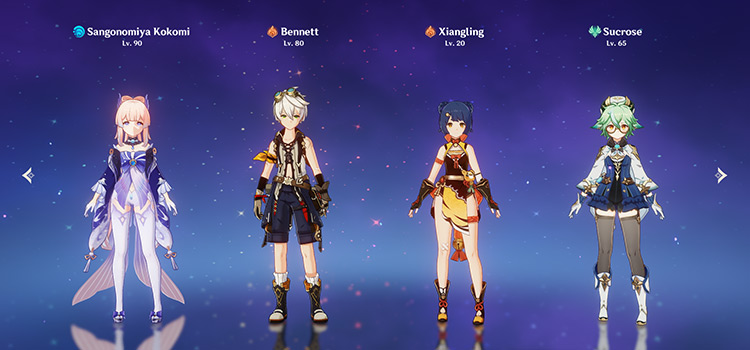
Taser Teams
Mona Taser team example
Taser teams are composed of:
2 Electro units
1 Hydro unit
1 Anemo unit
Both Kokomi and Mona work well in Taser.
In Taser, Mona uses a DPS build. This lets her contribute a good amount of damage to the team. But Mona’s alternative sprint can feel clunky to play — it consumes a lot of stamina and requires some practice to get used to.
In contrast, Kokomi is much smoother to play.
She doesn’t have the alternative sprint issue, plus she gains increased resistance to interruption during her burst.
You also don’t have to change her build, and she’ll perform perfectly fine.
Vaporize Teams
Kokomi vaporize team example
These teams are always composed of at least 1 Pyro unit and 1 Hydro unit.
Vaporize or vape is an elemental reaction triggered when Pyro reacts to Hydro or vice-versa. But there are differences depending on which element triggers the reaction.
Vape is when Pyro reacts to Hydro. By triggering vape, the Pyro attack gains a 1.5x damage increase.
Forward vape is when Hydro reacts to Pyro. By triggering a forward vape, the Hydro attack gains a 2x damage increase.
This is important in differentiating Kokomi’s and Mona’s vaporize teams.
Kokomi’s teams focus on vape reactions. She applies Hydro to the enemy and then a Pyro unit uses it to trigger a reaction. The Pyro unit gains the 1.5x damage increase.
In contrast, Mona’s teams use forward vape.
Pyro units apply Pyro to the enemy for Mona to trigger a forward vape reaction. With this, Mona’s attacks gain the 2x damage increase.
Kokomi’s vaporize teams strictly outperform Mona’s. This is simply because they deal significantly more damage.
Plus they’re a lot more practical.
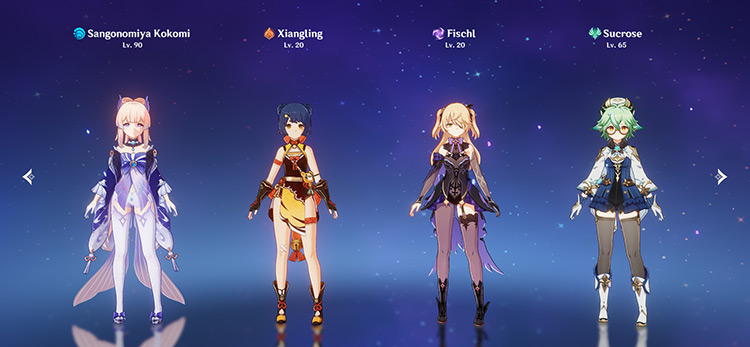
Soup Teams
Kokomi Soup team
Soup teams are composed of:
1 Hydro unit
1 Pyro unit
1 Electro unit
1 Anemo unit
These teams chain multiple elemental reactions to deal a lot of damage.
Kokomi’s strong Hydro application is especially useful in Soup teams. It can consistently enable Hydro-related reactions – namely, vaporize, electro-charged, and Hydro swirls.
In contrast, Mona doesn’t work well in Soup teams.
She simply doesn’t apply enough Hydro to trigger enough elemental reactions.
Where Does Mona Outperform Kokomi?
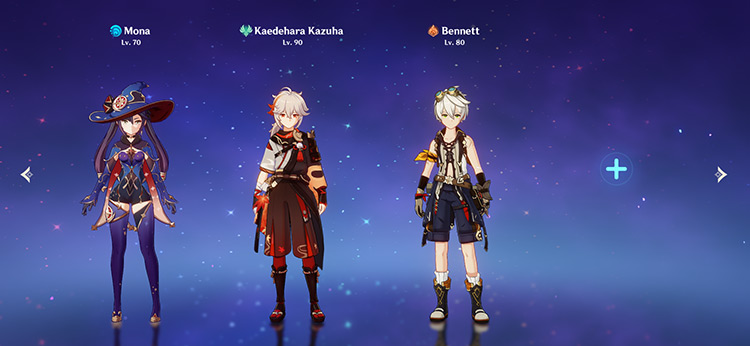
Standard damage showcase team
Speedruns and damage showcases.
Mona’s great when you want to quickly finish an Abyss chamber, usually within one rotation. She provides massive buffs but only for a short period. During this period, a team can deal all of their damage to benefit from the buffs.
However, speedrunning is generally not practical.
You still need to charge your bursts after every rotation to prepare for the next rotation or Abyss chamber.
Speedrunning or completing a chamber within one rotation stops you from doing this. When all opponents are defeated, the chamber automatically ends – even before you collect all energy particles. So it’s highly likely for you to enter the next chamber with zero energy.
Mona also excels in damage showcases.
In damage showcases, you stack multiple buffs into one character to deal a big damage number. Mona is especially great in these.
But, like speedrunning, this isn’t practical. They’re usually meant for entertainment instead of realistic team compositions and rotations.
Who Should You Pull/Build?
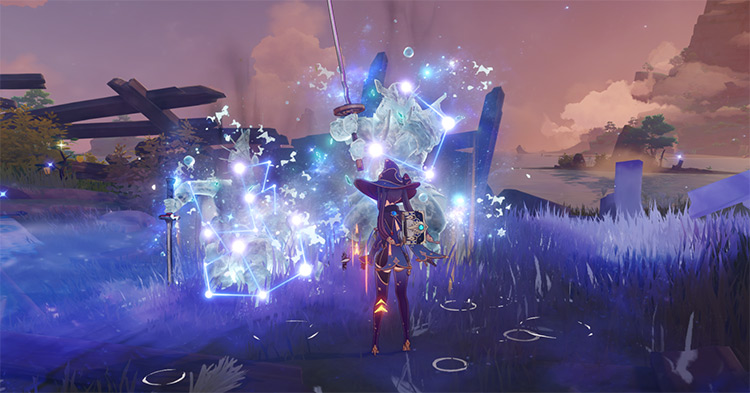
Kokomi’s skill animation
Although Kokomi is a good Hydro unit, she’s not a must-pull.
She is a great upgrade in freeze teams, but Mona already works well enough. Mona is also a standard character, so it’s possible to get her from every character banner.
As for other team compositions, Xingqiu is a 4-star Hydro unit that works great in all of them – often better than Kokomi.
Basically, Kokomi is not needed, but she’s very nice to have. She works well in any team that needs a Hydro unit.
So in summary: Kokomi is more worth building than Mona – and she’s much easier to build. But ultimately, she can heal sufficiently and apply consistent Hydro even at a very low investment.
Even with a level 1 weapon or level 0 artifacts, she’ll perform perfectly fine.
Of course, she gets better with investment, but it’s not that significant.
Maeri is an avid gacha player currently in the clutches of Genshin Impact. She mainly focuses on character analyses, underlying game mechanics, and occasionally reading game code. She also yearns for the day that Dainsleif is finally playable.
")
")
")
")
")
")
")