This post may contain affiliate links. If you buy something we may get a small commission at no extra cost to you. (Learn more).
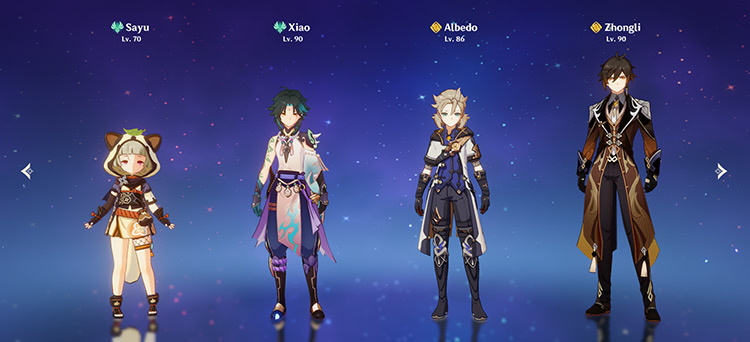
Sayu is a pretty decent unit that could be worth building. She works everywhere, but she is not the best-in-slot anywhere.
This is because of her versatility as a healer and Anemo unit that can use 4pc. Viridescent Venerer. These abilities let her fit into basically any team. However, there’s always a better unit to fill her slot.
For instance, there are significantly better Anemo buffers like Kazuha and Sucrose. Similarly, there are better healers like Jean and Bennett.
Instead, Sayu is often considered a substitute for Jean. They share a lot of teams, and Sayu can very often replace Jean’s slot – except in Sunfire Jean teams. You can check out our comparison of Sayu vs Jean for a better look at them.
TL;DR Basically, Sayu isn’t a bad unit on her own – she’s just not needed by any team.
Note: This article is based on meta only. If you like Sayu regardless of her power level, don’t let this stop you from playing her.
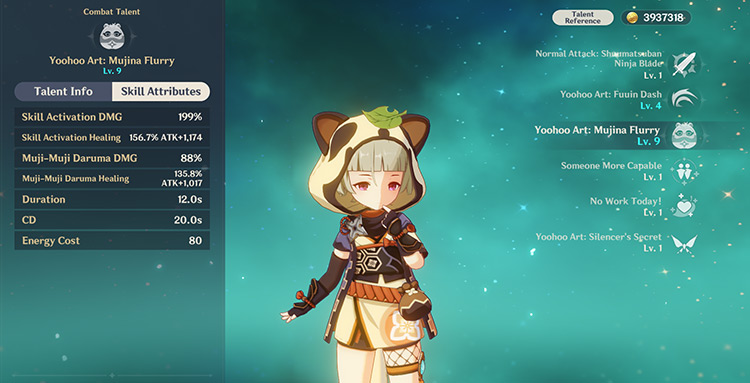
Sayu has two main supporting abilities as a healer and buffer.
She’s a pretty good healer – not among the best but enough to keep your team alive in most content.
Plus she’s a very versatile buffer. This is thanks to the 4pc. Viridescent Venerer (4VV) set that lets her buff any unit with a Pyro/Electro/Hydro/Cryo element.
And although 4VV doesn’t buff Geo/Anemo/Dendro units, she still works well with them because of healing.
So Sayu basically fits into any team that wants a healer and/or buffer.
Sayu Weaknesses
1. Not The Best Anywhere
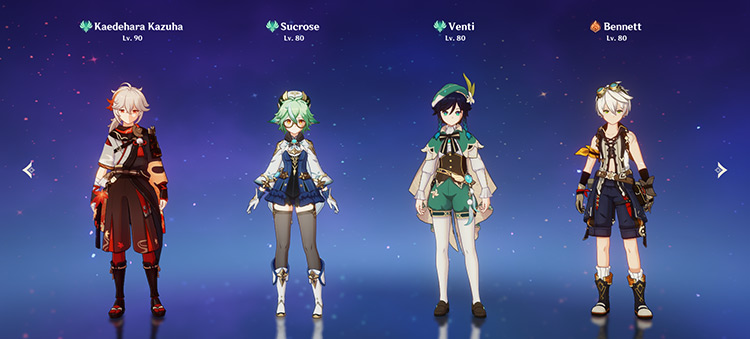
Other support units: Kazuha, Sucrose, Venti, and Bennett
Sayu can easily slot into any team – but she’s never needed by any team.
She works, but multiple other units work better. Because of this, there’s no point in building Sayu if you already have the better units available.
For instance, Kazuha, Sucrose, and Venti are overall better support units. And units like Kokomi and Bennett are better healers.
So she’s often just a replacement for buffers or healers you may not have.
2. High Energy Requirements
Sayu’s burst cost
Sayu has an expensive burst cost of 80 – thus requiring quite a lot of Energy Recharge (ER).
This can easily reach up to 200% to 250% ER just to get your burst every rotation. But building ER over HP or EM can nerf her healing and damage.
Still, it’s a worthy sacrifice just to consistently charge her burst – aka her main source of healing and damage.
Are Sayu’s Constellations Good?
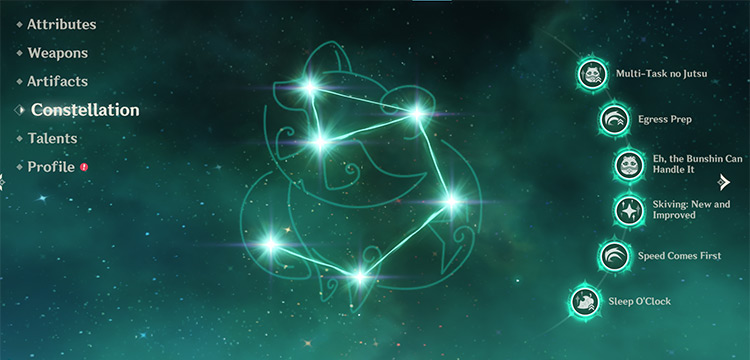
C6 Sayu’s constellation screen
Sayu has decent constellations – some are great, while some are useless.
C1 is her best early constellation, and it’s a recommended pull if you plan on playing her. This basically buffs her heals and damage. The rest of her constellations are useful depending on what build you have.
C2, C3, and C5 are mainly damage increases for a DPS build. C6 further increases Sayu’s healing.
Still, you’re bound to get her constellations while playing the game or pulling in gacha banners. So let’s take a closer look at each one.
C1: Multi-Task no Jutsu
Sayu’s burst will ignore its HP limits and can simultaneously attack nearby opponents while healing characters.
This is Sayu’s best constellation for healing. Her burst now heals any character even if their HP is above 70%.
C2: Egress Prep
Sayu’s skill gains the following effects:
Damage dealt by her kick in press mode increases by 3.3%.
Every 0.5s in her windwheel state increases the damage of her kick by 3.3%. A maximum of 66% damage increase can be gained this way.
This is a damage increase. It’s irrelevant in every support build and mainly good for DPS builds.
C3: Eh, the Bushin Can Handle It
Increases her elemental burst talent level by 3.
This increases her burst’s healing and damaging abilities. It’s an overall nice constellation to have.
C4: Skiving: New and Improved
Sayu recovers 1.2 energy when she triggers a swirl reaction.
This can only be triggered when Sayu is on-field, so it’s less useful for teams where she’s mainly off-field. Still, it decreases her energy requirements – which is always a plus.
C5: Speed Comes First
Increases her elemental skill talent level by 3.
This is a great damage increase for a CRIT DPS build Sayu. However, it’s irrelevant for a support build.
C6: Sleep O’ Clock
Sayu’s burst now also benefits from Elemental Mastery (EM). Each point of Sayu’s EM produces the following effects:
Increases the damage dealt by her burst’s attack by 0.2% ATK. A maximum of 400% ATK can be gained this way.
Increases the HP restored by her burst by 3. A maximum of 6,000 additional HP can be restored this way.
This is a good constellation that further buffs her healing ability. It’s an overall nice upgrade.
Maeri is an avid gacha player currently in the clutches of Genshin Impact. She mainly focuses on character analyses, underlying game mechanics, and occasionally reading game code. She also yearns for the day that Dainsleif is finally playable.

")
")
")
")
")
")
")