15 Best Nier: Automata Weapons For 2B And 9S
This post may contain affiliate links. If you buy something we may get a small commission at no extra cost to you. (Learn more).
There’s a lot to love about Nier: Automata.
Beautiful graphics, compelling characters, a story that’ll tug on heartstrings, and a whole lot more.
The action-oriented hack-and-slash combat also feels fluid and is a refreshing experience to add on to standard RPG fare. And a big highlight for me was the dozens of weapons choices.
Different types of weapons paired together completely alters combos, attack animations, and overall playstyles. I enjoyed my time experimenting with the weapons I picked up during my playthroughs, and here’s a list of the best weapons I found in Nier Automata.
15. Emil Heads

How to get: After finishing the Emil’s Memories quest, steal the Emil Mask item from Emil’s home cave in City Ruins. Talk to Emil, and then go back to his cave to steal the Emil’s Head item from a hack-able chest. Finally, fight Emil, who will drop the weapon upon defeat.
These Combat Bracers resemble the head of Emil, a strange character met while playing through the story.
By getting this weapon, you’ll probably uncover the sadder details of Emil’s past.
However, it’s ridiculous enough to warrant a special spot on this list. Emil Heads’ initial passive ability increases how much stun damage you deal to enemies, which is pretty useful for locking them up.
The real kicker comes when you fully upgrade the weapon to Level 4: from then on, Emil talks to you each time you attack.
It provides no combat benefit, and depending on your taste, it’ll be really entertaining… or really disturbing.
14. Ancient Overlord
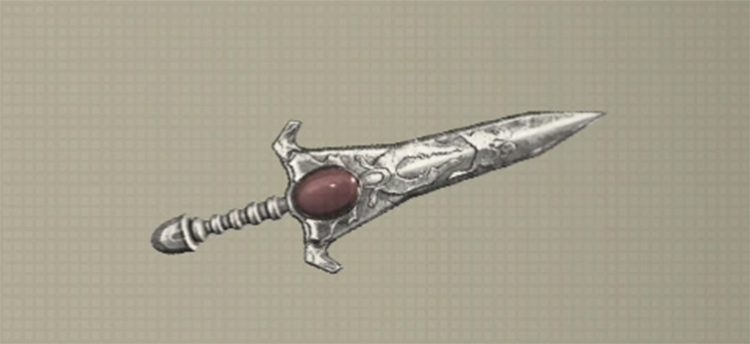
How to get: Purchased from the Weapon Dealer at the Resistance Camp for 15,000G.
This may be one of the first weapon side-grades you get in the game.
The Ancient Overlord’s first Special Ability increases critical chance, which means higher bursts of damage. Fully upgraded, this sword unlocks the “Bullet Rupture” ability that releases a shock wave each time you strike an enemy projectile.
Bullet Rupture may not always be that useful, but the Ancient Overlord complements more hard-hitting weapons in your other hand very well.
13. Cypress Stick
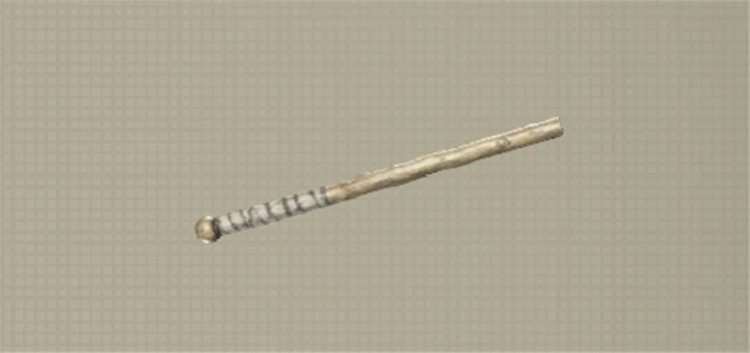
How to get: Found in a chest on a ledge near the Forest Castle Gate (requires jumping on multiple pillars to get to it).
Another strangely rustic weapon.
At base, this Short Sword features an extremely high critical rate for decent bursts of damage, despite its base Attack values.
Fully upgraded, its “Hero Sigil” ability only provides cosmetic changes to chests in the game. The Cypress Stick works best when paired with a more powerful weapon to soften up mobs—the Iron Pipe being an aesthetically-matching choice. So whap away!
12. Iron Pipe
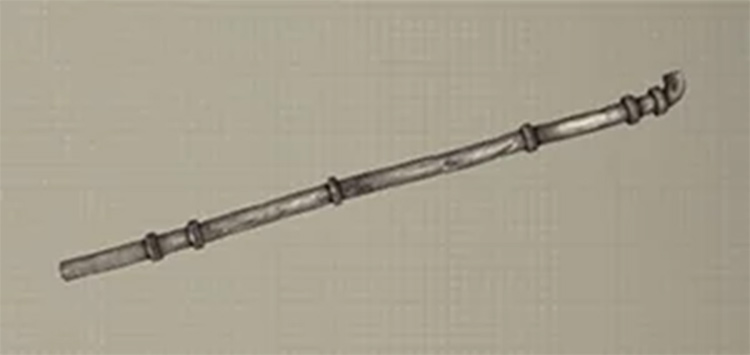
How to get: Acquired by fishing in the debris-filled area between the City Ruins and the Abandoned Amusement Park.
This weapon might look like junk, but it’s deceptively potent.
The Iron Pipe’s Special Abilities give it increased critical and stun chance once fully upgraded. It makes for a great opening weapon against singular and multiple enemies since stunning keep thems at bay.
Admittedly, the Iron Pipe works best when wielded with another strong weapon to finish off combos (such as the Cypress Stick, though others work, too!).
11. Faith
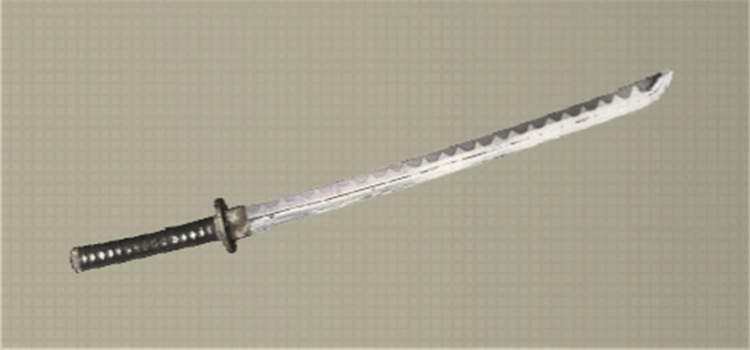
How to get: Found inside a chest at the Soul Box in the Flooded City.
What this sword lacks in power, it makes up for with speed—more so since its basic Special Ability increases its attack speed.
Should you fully upgrade it, however, Faith’s “Bullet Absorb” restores HP whenever you cut through projectiles. A bit of sustain never hurts, though not always applicable.
10. Engine Blade
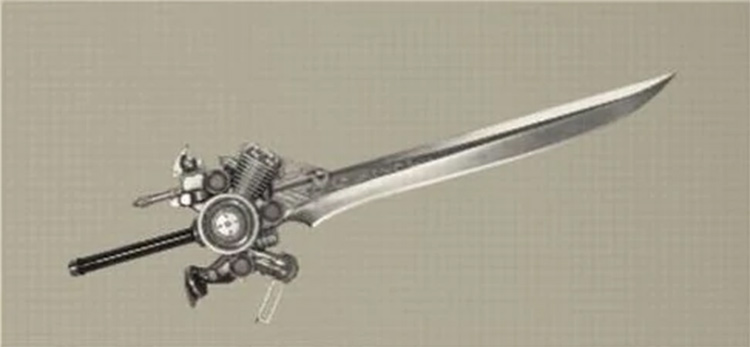
How to get: Found in a hidden chest in the Abandoned Factory’s underground area towards the end of Route A.
What the Engine Blade lacks in power, it makes up for in utility and sheer style.
This Short Sword increases your stunning capability, helping you combo more. Fully upgraded, its “Shift Avoid” ability changes how you dodge and the appearance of damage values—both purely cosmetic.
Some players may recognize the Engine Blade as Noctis’s signature weapon in Final Fantasy XV, which makes it a great crossover item for both games’ fans.
9. Virtuous Dignity
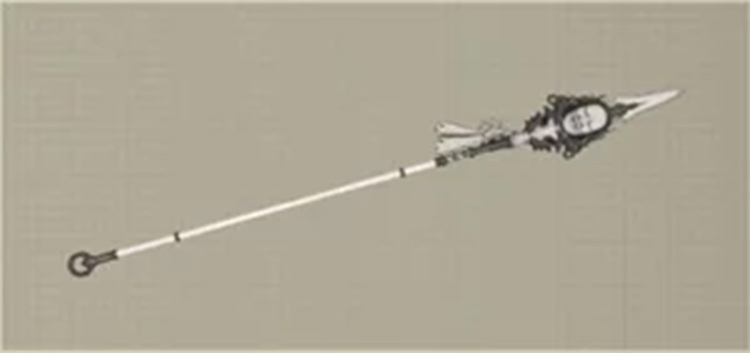
How to get: Find the false dead-end in the sewers leading to the Amusement Park and climb the ladder. The weapon will be in a hollow tree.
I love this game’s Spear movesets, so this one’s a personal favorite. At Level 1, its “Attack Speed Up” ability increases its attack speed, shoring up its damage.
Upgraded to Level 4, “Holy Blessing” increases your overall attack value so long as you have full HP. Overall, this weapon has great melee range and good damage.
Plus the Virtuous Dignity is just a gorgeous weapon to look at.
8. Cruel Oath
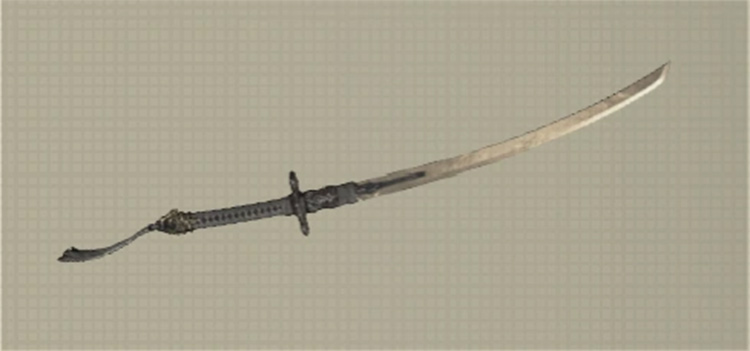
How to get: 9S starts Route B with the Cruel Oath.
A black katana wielded by 9S. Stats-wise, this Short Sword is identical to the Virtuous Contract save for its “Dark Impulse” ability, which boosts attack power when at 30% or less HP.
While I prefer the Cruel Oath’s darker color scheme, its Level 4 Special Ability isn’t nearly as useful as the Virtuous Contract’s.
Fortunately the Level 1 attack speed boost bolsters its damage potential.
7. Type 3-Blade
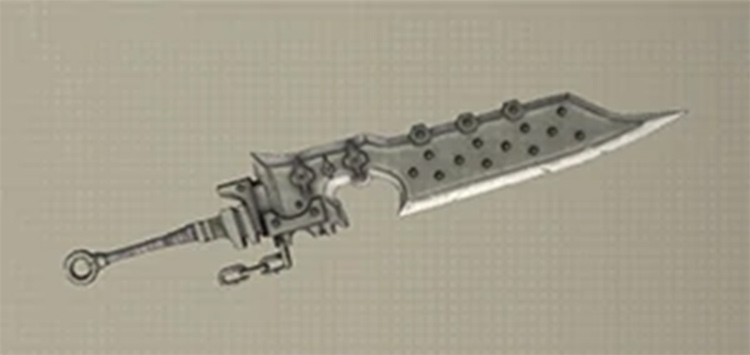
How to get: Purchased from Devola and Popola in the Resistance Camp for 20,000G.
You can acquire this Large Sword relatively early in the game, too.
Its first passive ability gives you some extra defense (admittedly most useful for newer players). However, the fully-upgraded Type-3 Blade’s Special Ability, “Finish Blast,” creates an explosion at the final hit of your attack combos for added area-of-effect damage.
6. Angel’s Folly
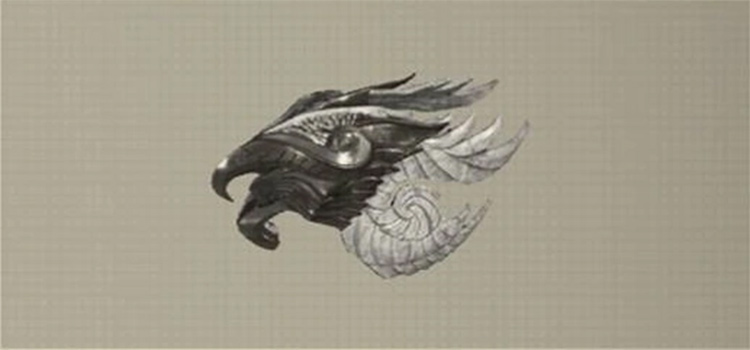
How to get: Purchased from Emil for 20,000G if you stop him outside the Resistance Camp.
A weapon for those into the angelic motif. On top of having the highest average damage for Combat Bracers, the Angel’s Folly’s passive ability increases attack speed.
Its second Special Ability, “Angel’s Mercy,” also heals you whenever you defeat an enemy.
This kit makes it a great choice for dealing with large mobs and sustaining through any damage taken.
5. Type-40 Blade
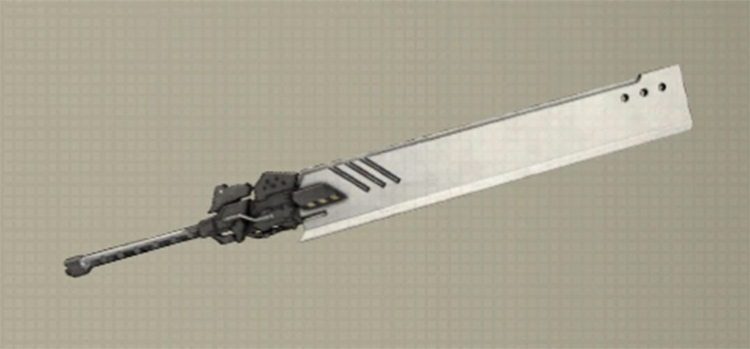
How to get: Complete the “Data Analysis Freak 2” quest.
A weapon that matches the YoRHa aesthetic.
On top of packing impressive Attack values, the Type-40 Blade features “Stun Up,” which increases your ability to stun enemies.
Fully-upgraded, it gains the “Energy Charge.” On top of giving the blade a cosmetic electricity effect, your next few attacks with the weapon will then inflict increased damage. And the effect refreshes by not using it for a few seconds.
Overall a solid choice for hacking your enemies.
4. Virtuous Treaty
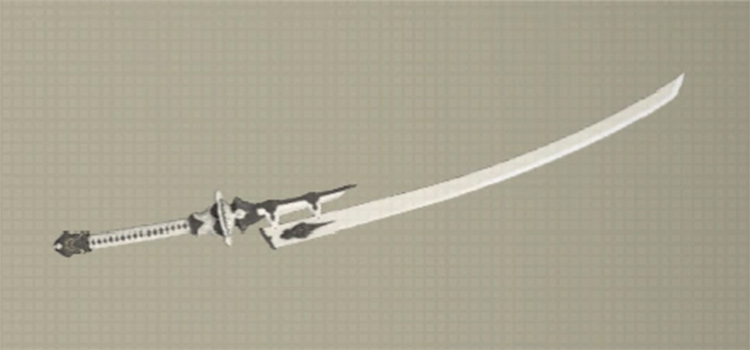
How to get: Found near your corpse on Earth where you died during the game’s opening sequence.
You first get to use this weapon in the opening sequence (though you would have to find it again for keeps later).
This white katana boasts an impressive Attack value; though as part of the Large Swords category, it tends to swing slower.
Like the Virtuous Dignity, its Special Abilities increase the speed of your attacks, and at Level 4, your overall attack power increases so long as you have full HP.
The Virtuous Treaty is definitely one of the best sword-fighting options in the game, especially when paired with its Short Sword sibling.
3. Virtuous Contract
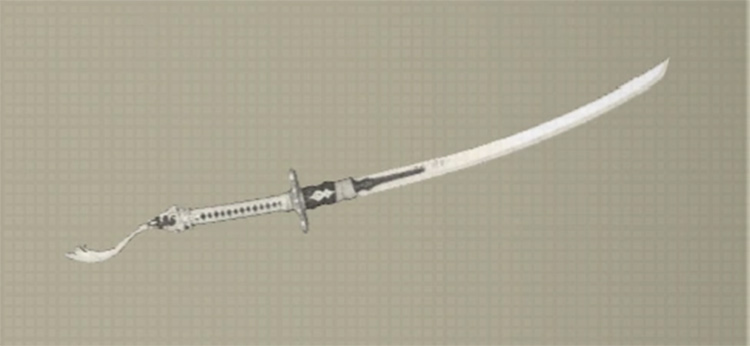
How to get: 2B starts the game with the Virtuous Contract.
A beautiful white sword that every player uses during the game’s introduction.
It’s seriously good enough to last your entire playthrough. Compared to other Short Swords, the Virtuous Contract has pretty average Attack values.
It also features fast attacks and a fantastically smooth moveset.
Plus this weapon has the same Special Abilities as other “Virtuous” weapons for overall boosts in speed and damage.
Since I prefer a quick-striking playstyle, the Virtuous Contract ekes out all the other swords for me.
However it works best when complemented by a worthy partner, such as the Virtuous Treaty.
2. Spear of the Usurper
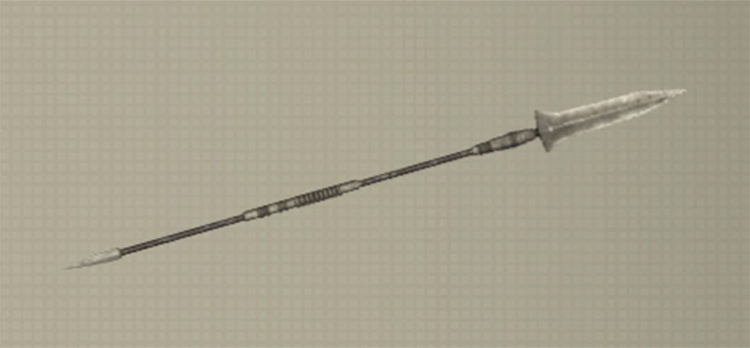
How to get: Complete the “Heritage of the Past” quest.
This spear’s initial ability gives additional critical chance to spike up those damage numbers.
When upgraded to Level 4, you unlock its “Turncoat” ability, which randomly causes struck enemies to fight for you. Out of all the characters, 9S tends to fare the best with the Spear of the Usurper.
Its long-range attacks, coupled with its critical damage potential and “Turncoat,” allows you to make quick work of mobs and bosses alike.
1. Demon’s Cry
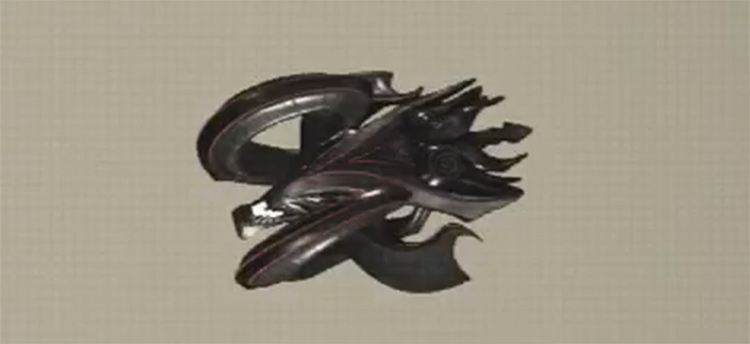
How to get: Found in a hack-able chest in the underground portion of the Amusement Park castle.
A set of Combat Bracers that sports a sinister look. This weapon features relatively low base damage, a fast-striking move set, and a remarkable set of Special Abilities.
At Level 1, the Demon’s Cry has increased attack speed, allowing you to get off more hits in less time.
When you fully upgraded it, the “Devil’s Hatred” ability causes a shock wave each time you defeat an enemy.
This combination of fast-hitting, area-of-effect strikes makes it especially deadly against large groups of enemies. In boss fights, duck-and-weave becomes the name of the game—or combine it with another powerful weapon!
Overall the Demon’s Cry has a fun, synergizing kit that has made it my best weapon in the game.
