Best Grinding Spots in Final Fantasy XII: The Zodiac Age
This post may contain affiliate links. If you buy something we may get a small commission at no extra cost to you. (Learn more).
We’ve all been there.
You’re underleveled, you’re doing post-game content, or you’re going for the max level achievement. Well luckily, FF12: The Zodiac Age added a slew of new features and content – including a high-speed mode for those long grinding sessions.
But where to go?
You could just go to any area and leave it running. But there are more efficient spots that offer more experience and loot to boot.
I’ve listed these awesome grinding spots below, in order from least to most complicated (in regards to how much setup is required).
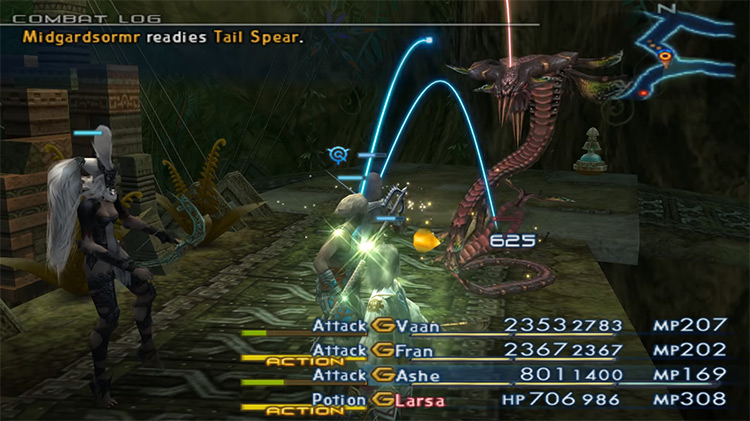
1. Dreadnought Leviathan – Central Brig Access
This spot is fairly early in the game, and you’ll find yourself here after rescuing Ashe on the Dreadnought Leviathan.
An alarm will be sounding, and enemies will infinitely spawn for you to fight.
If you need to recover you can just backtrack to the previous room with a save crystal.
Then return to the fight and keep racking up the kills for about 150 EXP each.
2. Lhusu Mines – Shunia Twinspawn
This one may be my favorite, mainly because many in the community refer to it as “The Bone Zone”.
When the party arrives in Bhujerba, they’ll be prompted to enter the Lhusu Mines. And in the Shunia Twinspan area will be skeletons that spawn by the dozens.
Once you clear all the enemies here, go back two areas to the Otlam Span, and then head back to “The Bone Zone”.
The skeletons will reset and be ready for you again, with each one yielding about 250 EXP.
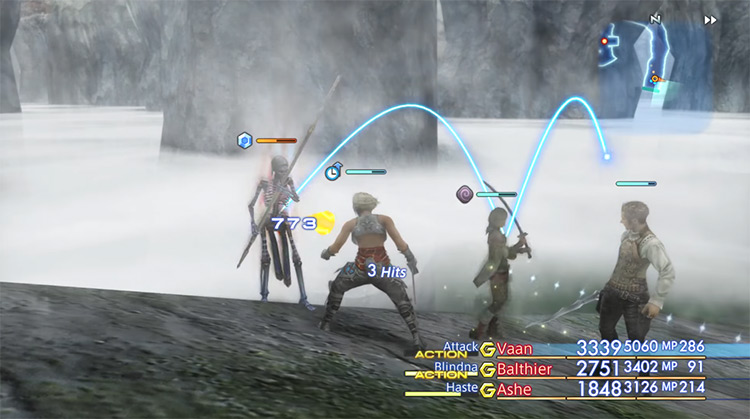
3. Nabreus Deadlands – Overlooking Eternity
Now this area is very late in the game, so expect tougher enemies.
And with that in mind, your party should be around level 40 for this (or higher).
In the Nabreus Deadlands there’s an area called the Overlooking Eternity, where around 50 Dead Bones will spawn.
Each one is worth about 1300 EXP, so it’s a nice spot to grind up if you’re nearby.
4. Golmore Jungle – The Rustling Chapel
In order to get into this spot, you cannot start the Vorpal Bunny Hunt.
In The Rustling Chapel area, Dark Skeletons will spawn for 2700 EXP each.
After killing 21 of these, you’ll be met with the Dark Lord.
Then after killing this stronger skelly version, you can continuously leave and re-enter the area to keep spawning Dark Skeletons.
Just be sure to avoid that hunt.
5. Henne Mines – Pithead Junction B
This is a very popular leveling spot for a lot of people.
With the right gambits setup, you can leave the game running while the party power levels automatically.
Here’s how it works:
In Pithead Junction B there will be a gate switch. When touched, it’ll dump Jellies down onto you.
If these enemies are killed with the Time Magick spell “Break” then they’ll spawn infinitely with 1000 EXP each.
Recommended Gambits:
Party Leader:
Foe: Furthest – Break
Foe: Any – Break
Self: MP <10% - Charge
Character #2:
Foe: Any – Steal
Foe: Furthest – Attack
Foe: Any – Attack
Character #3:
Ally: Any – Raise
Ally: HP <50% - Cura/Curaga
Ally: Any – Esuna
Self: MP <10% - Charge
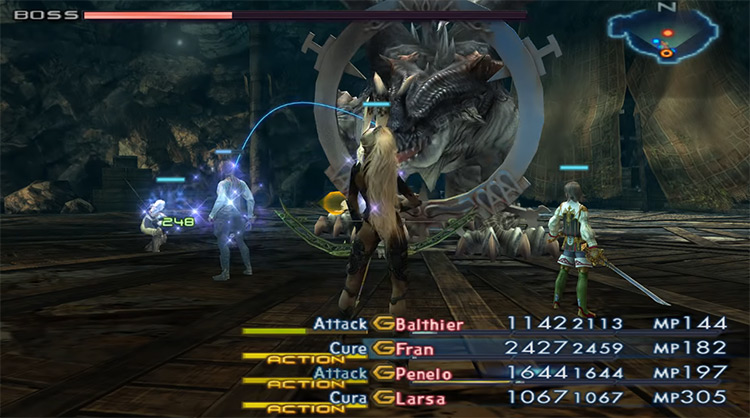
6. Stilshrine of Miriam – Ward of the Sword-King
So this is probably the most famous spot for auto-leveling in FF12.
It also takes the longest and requires the most precise setup.
You’ll be looking for an enemy called the Negalmuur. And in order for it to spawn, you’ll need to spend at least 30 real-time minutes in the Stilshrine of Miriam, as well as kill the Darkmare.
Once you fulfill these two conditions, you’ll find Negalmurr in the Ward of the Sword-King.
It will constantly spawn Ghasts, and these yield about 1000 EXP each.
If everything goes well then you can leave the game running and walk away with no worries, coming back to a maxed-out party.
Recommended Gambits:
Party Leader:
Ally: HP <70% - Curaga
Ally: Any – Esuna
Self: MP <20% - Charge
Foe: HP <3000 - Attack
Character #2:
Self: Decoy
Ally: Any – Raise
Ally: HP <50% - Curaga
Ally: Any – Esuna
Self: MP <20% - Charge
Foe: HP <3000 - Attack
Character #3:
Ally: Party Leader – Raise
Ally: Party Leader – Phoenix Down
Self: Decoy
Self: MP <20% - Charge
Foe: HP <3000 - Attack

")
")


