FFXIV: How To Unlock Sastasha (Hard)
This post may contain affiliate links. If you buy something we may get a small commission at no extra cost to you. (Learn more).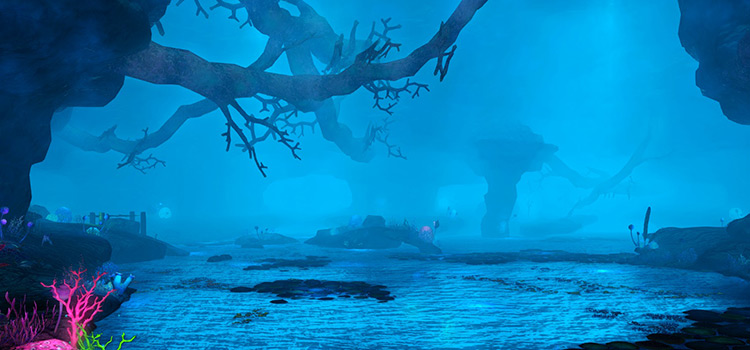
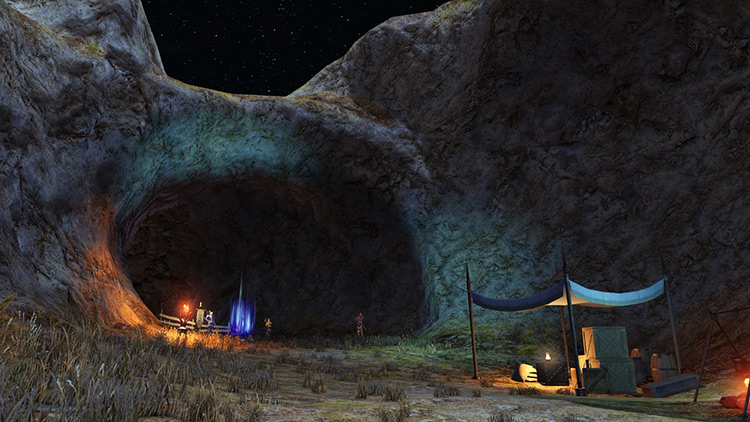
Sastasha is a series of undersea caverns that are found in Western La Noscea. It serves a base of operations for a band of pirates known as the Serpent Reavers.
While Sastasha is the first dungeon in FFXIV at level 15, you can unlock a harder version of it later on at level 50. The hard version of Sastasha features new enemies, dungeon mechanics, and loot.
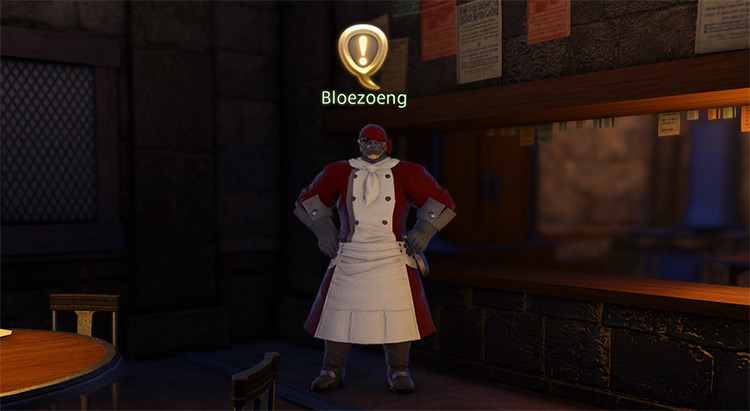
To unlock Sastasha (Hard), you will need to complete the level 50 quest “It’s Definitely Pirates”. This quest is given out by Bloezong in Revenant’s Toll, Mor Dhona (X:22.1, Y:8.7).
Quick Step-by-Step Unlock Guide
- Complete the Level 50 Main Scenario Quest “The Ultimate Weapon”
- Travel to Revenant’s Toll and speak with Bloezoeng in Mor Dhona (X:22.1, Y:8.7) to accept the quest “It’s Definitely Pirates”
- Go to Limsa Lominsa to speak with Reyner in the Upper Decks (X:11.0, Y:6.0)
- Speak with D’perjha in Western La Noscea (X:28.2, Y:21.5)
Detailed Unlock Guide Walkthrough
After completing the level 50 Main Scenario Quest “The Ultimate Weapon”, go to Mor Dhona and look for Bloezoeng at (X:22.1, Y:8.7). He will offer a quest called “It’s Definitely Pirates”.
Once you accept the quest, Bloezoeng will tell you that Commodore Reyner of the Yellowjackets is in need of an adventurer.
Travel to Limsa Lominsa and take the aethernet to the Marauder’s Guild to speak with Reyner. This should take you right outside the Coral Tower in the Upper Decks where you can find the Commodore at (X:11.0, Y:6.0).
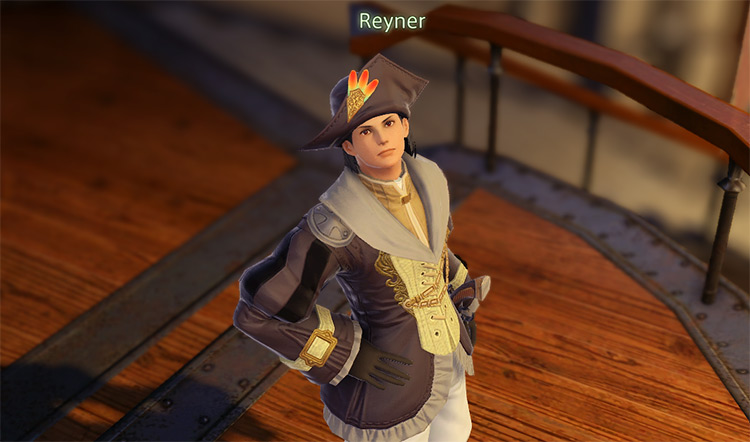
Reyner explains that after the Serpent Reavers have been driven out of Sastasha, he suspects that another group of pirates has decided to inhabit the caverns.
Reyner further explains that a group of adventurers was unsuccessful in their effort to identify and eliminate whatever it is that is now inside the caverns.
At this point, you are asked to report to D’perjha – the guard stationed outside Sastasha’s entrance. Take the aetheryte to Aleport in Western La Noscea and from there travel north to find D’perjha at (X:28.2, Y:21.5).
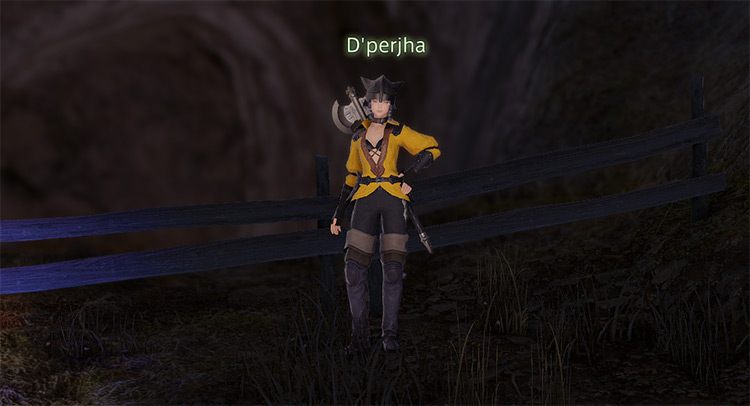
D’perjha tells you that the group of adventurers sent in before you lasted about a minute before running back out. Because of this, they still have no idea what is waiting inside the dungeon and the Warrior of Light will be going in blind.
After speaking with D’perjha, Sastasha (Hard) will become available in the Duty Finder.
Benefits of Unlocking Sastasha (Hard)
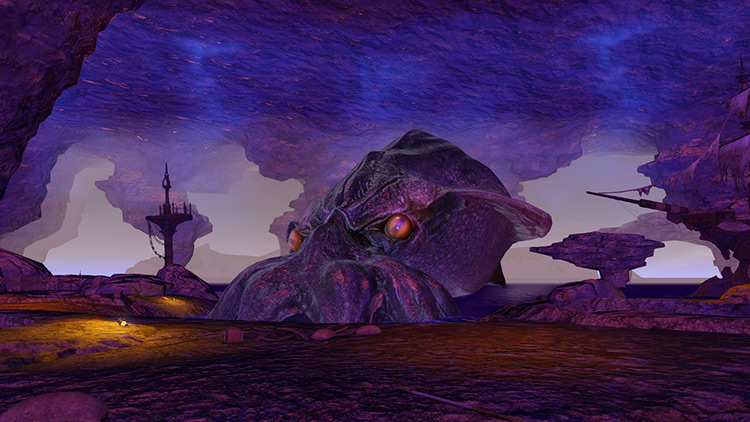
Unlocking a new dungeon in any game normally means new loot for the players to obtain, and possibly a bit of new lore.
While Sastasha (Hard) does offer a nice little story and some new items, there are other benefits from unlocking this dungeon that aren’t so obvious.
Any Good Loot?
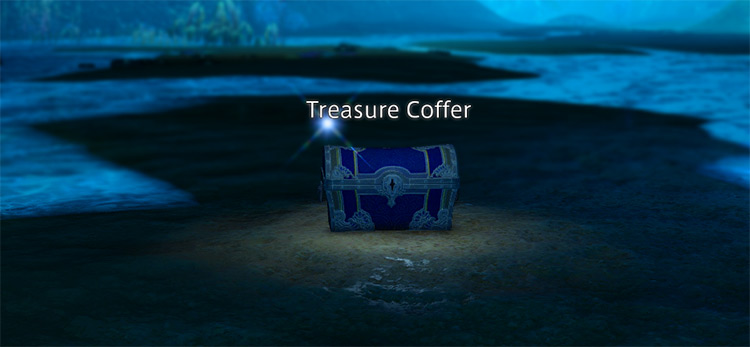
Just like other dungeons in FFXIV, players will come across several treasure coffers during their run in Sastasha (Hard).
Here’s a look at the items you can find in these coffers:
| Item | Type | Description |
|---|---|---|
| Hero’s Ring (of Fending/ Slaying/Aiming/Casting/ Healing) |
Ring | Item Level 90 accessory |
| Antique Sollerets | Other | Exchanged for job specific gear |
| Hero’s Bracelet (of Fending/Slaying/Aiming/ Casting/Healing) |
Bracelets | Item Level 90 accessory |
| Antique Gauntlets | Other | Exchanged for job specific gear |
| Hero’s Earrings (of Fending/Slaying/Aiming/ Casting/Healing) |
Earrings | Item Level 90 accessory |
| Antique Helm | Other | Exchanged for job specific gear |
| Hero’s Necklace (of Fending/Slaying/Aiming/ Casting/Healing) |
Necklace | Item Level 90 Accessory |
| Antique Mail | Other | Exchanged for job specific gear |
| Antique Breeches | Other | Exchanged for job specific gear |
| Tight-beaked Parrot | Minion | Use to obtain the Tight-beaked Parrot minion |
| Kraken Card | Triple Triad Card | Use to add the Kraken Card to your Triple Triad collection |
| Faded Copy of Riptide | Orchestrion Roll | Used by alchemists to craft useable version of Orchestrion Roll |
| Splintered Chest | Other | Crafting ingredient |
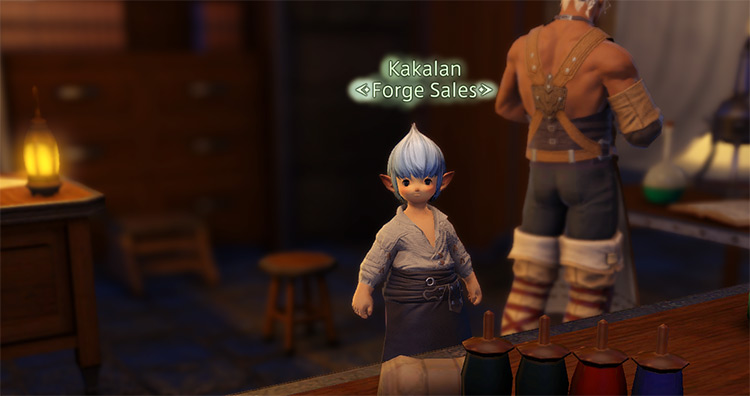
The antique items can be exchanged for level 50 job specific gear from Kakalan in Mor Dhona (X:22.3, Y:5.6).
Note: these are the same pieces of equipment you receive from the job attire coffers given out as rewards when completing a level 50 job quest.
Level 50/60/70/80 Roulette
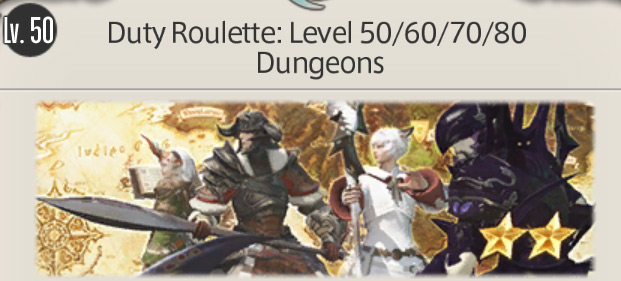
This is one of the many Duty Roulettes you can unlock within the game that places you in a random instance. Each duty roulette will give you an extra daily reward for completing them.
As the name of this roulette implies, it will place you in a random level 50, 60, 70, or 80 dungeon.
To unlock this, you will need to unlock at least 2 dungeons that are in the pool of possible instances you can be placed in.
Since Sastasha (Hard) is a level 50 dungeon, it will count towards this requirement.
The daily reward for using the Level 50/60/70/80 roulette is 100 Allagan Tomestones of Poetics or 120 Allagan Tomestones of Aphorism depending on the level of the job you used.
Wondrous Tails
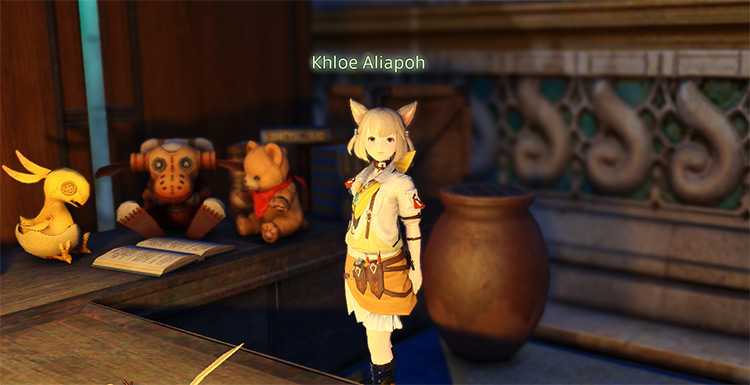
Wondrous Tails is a newer feature that was introduced in the Heavensward expansion. It gives optional objectives for the week for some pretty helpful rewards like Allagan Tomestones, MGP, and significant chunks of experience points.
One of the possible objectives found in your weekly objectives is to complete a level 50 dungeon.
Once again, Sastasha (Hard) fits this description and will therefore count towards your Wondrous Tails progress.
The objectives are found inside a key item called a “Wondrous Tails Journal” that you get from Khloe Aliapoh. She is found in Idyllshire (X:5.7, Y:6.1).
Relic Weapons
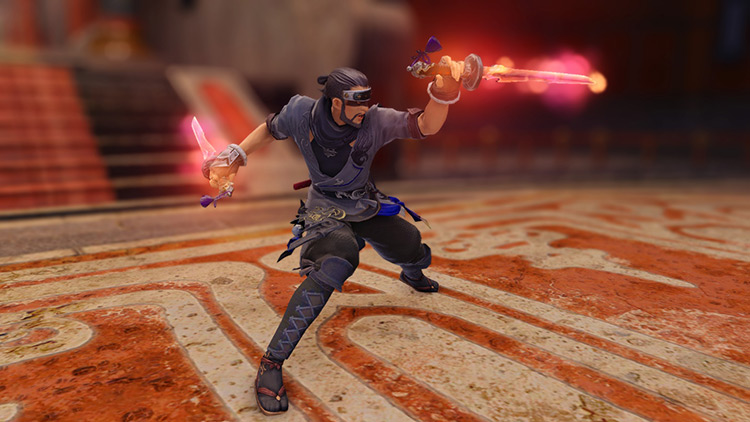
Relic weapons in FFXIV are usually obtained through a very long and tedious process.
Despite the stats for older relic weapons being severely outdated, some people still like to grind them out to use as glamours.
Some stages in the process require the player to complete certain instances to progress their relic grind. If you find Sastasha (Hard) easy, fast, or fun to complete, then it would serve as a viable option for this part of your relic quests.
