This post may contain affiliate links. If you buy something we may get a small commission at no extra cost to you. (Learn more).
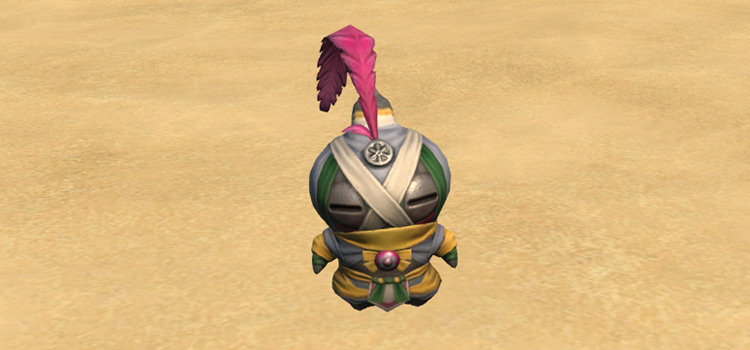
You can get the Teacup Kapikulu minion by completing the four-person dungeon “Alzadaal’s Legacy” and winning the loot from the final treasure coffer of the dungeon. Do note that the minion is not a guaranteed drop, so you may need to run the dungeon a few times before you get the minion.
To unlock the dungeon, you must first accept the Main Scenario Quest (MSQ) with the same name, “Alzadaal’s Legacy,” from Y’shtola in Thavnair (X:16.0, Y:34.0).
This quest is part of the Main Scenario questline for patch 6.1, so you need to finish every MSQ leading up to “Alzadaal’s Legacy” before you can unlock the dungeon.
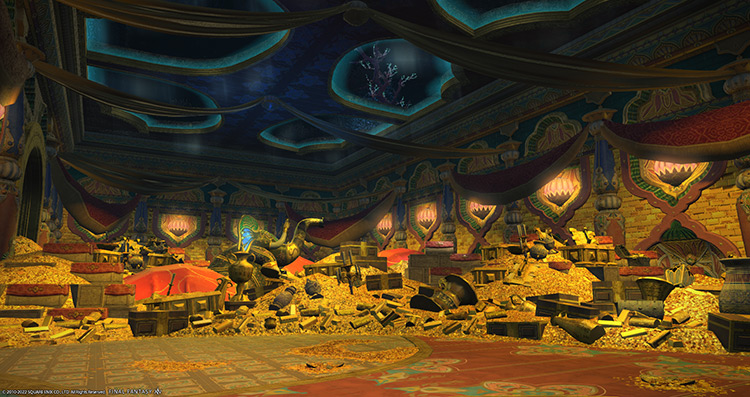
Alzadaal’s Legacy screenshot
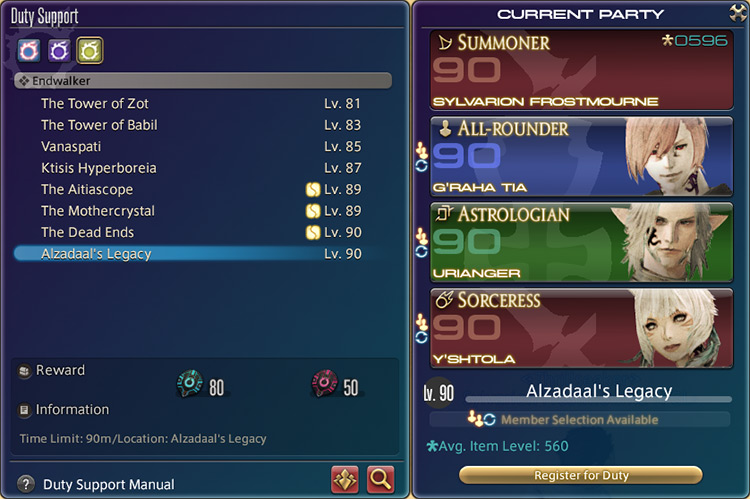
To enter the dungeon, you’ll need at least an average item level of 560 and a level 90 Disciple of War or Magic job.
Once you unlock the dungeon, you can access it in three ways:
Duty Finder
Duty Support
Trust
The best method for farming Alzadaal’s Legacy is to use Duty Support. To access Duty Support, select the Duty submenu and select Duty Support.
Duty Support – Alzadaal’s Legacy screenshot
Using Duty Support to complete the dungeon can guarantee that you’ll get the minion when it drops. You won’t have to share the loot with anyone because you’ll be running the dungeon with NPCs that are tied to the story.
Duty Finder will likely be faster in clearing the dungeon, but you can’t guarantee that you’ll get the minion as soon as it drops since you’ll need to roll for the loot.
Using Trusts allows you to run the dungeon with a larger pool of NPCs, but they’re slightly worse in combat than Duty Support NPCs, and will be slower in clearing the dungeon overall.
Each of the three methods can work, but Duty Support allows you to get the minion as soon as possible. Once you’ve chosen your preferred farming method, register for the duty to start your run.
Once you’re in the dungeon, you’ll need to defeat three bosses and some mobs along the way to clear it. To help make your run smoother, here’s a quick breakdown of each boss in the dungeon.
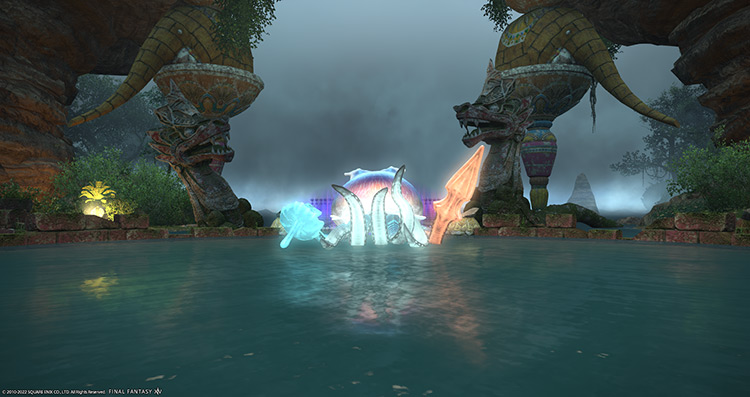
Boss #1: Ambujam
Boss #1: Ambujam screenshot
Mechanics:
Big Wave: A party-wide AoE attack that also inflicts a bleed debuff on every player. The debuff can’t be dispelled, so healers should heal through the initial damage and the damage over time.
Tentacle Dig: The boss’ tentacles will move underwater and eventually attack. Its tentacles will cause ripples, indicating where it will form its massive AoE attacks. Move away from the ripples as much as possible to avoid the incoming AoEs easily.
Toxic Fountain: Three consecutive sets of AoE markers will appear and eventually explode in the order they appeared. Dodge the first set of AoEs, then move into it to avoid the rest of the AoEs.
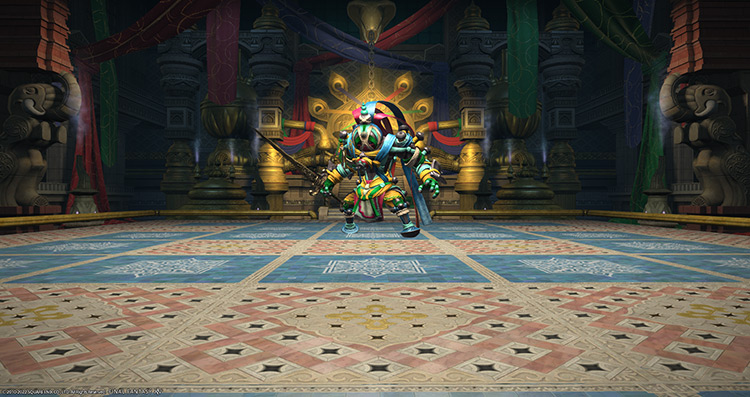
Boss #2: Armored Chariot
Boss #2: Armored Chariot screenshot
Mechanics:
Articulated Bits: The boss will move to the center of the arena and cast an AoE in its hitbox, electrocuting anyone that goes inside it. This move will also spawn four hand-shaped machines in each corner of the arena. These machines will be numbered in the order that they will attack. Avoid the boss’ hitbox and be wary of the numbers above the machines to handle the next mechanic properly.
Reflect: The boss will spawn two purple shields on its sides to reflect the machine’s continuous line attacks. Each reflected line attack will cover an entire quadrant of the arena for a few seconds. Move away from the quadrants that the shields are facing to avoid getting hit.
As the fight goes on, more articulated bits will spawn on the sides of the arena, shrinking your safe zones during “Reflect.” Move away from the shields and dodge the line attacks of the extra bits.
Diffusion Ray: A room-wide AoE attack. Mitigate and heal through the damage.
Graviton Cannons: An AoE attack will drop on every player. Spread out to avoid excess damage. This attack can overlap with “Articulated Bits” and “Reflect,” so watch your toes.
Rail Cannon: A tankbuster attack on the primary target. Use damage reduction skills and heal through the damage.
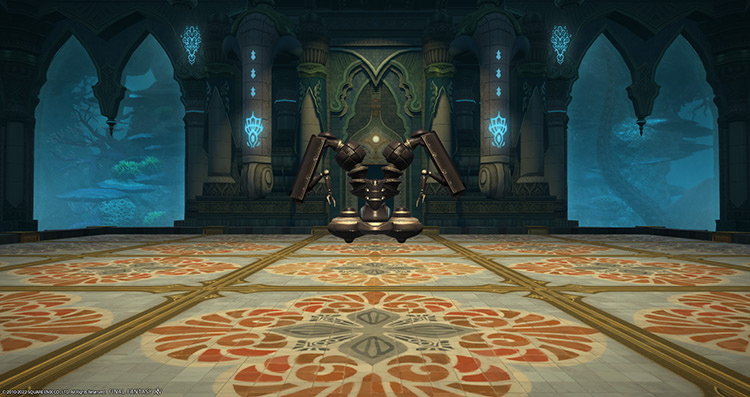
Boss #3: Kapikulu
Boss #3: Kapikuku screenshot
Mechanics:
You’ll notice some of the tiles on the arena with cross-shaped holes. Keep these tiles in mind throughout the fight to avoid unnecessary damage.
Billowing Bolts: A room-wide AoE attack. Spikes will also form on the outer tiles of the arena. Mitigate and heal through the damage while avoiding the spiked tiles.
Spin Out: The boss will move to the northern edge of the platform and drag each player towards it. Then, the players will start spinning like tops around the arena. More spikes will also form around the arena. Direct your character around the arena while avoiding the spikes. You won’t be able to turn a corner quickly, so give yourself enough room when turning.
Crewel Slice: A tankbuster attack on the primary target. Use damage reduction skills and heal through the damage.
Wild Weave + Power Surge: Green and Yellow ropes will drop from above across the arena. Then, the boss will cast “Power Surge” to tether to one colored rope, indicating which set of ropes will explode into AoE attacks. Check which colored rope the boss tethers to, then move right under an opposite-colored rope to avoid incoming damage.
Rotary Gale: An AoE attack will drop on every player. Spread out to avoid extra damage.
Basting Blade: Starting from the second “Spin Out” phase, the boss will also cast line attacks while the players spin around the arena. Identify where the boss jumps to and spin away from its line of sight to avoid getting hit.
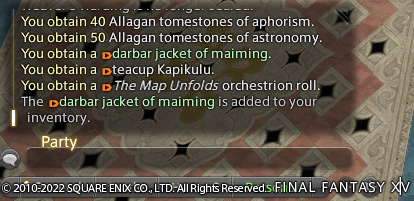
Rewards
Teacup Kapikulu obtained screenshot
If you completed the dungeon using Duty Support, rewards would automatically go to your inventory, including the Teacup Kapikulu minion.
Make sure you have enough inventory space before opening the final treasure coffer, so you don’t lose the minion if it drops.
Marc is a casual FFXIV Summoner veteran, retired TF2 Soldier main, and professional communicator. He's also a huge fan of anime, Hololive, and the Golden State Warriors.


")

")
